June 30th 2016:
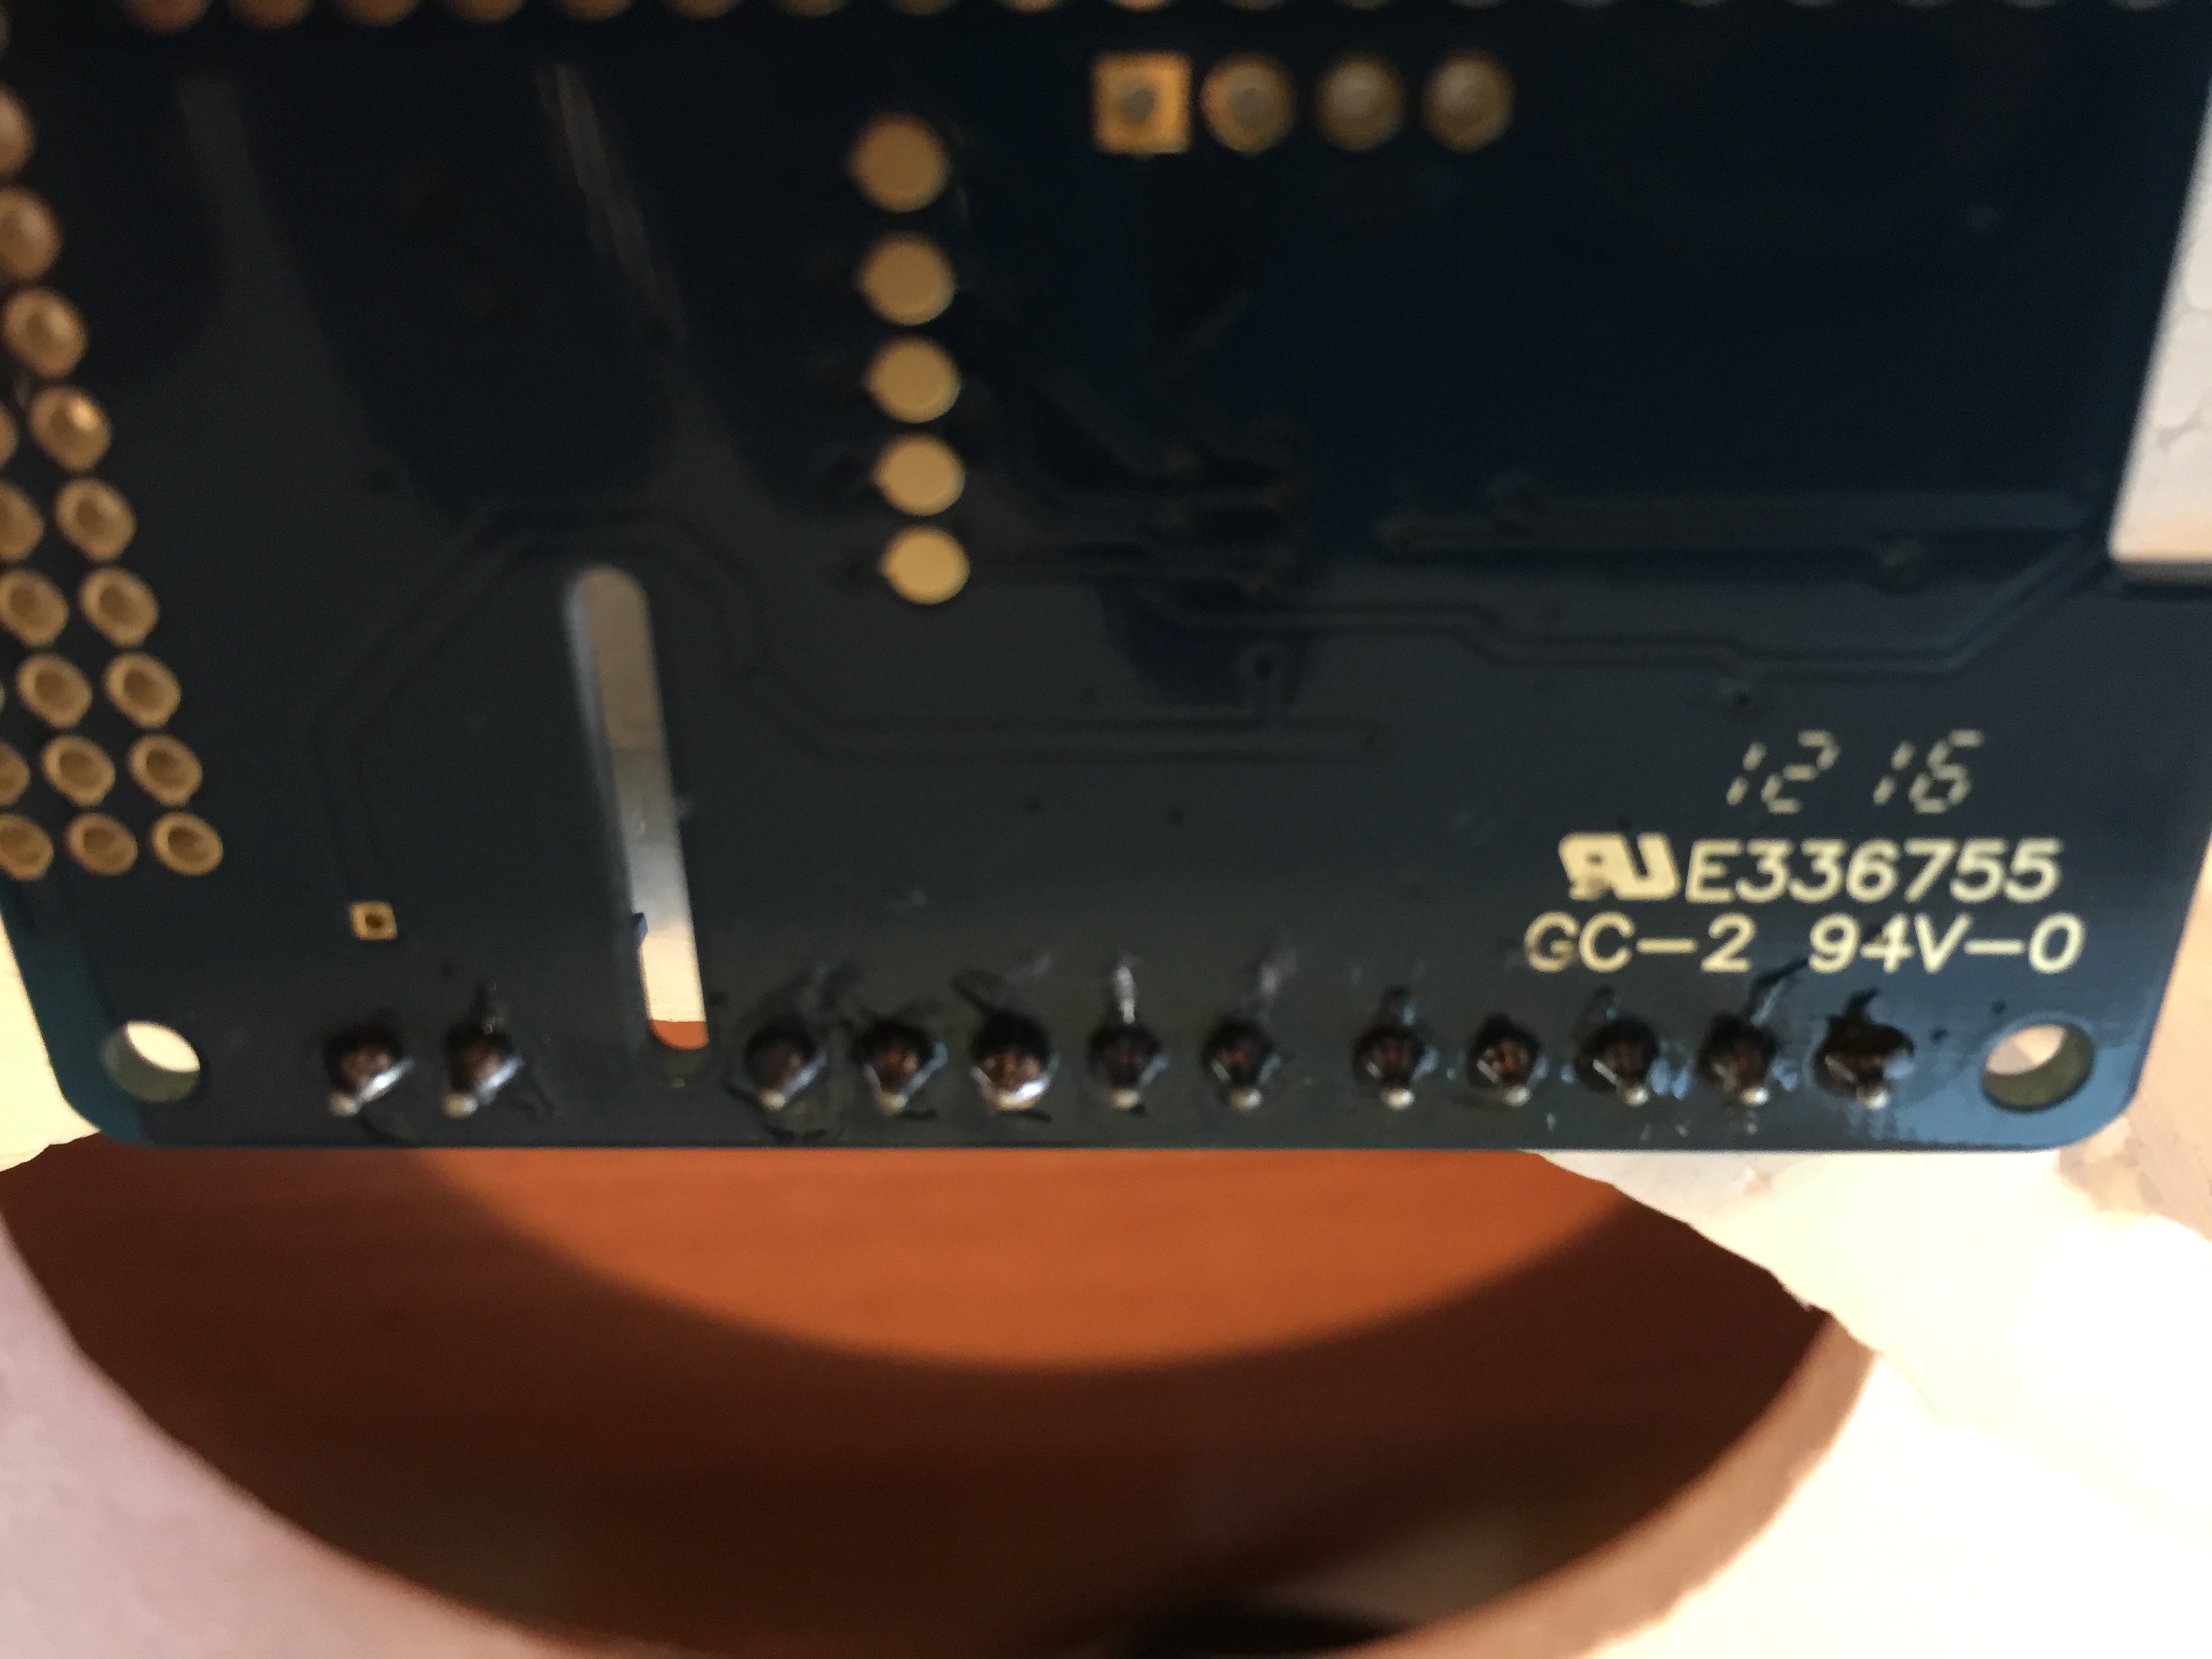
I received the Raspberry Pi Motor HAT. I proceeded to solder the assembly.
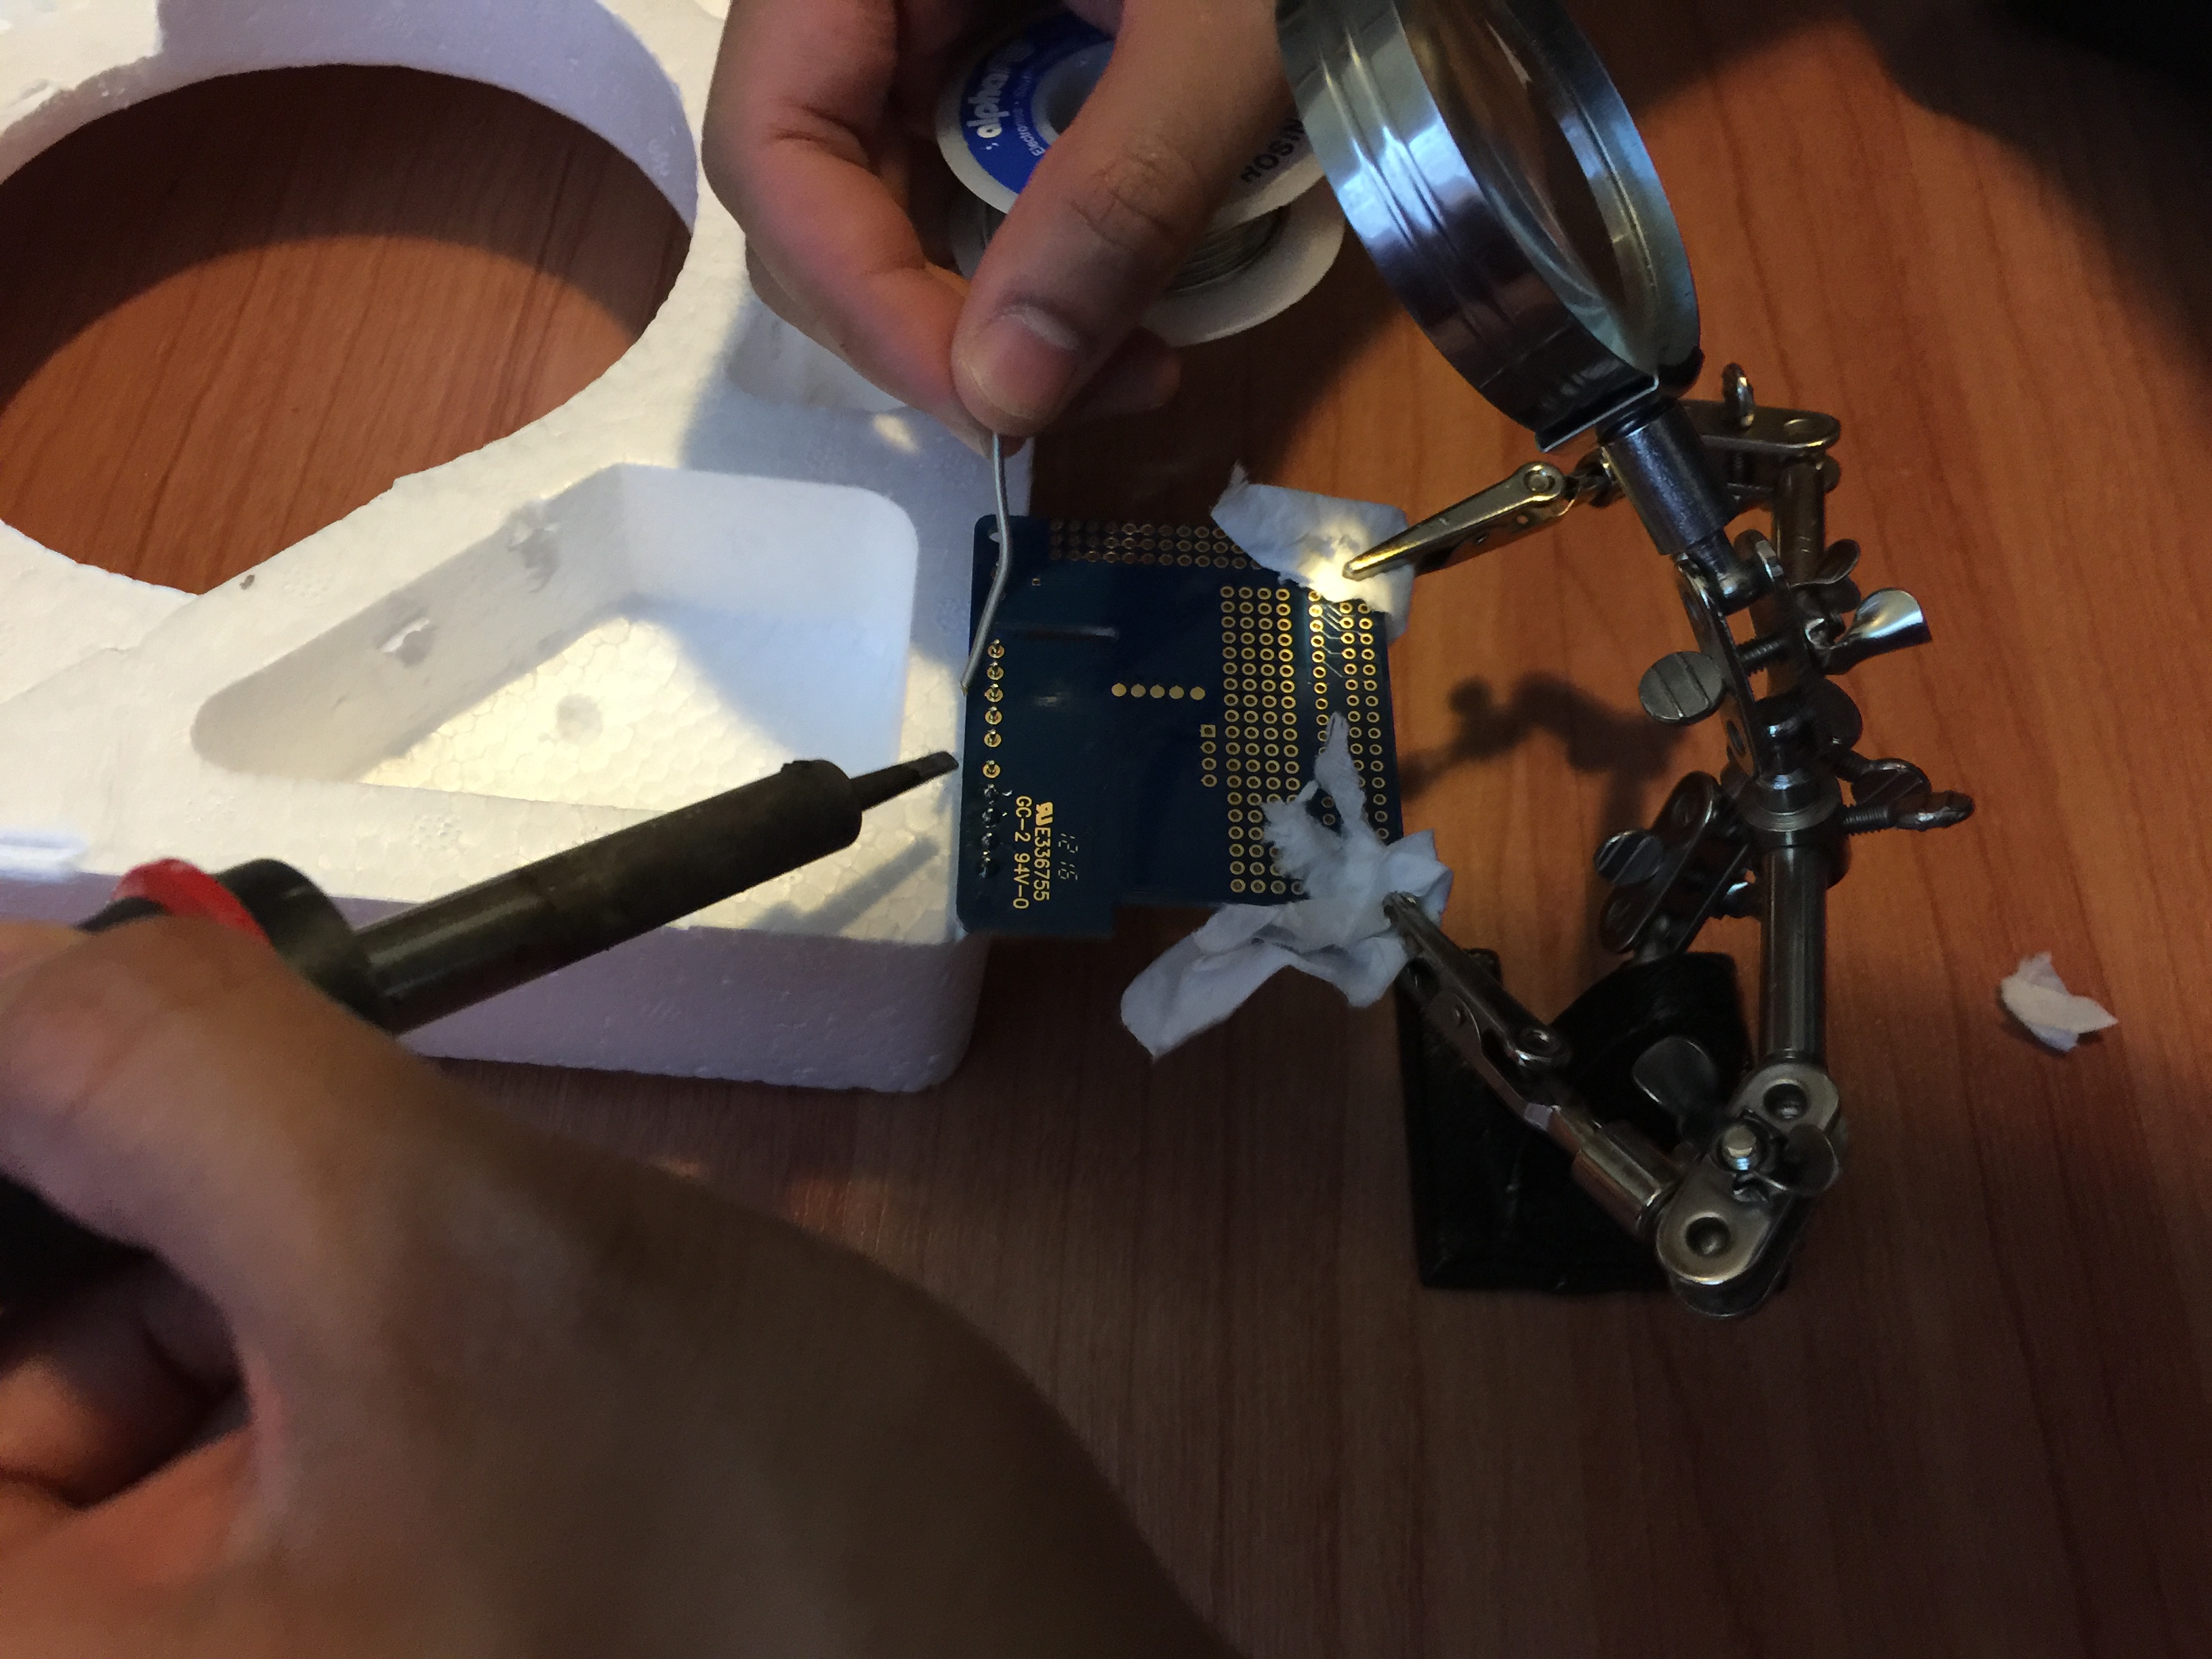
Soldering 30 pins in order to use the Motor Hat for the Raspberry Pi
Soldered the terminals for the DC Motors and Power Supply
Finished Soldering the 30 pin connector
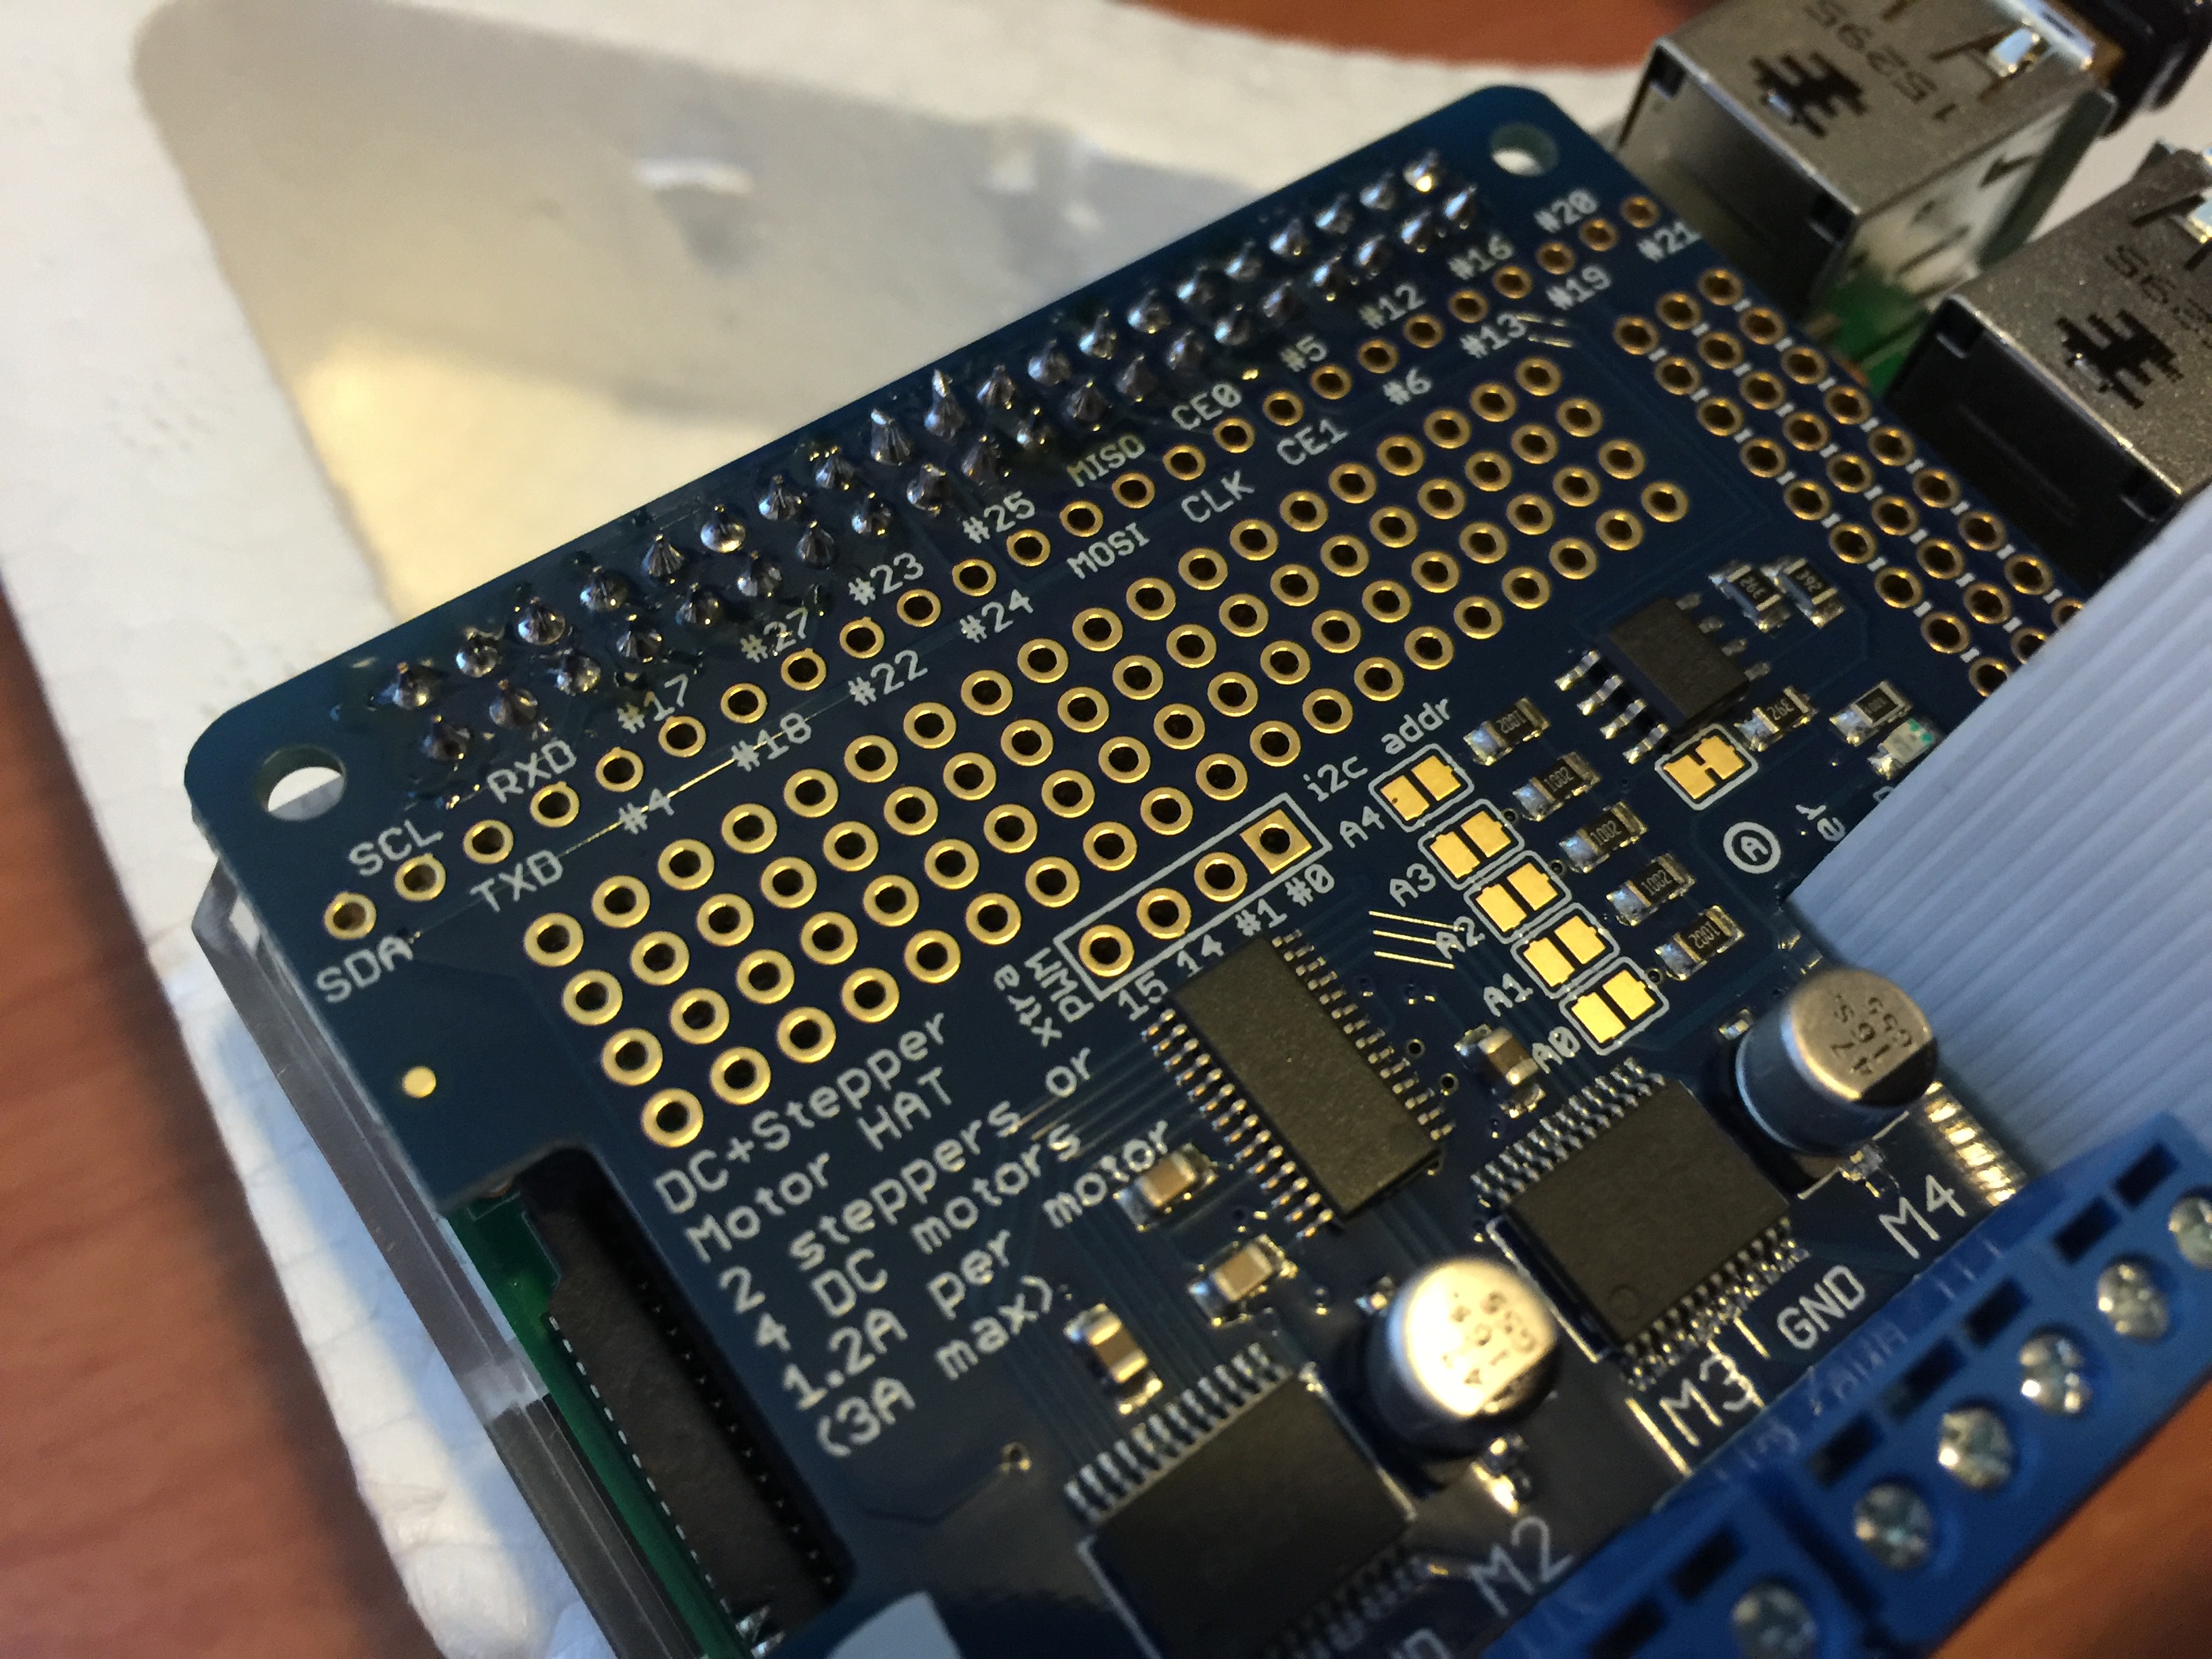
Testing out the Motor and getting familiar with the Motor HAT API:
July 1 2016:
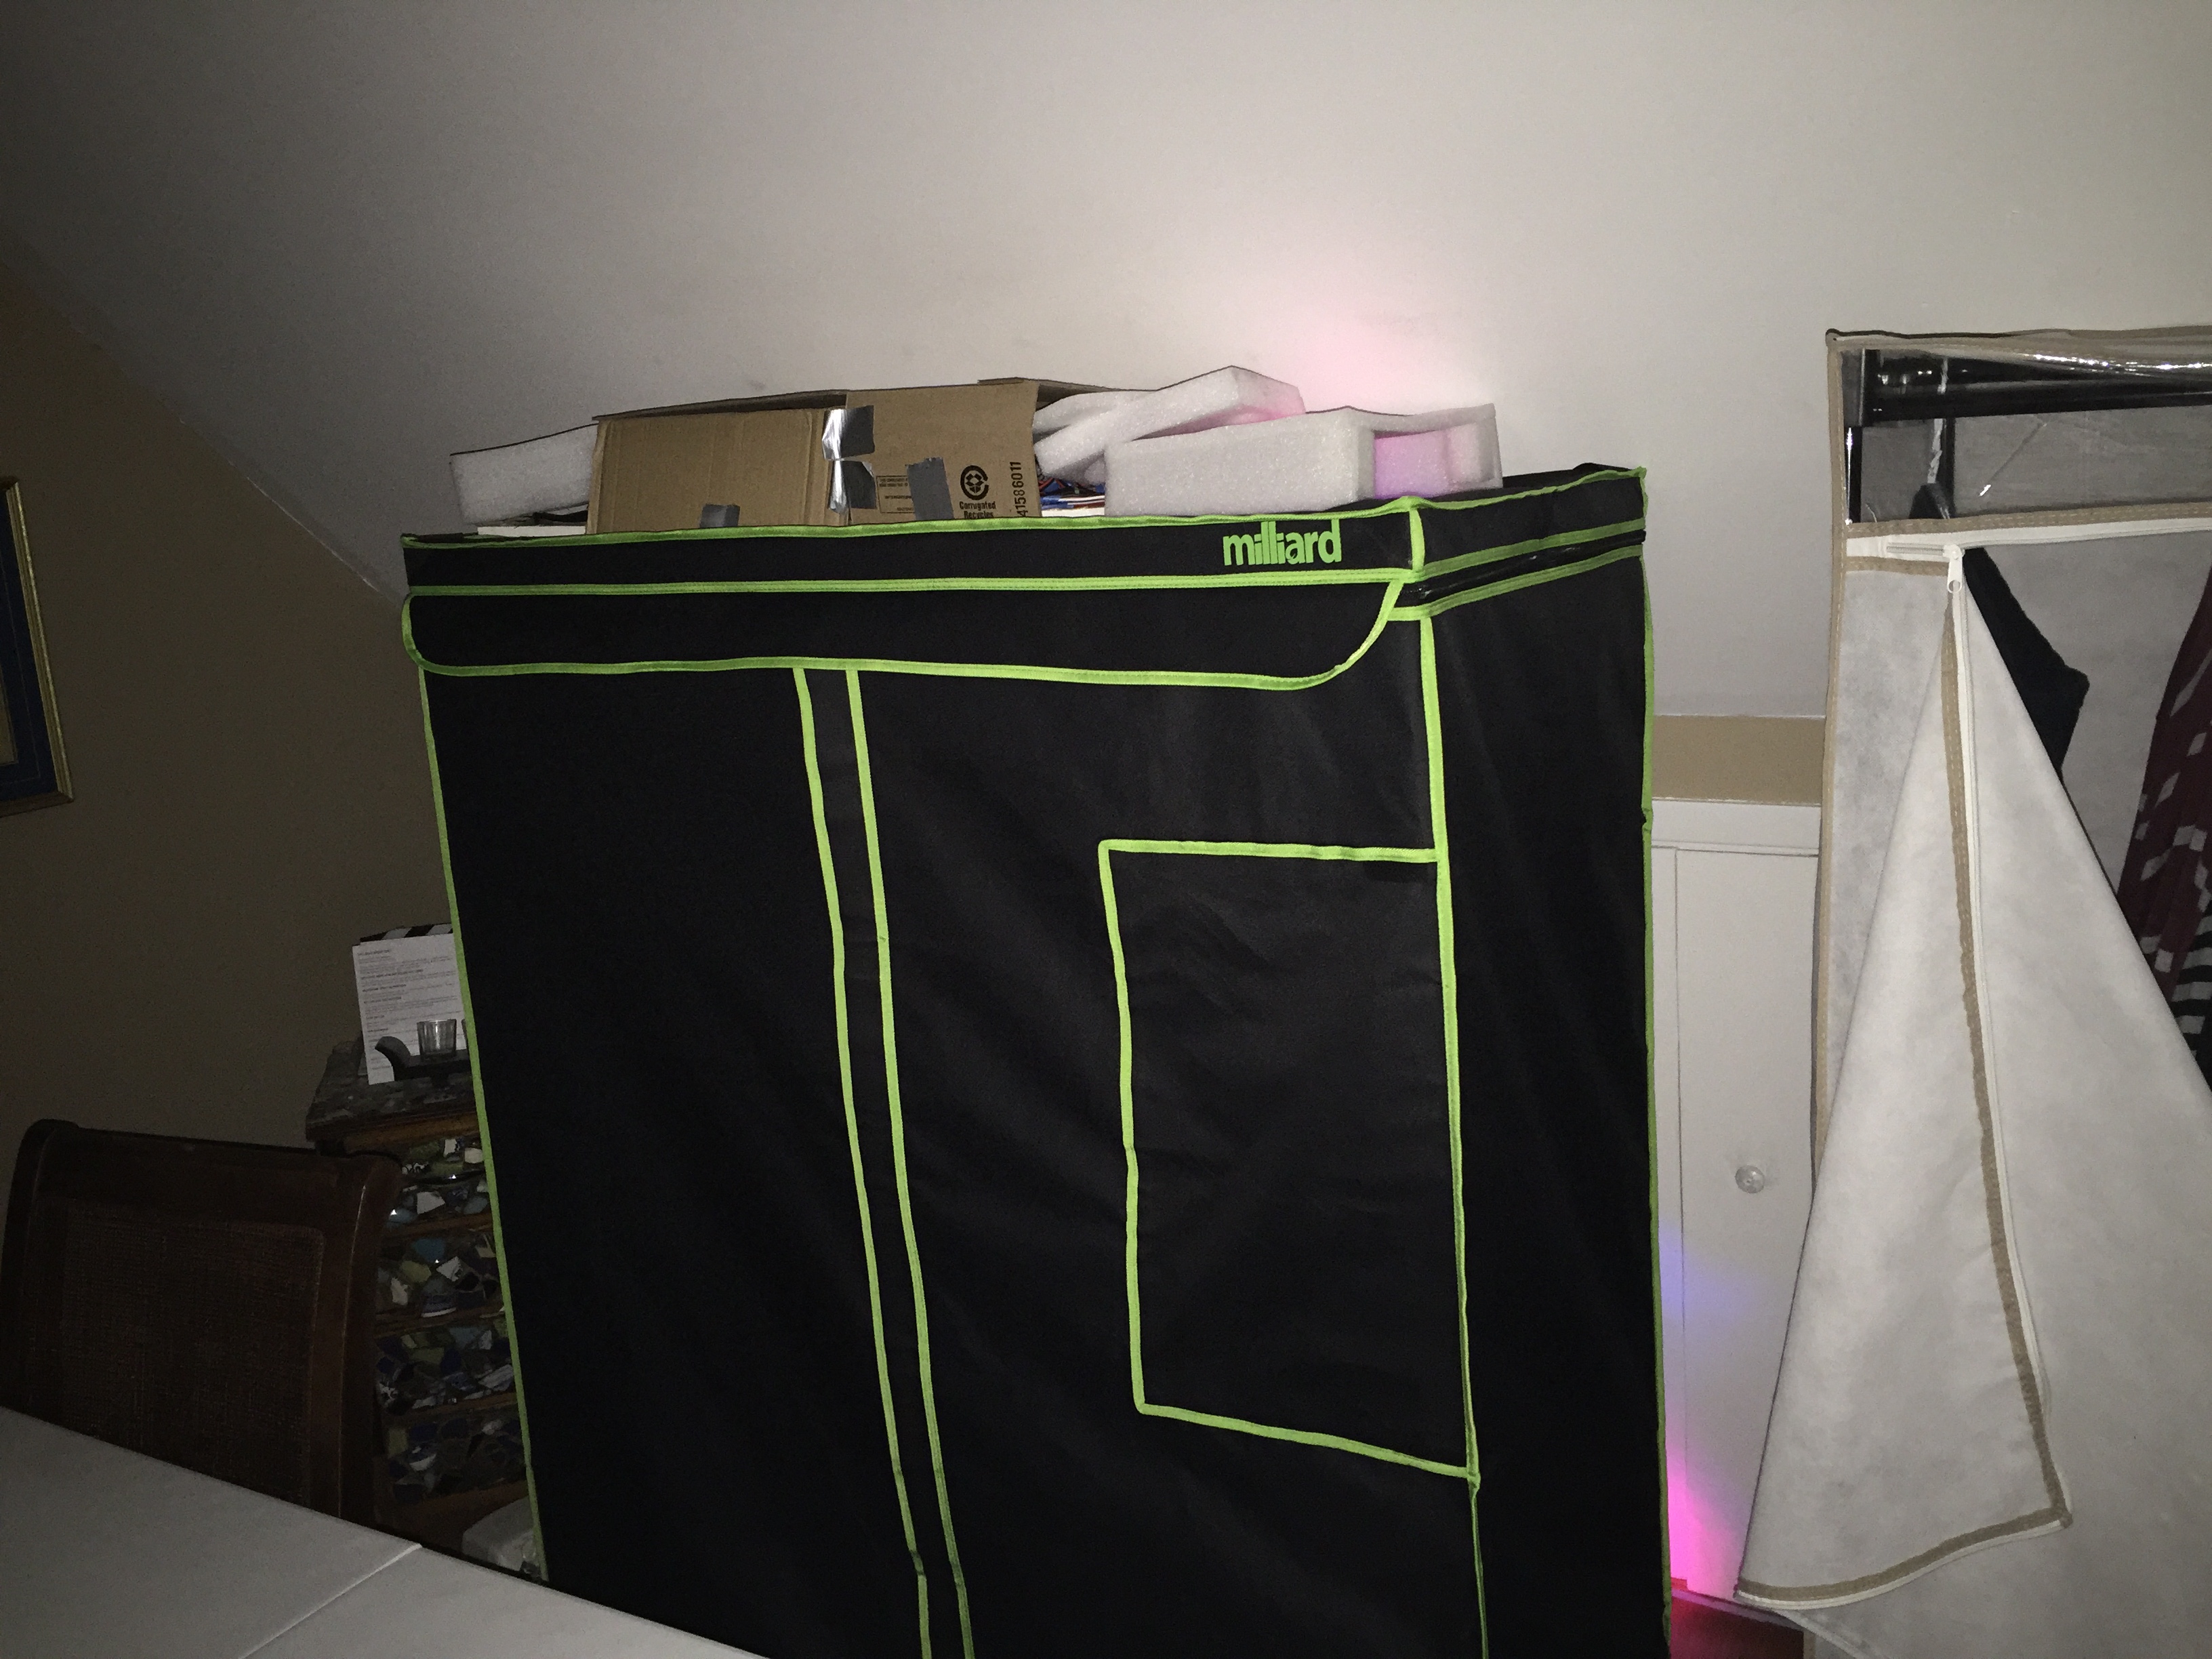
My Brother, Justin Sogoni, and I assembled the grow tent.
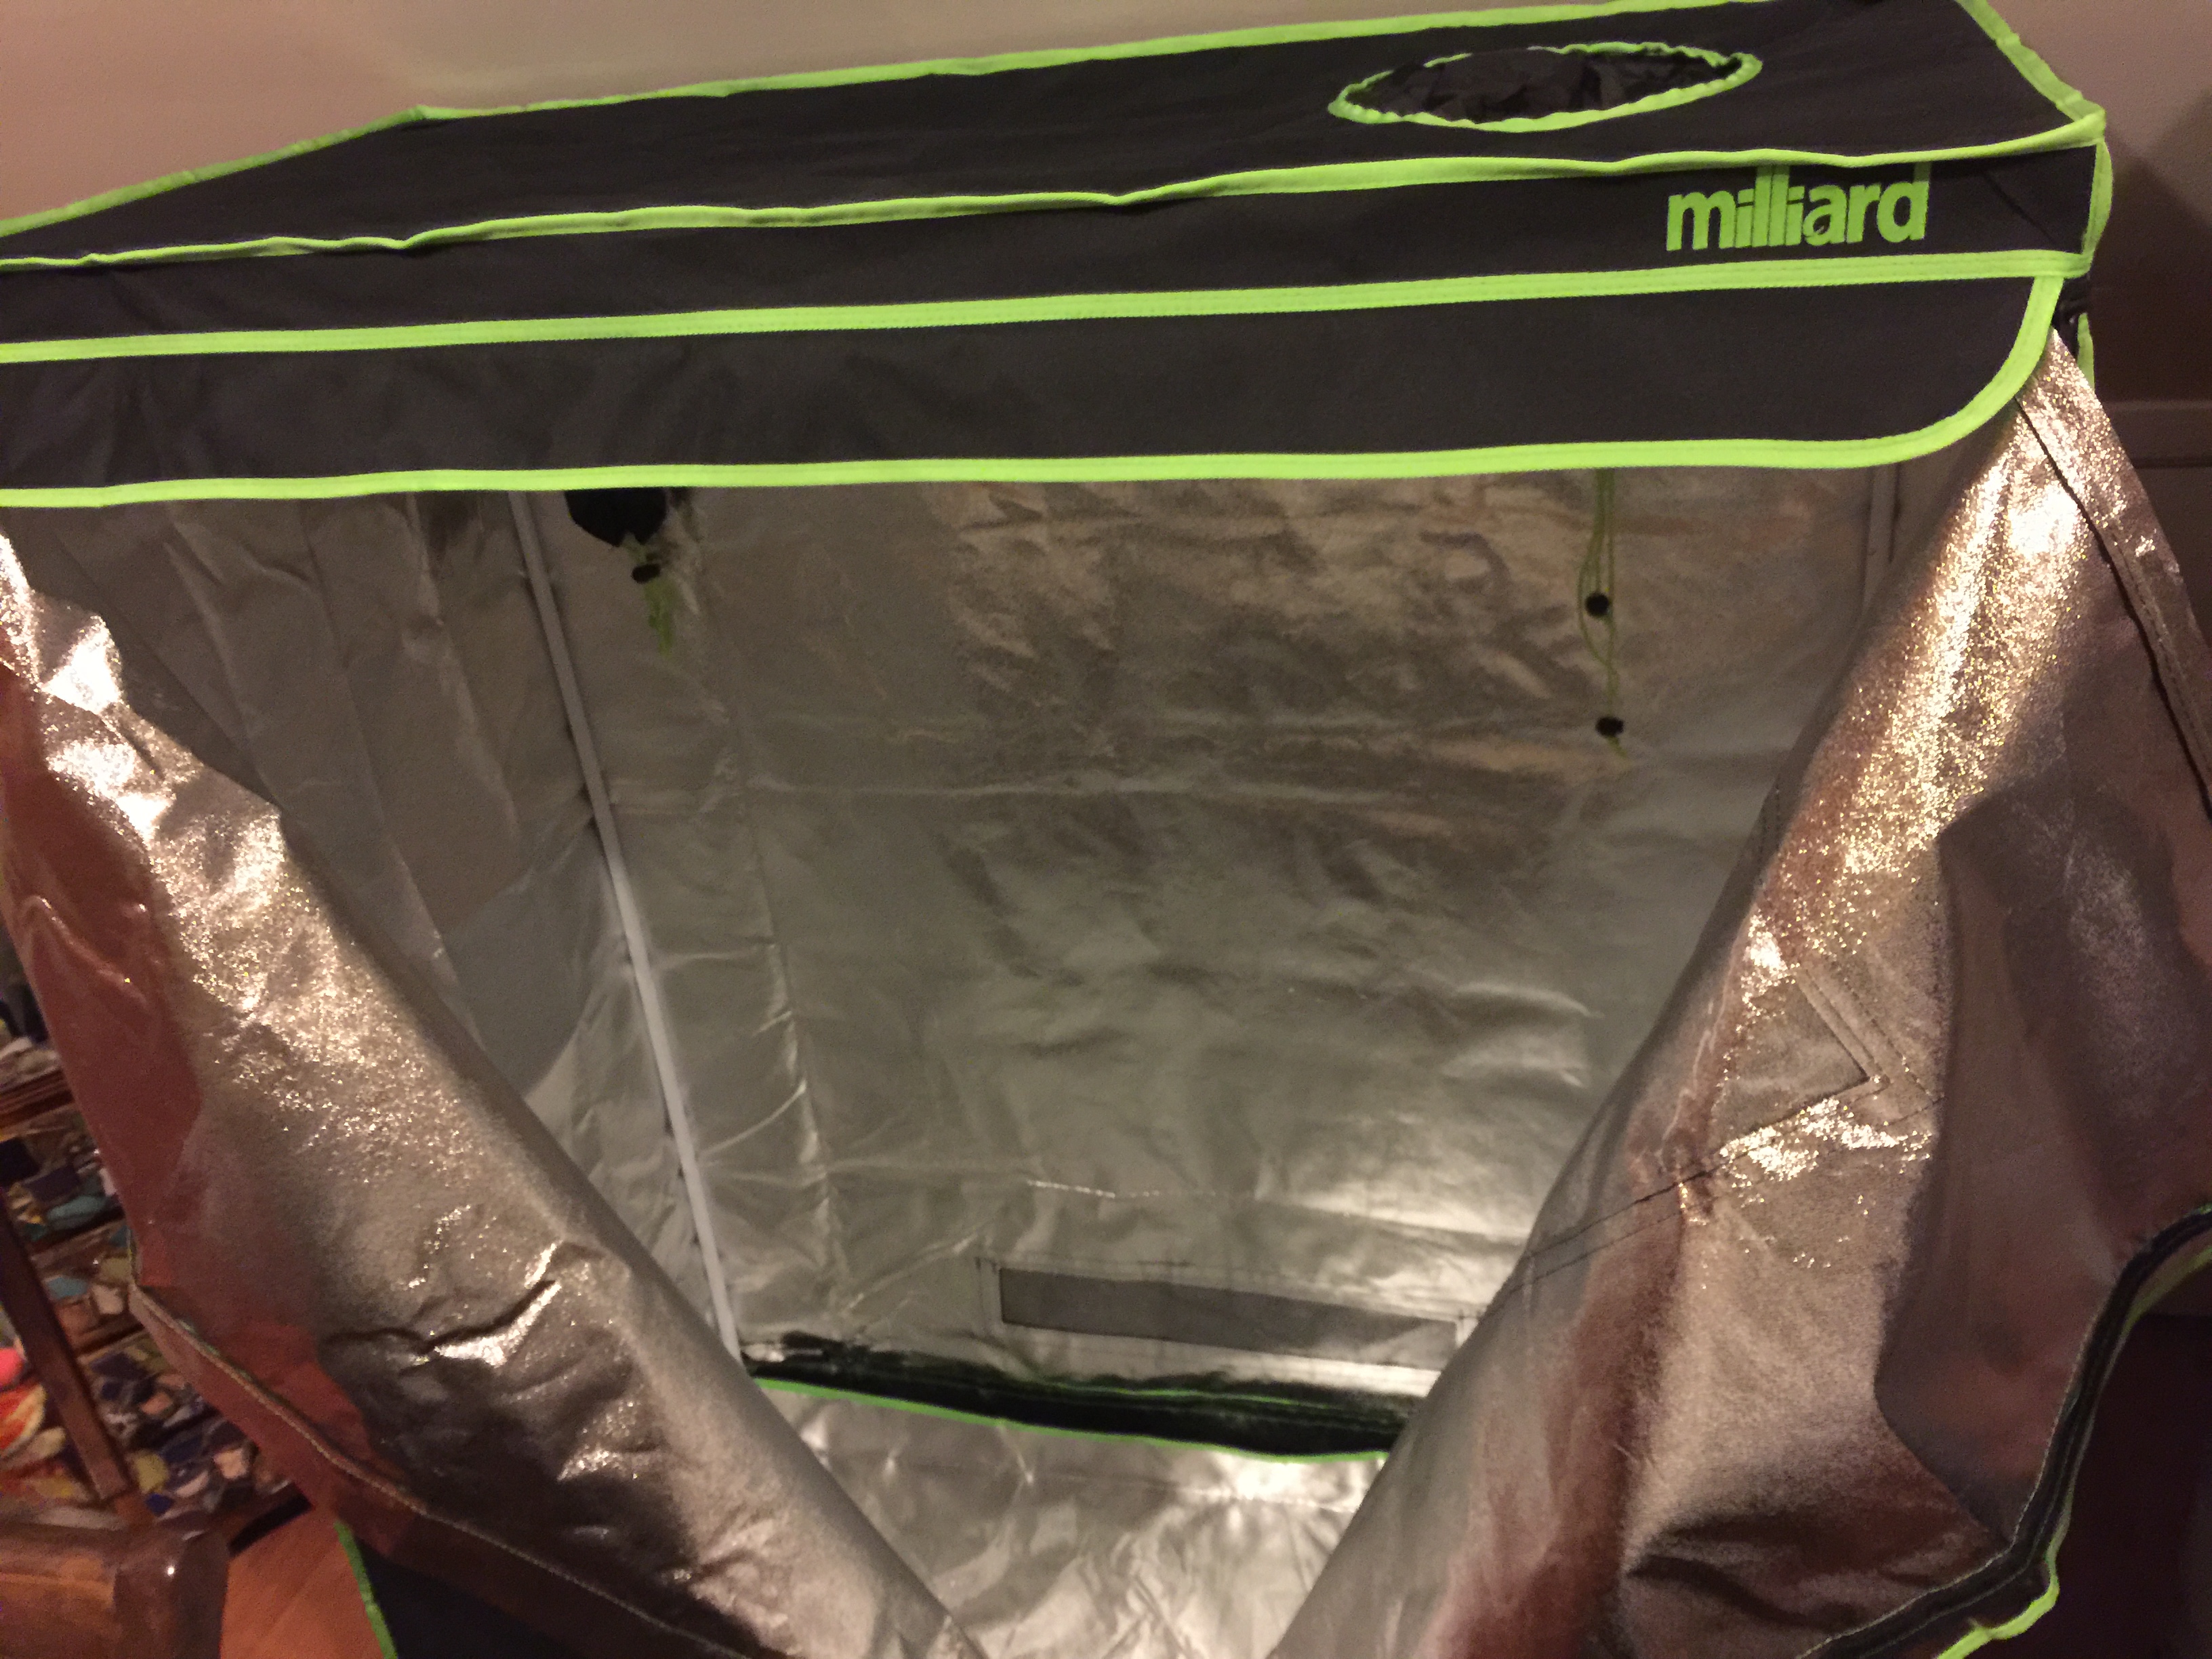
Grow Tent Assembled
July 2 2016:
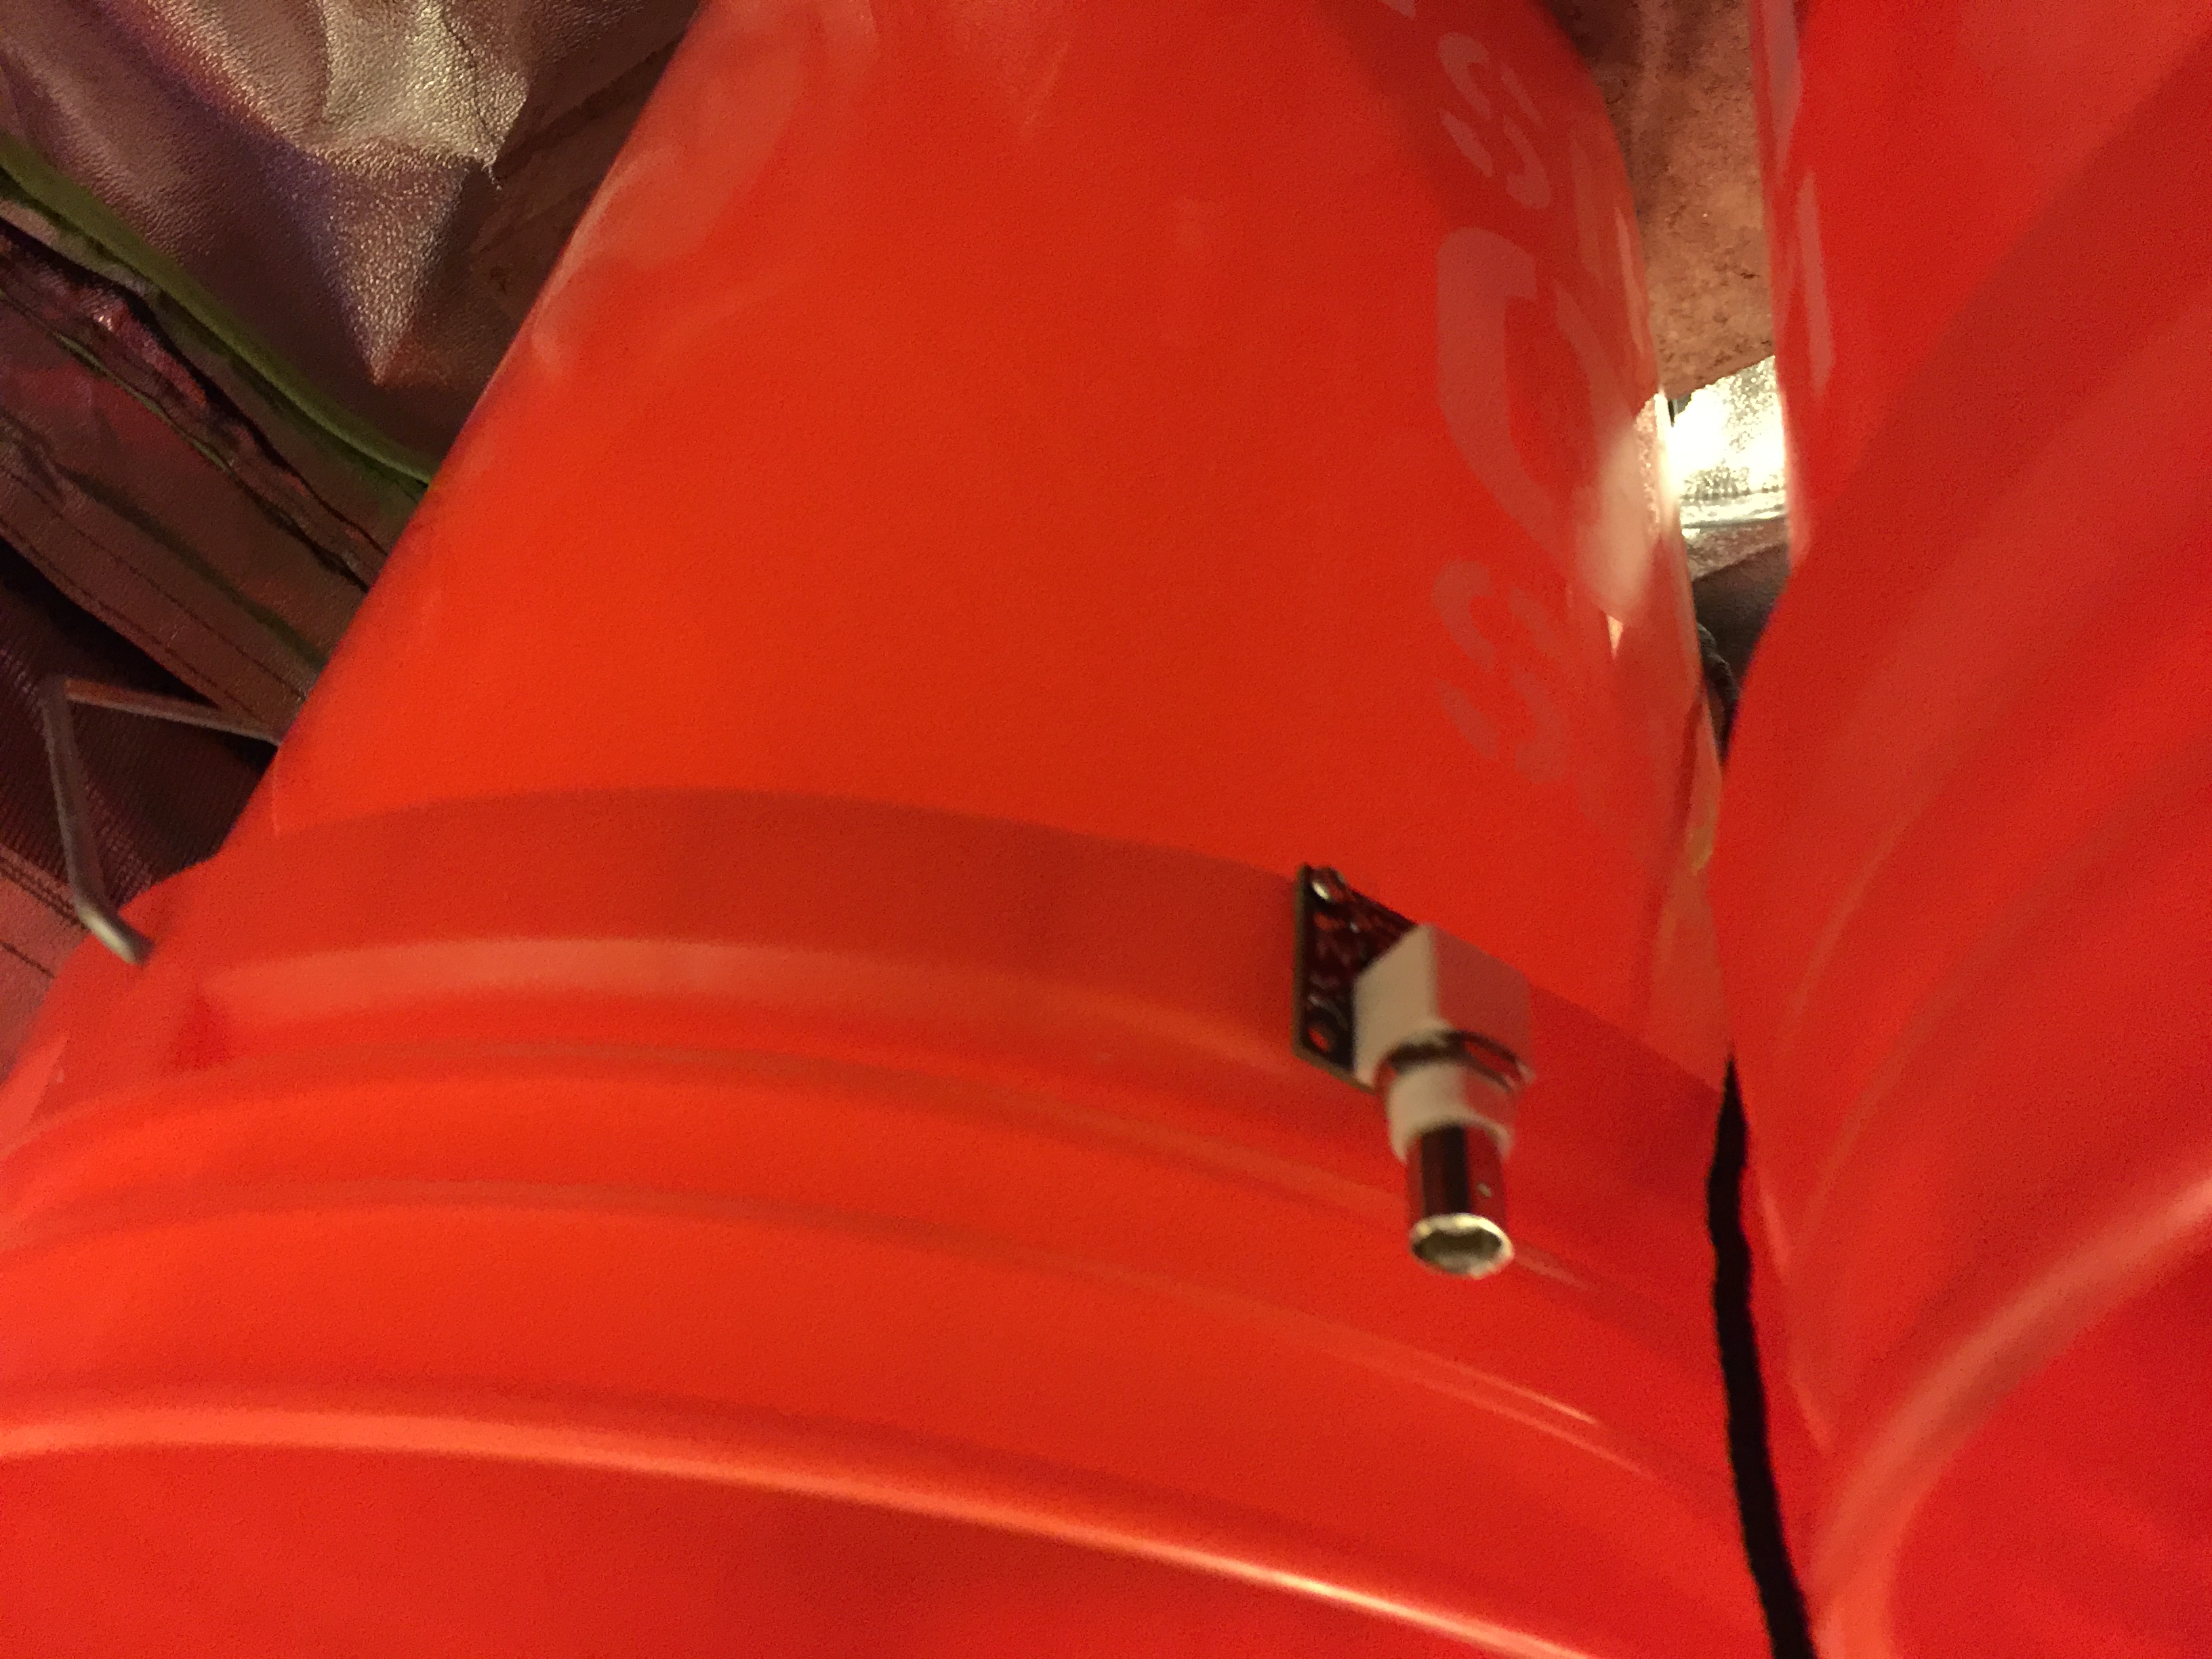
We drilled holes into my nutrient bucket and plant reservoir and inserted NPT Bared hose fitting for the buckets. Then we glued them with lock tite marine sealant for underwater protection.
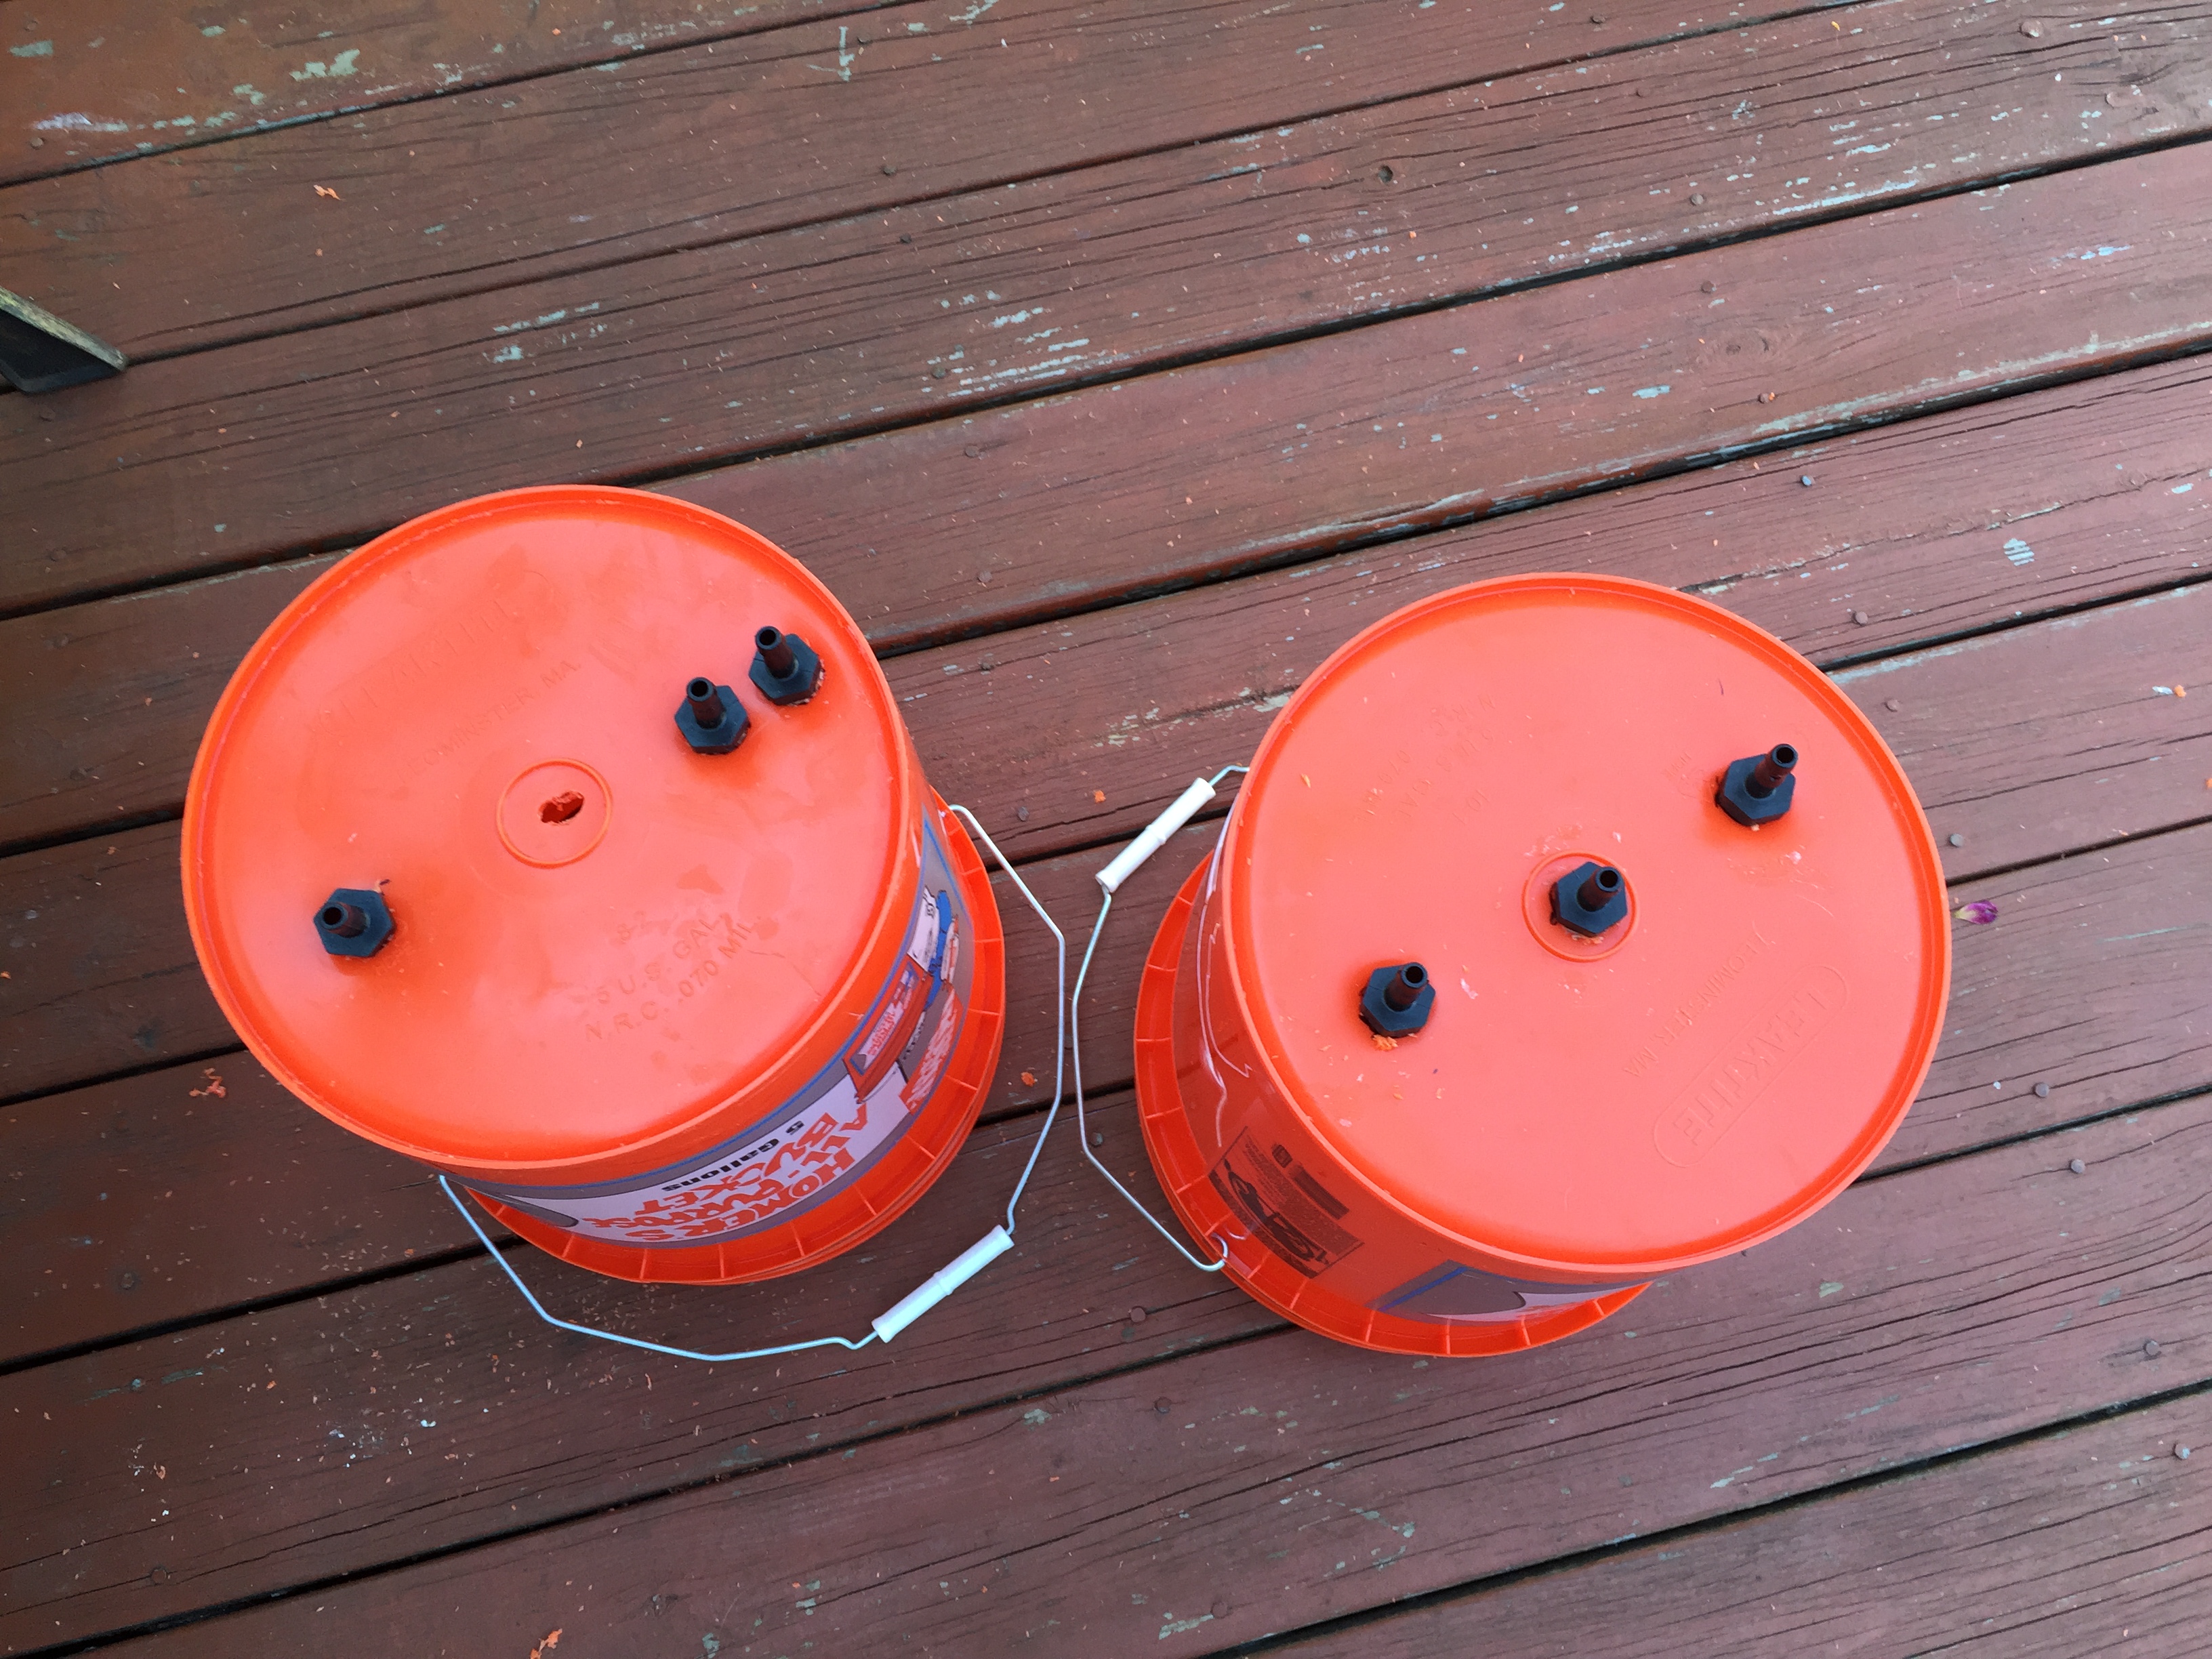
Drilling Holes and attaching NPT Barbed fittings
Used the underwater sealant.
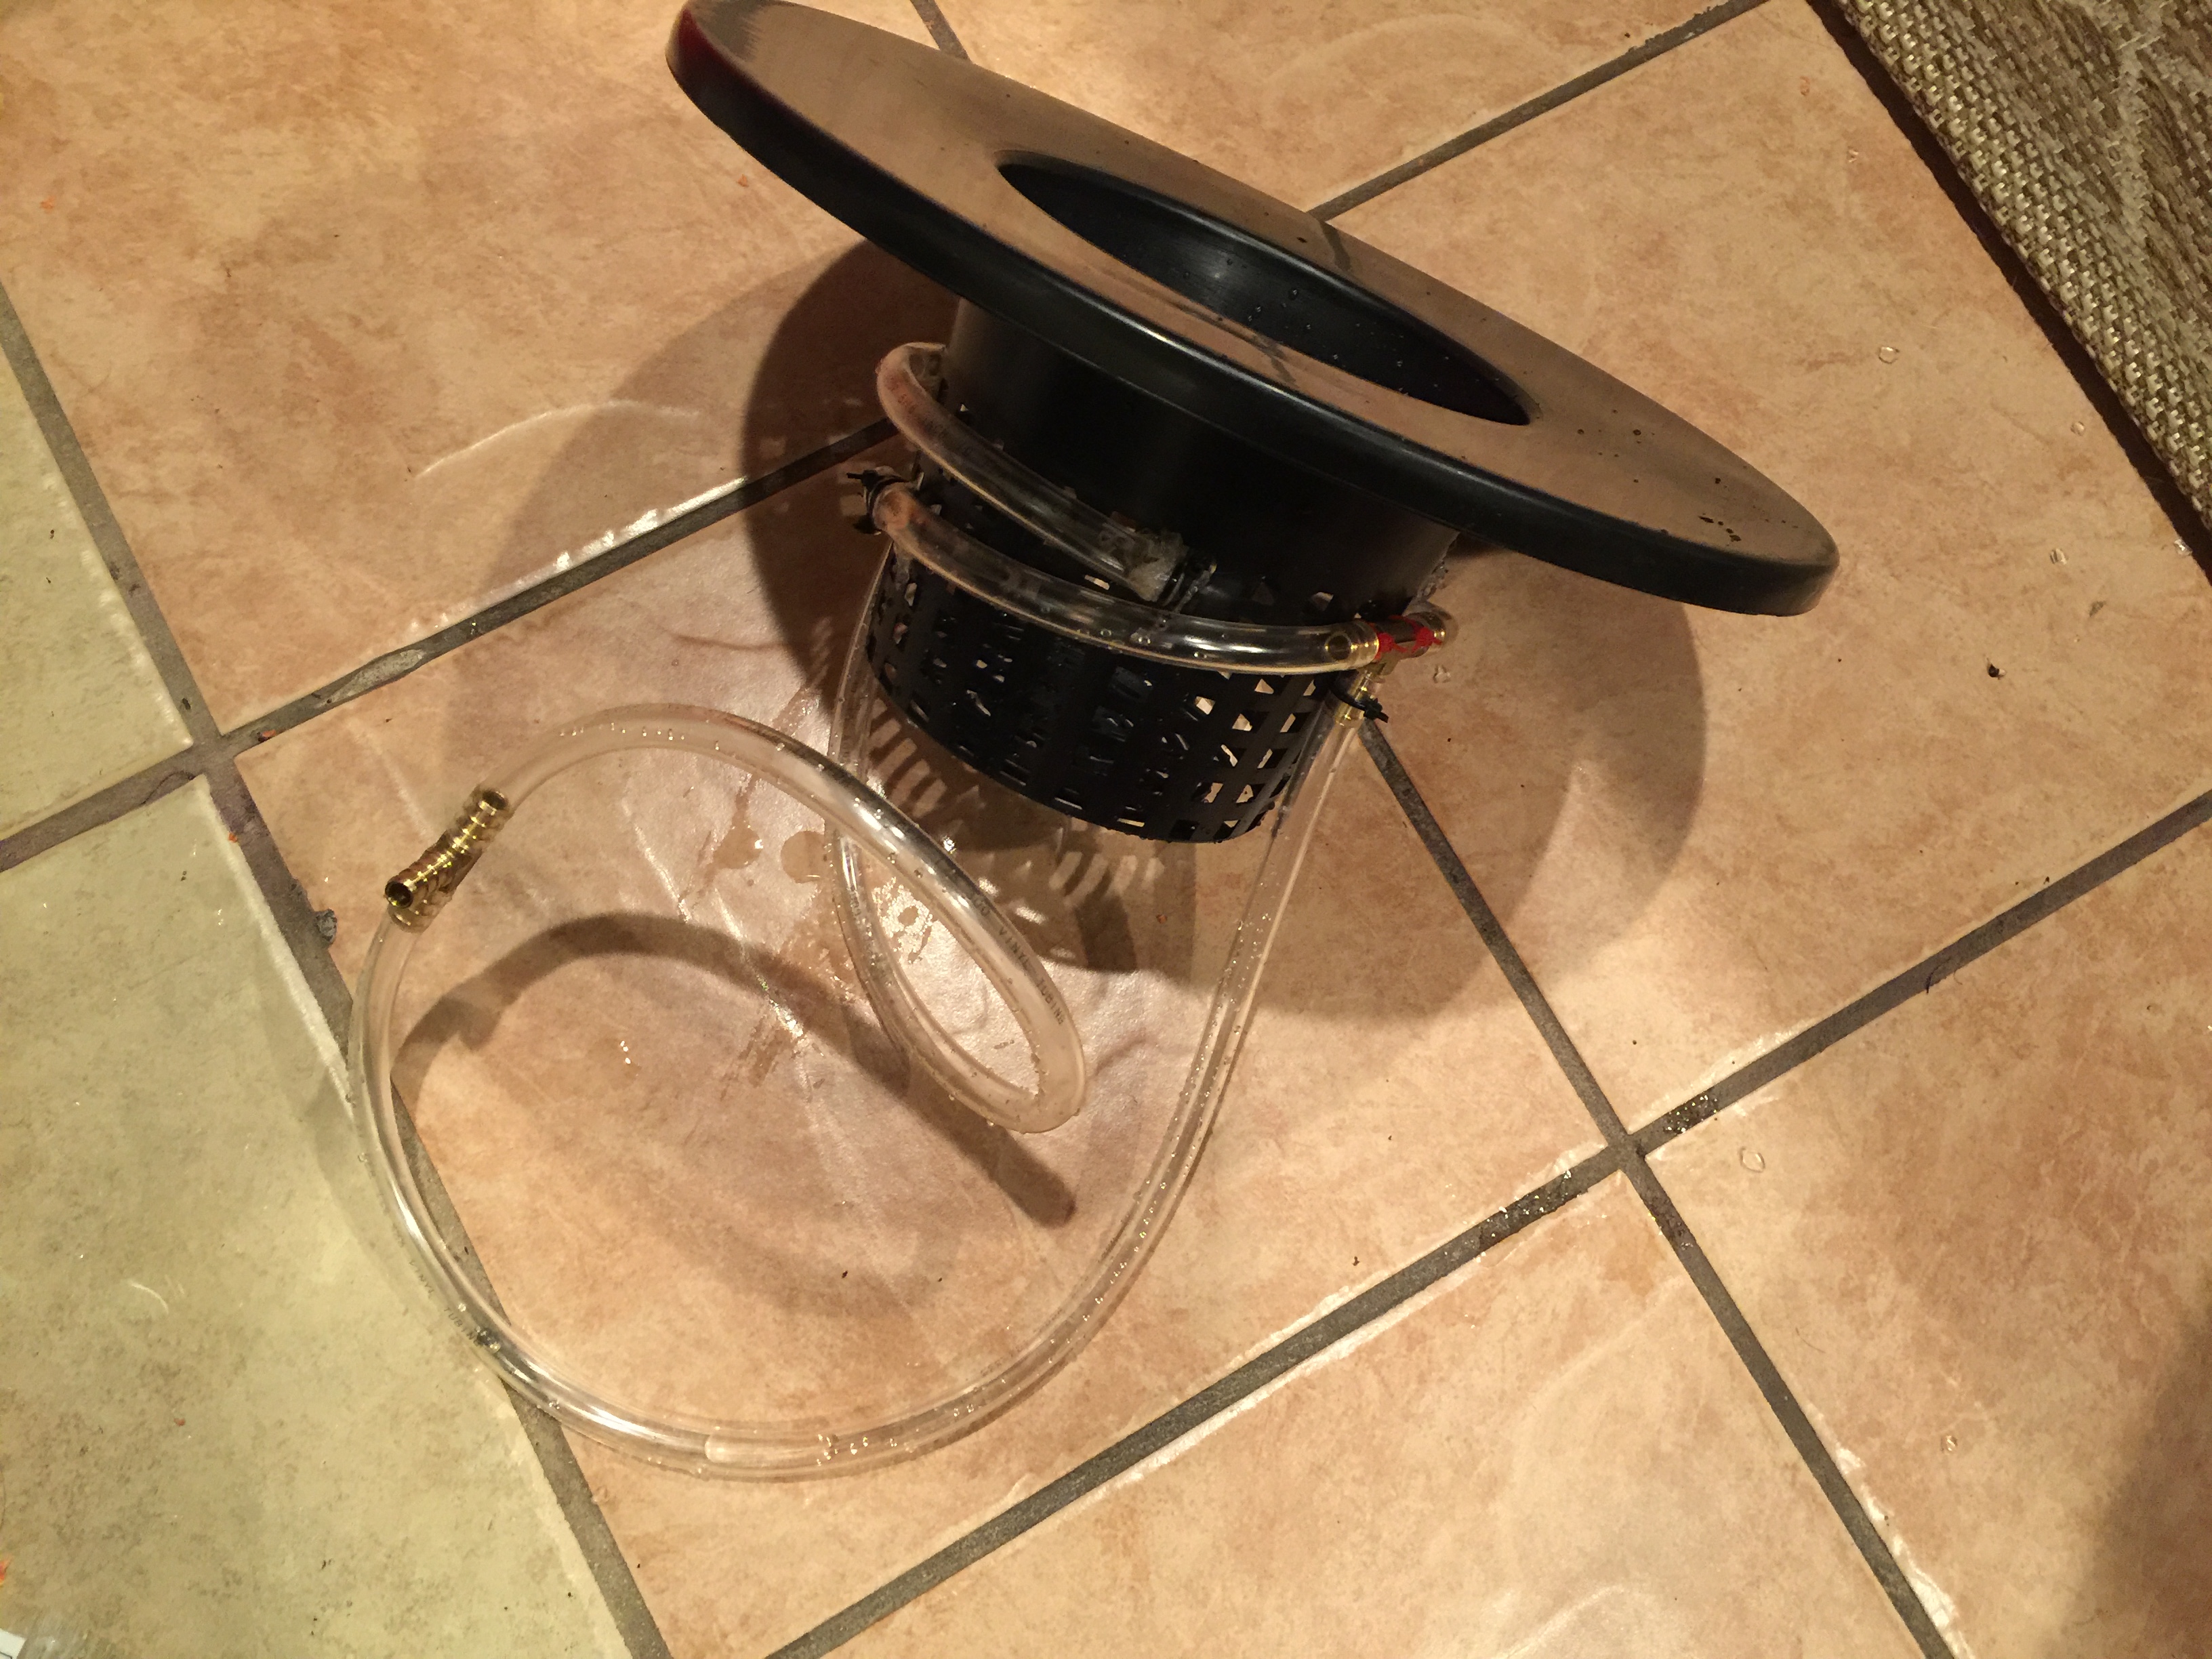
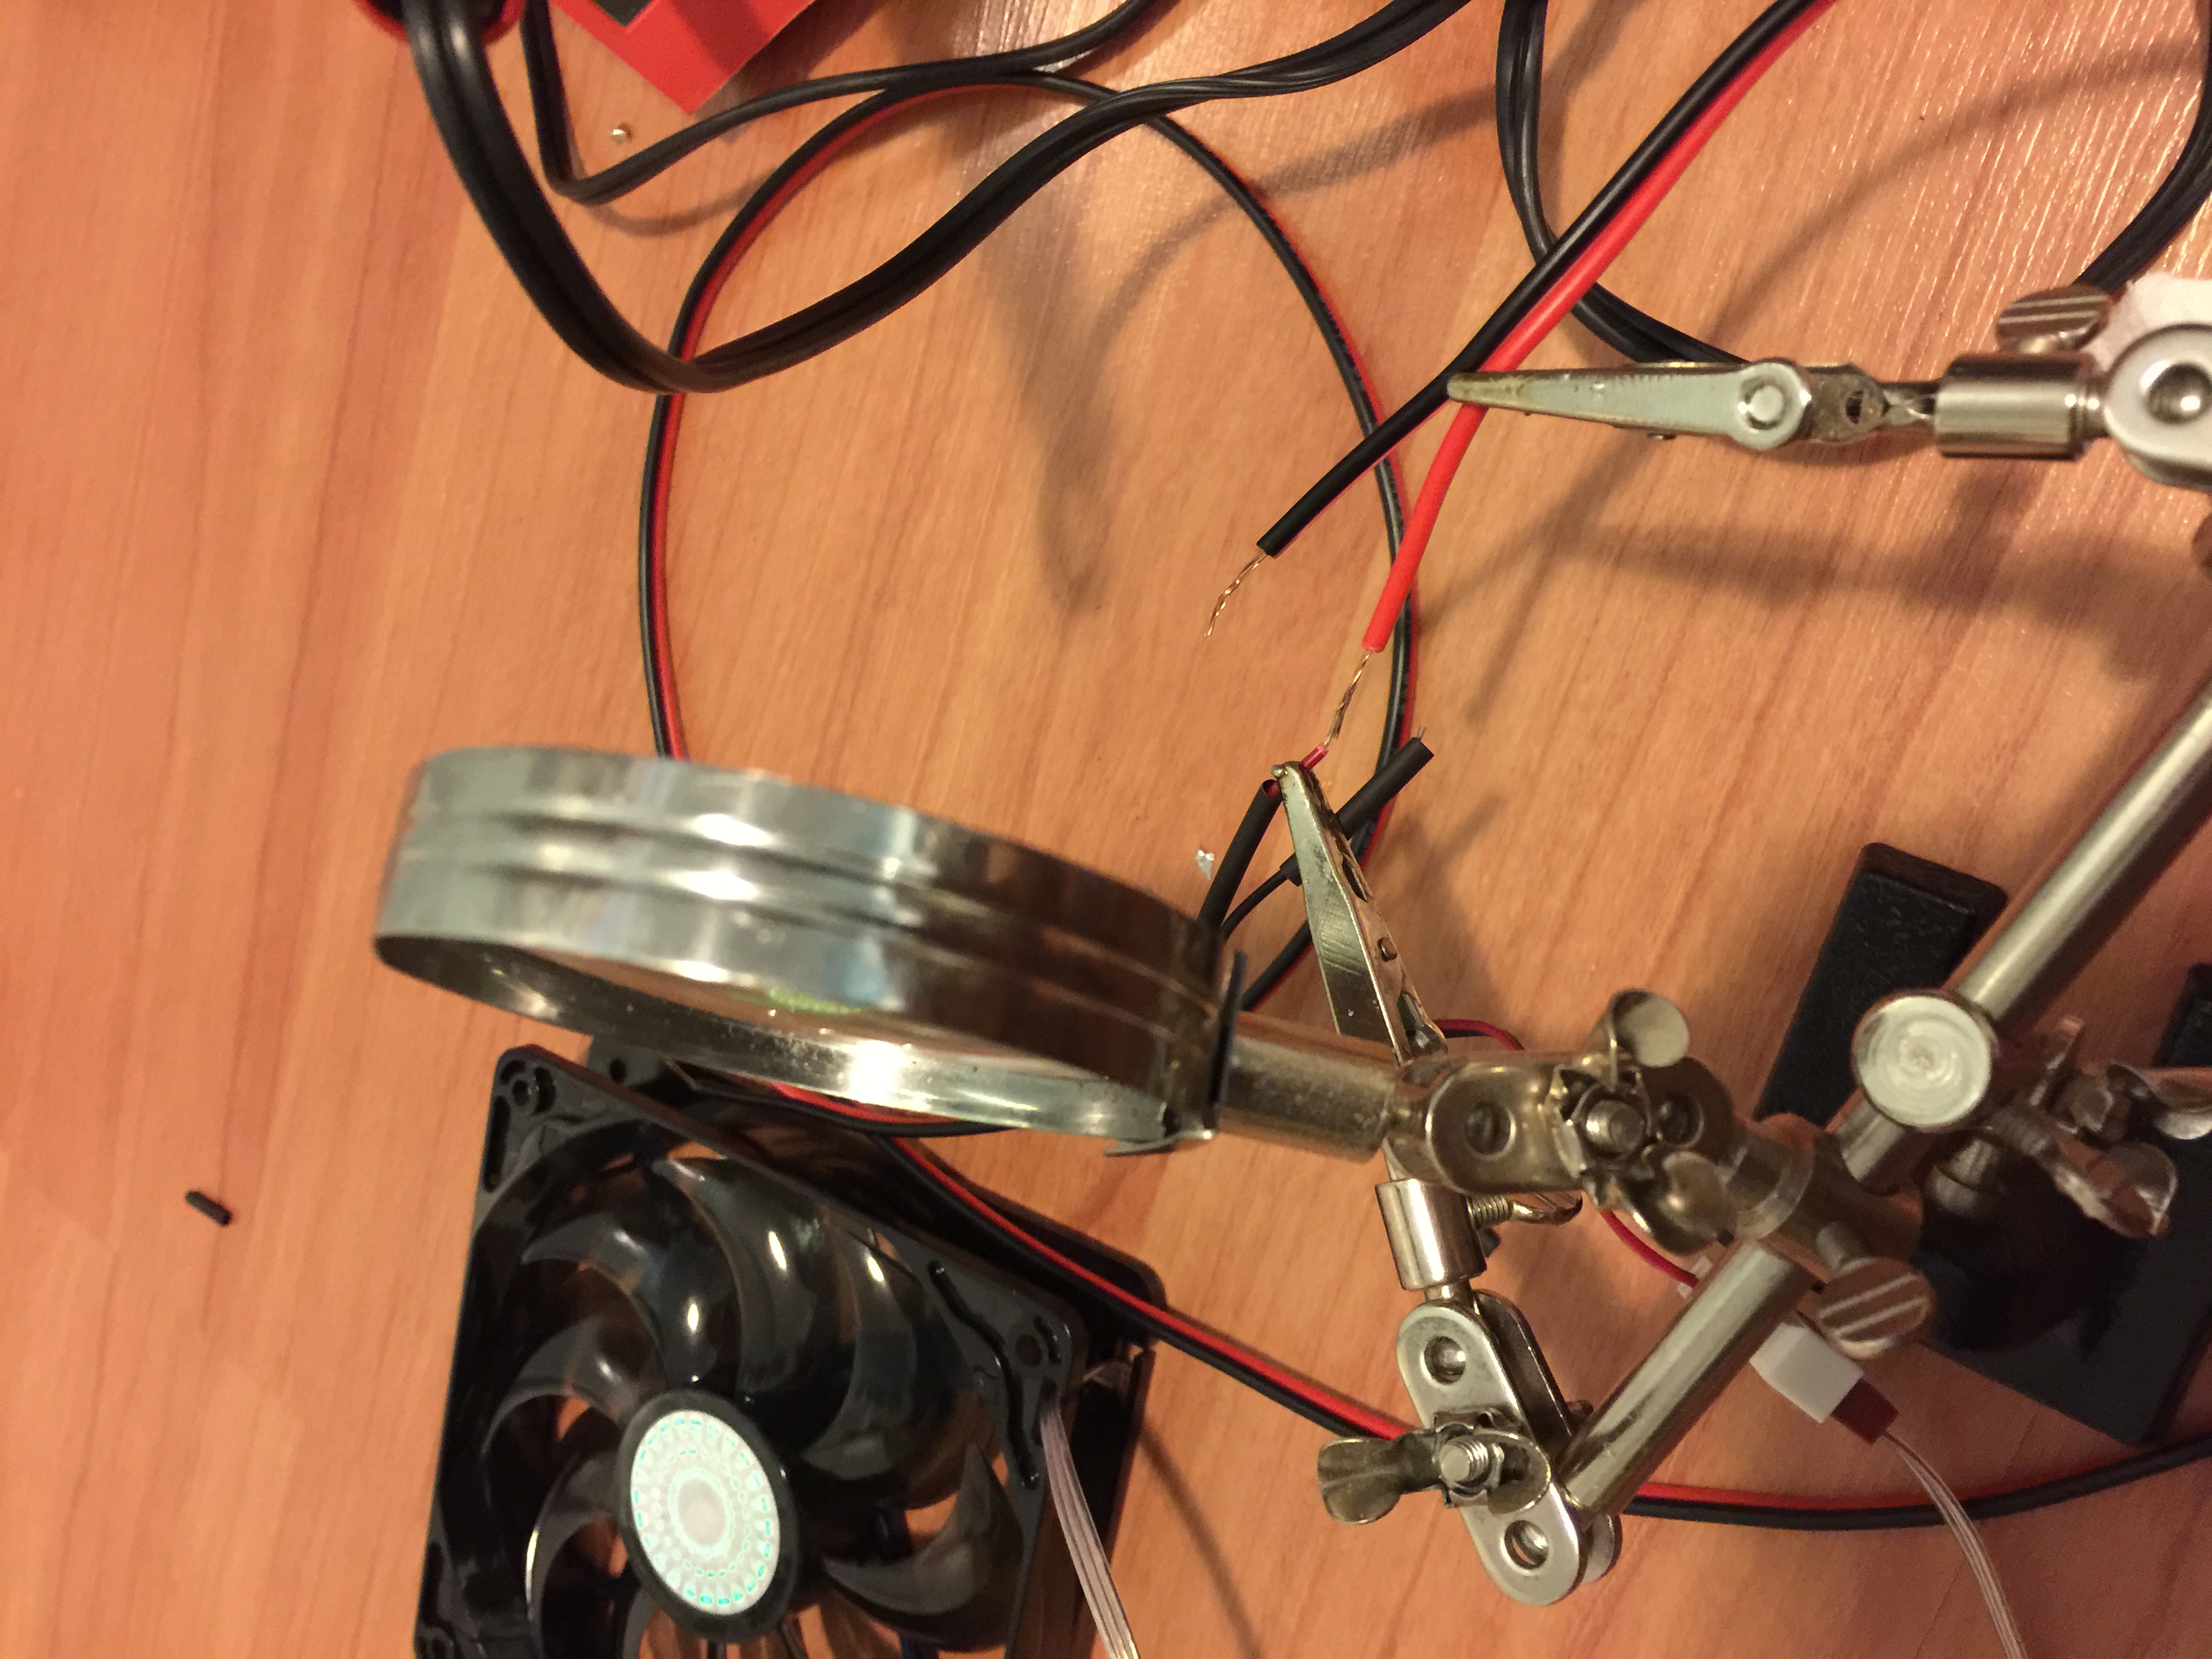
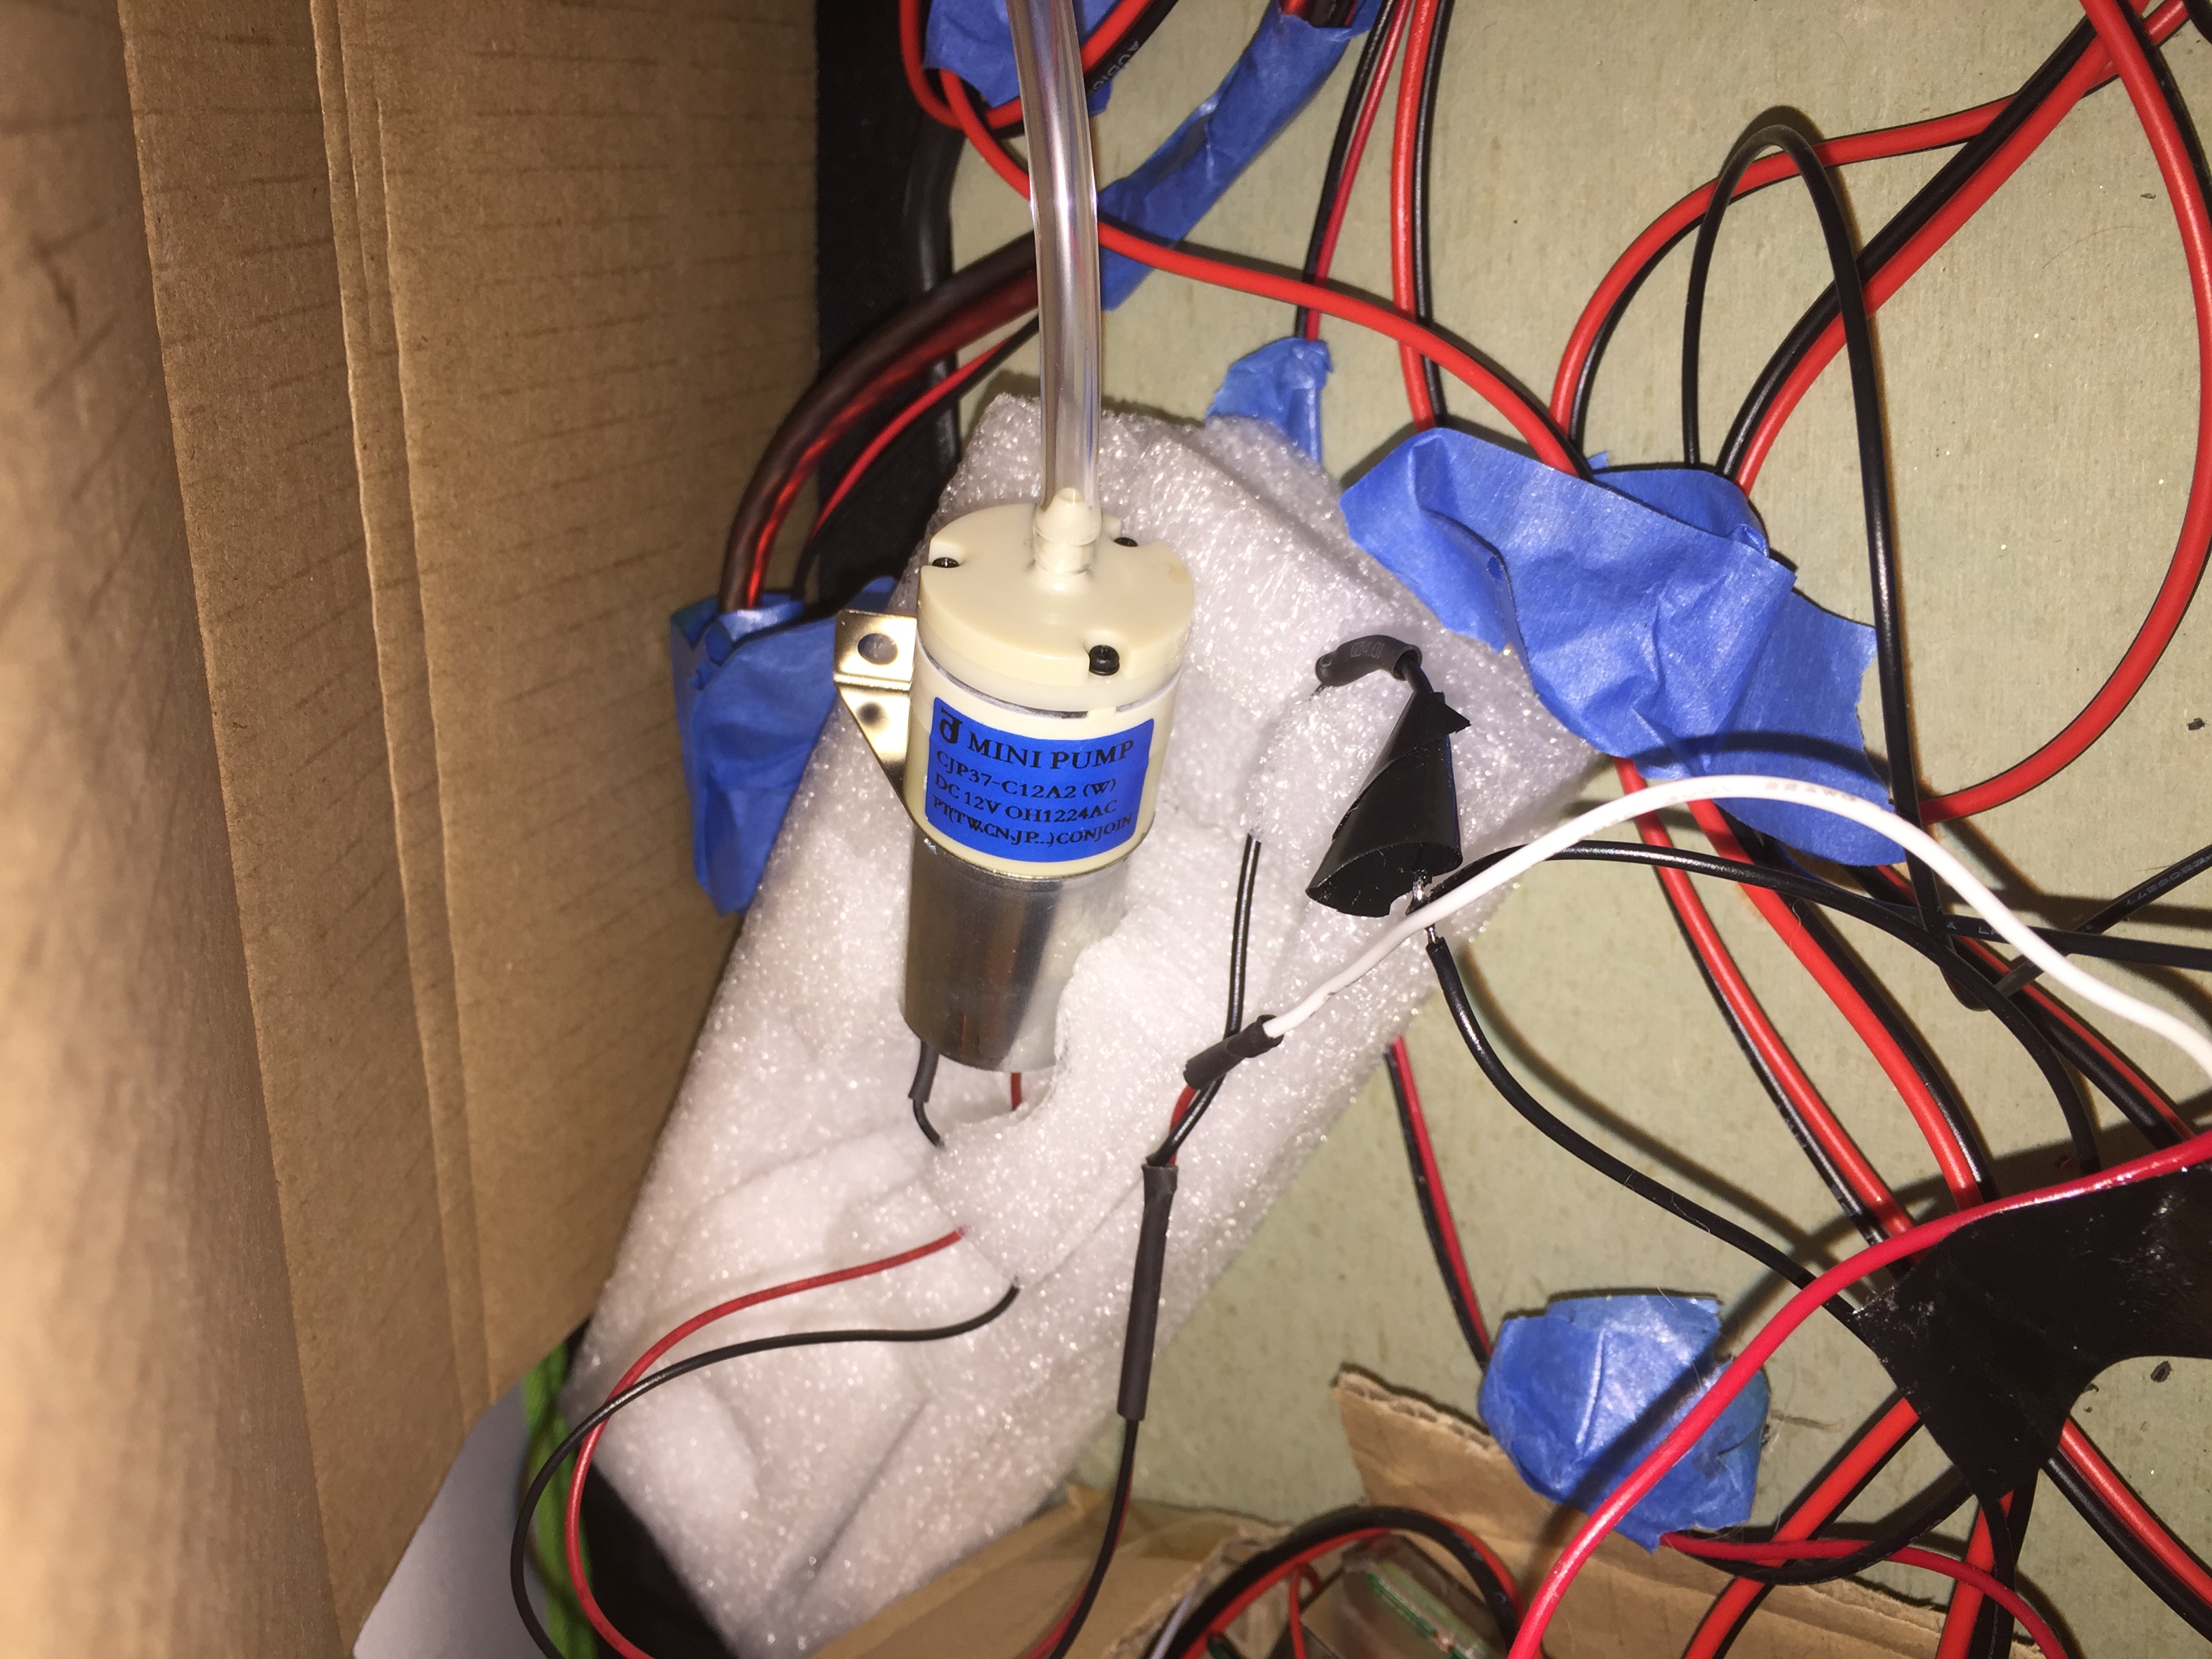
We attached a DC motor in the middle to move water up to the plant and attached the underwater heater.
water pump and water heater
July 4 2016:
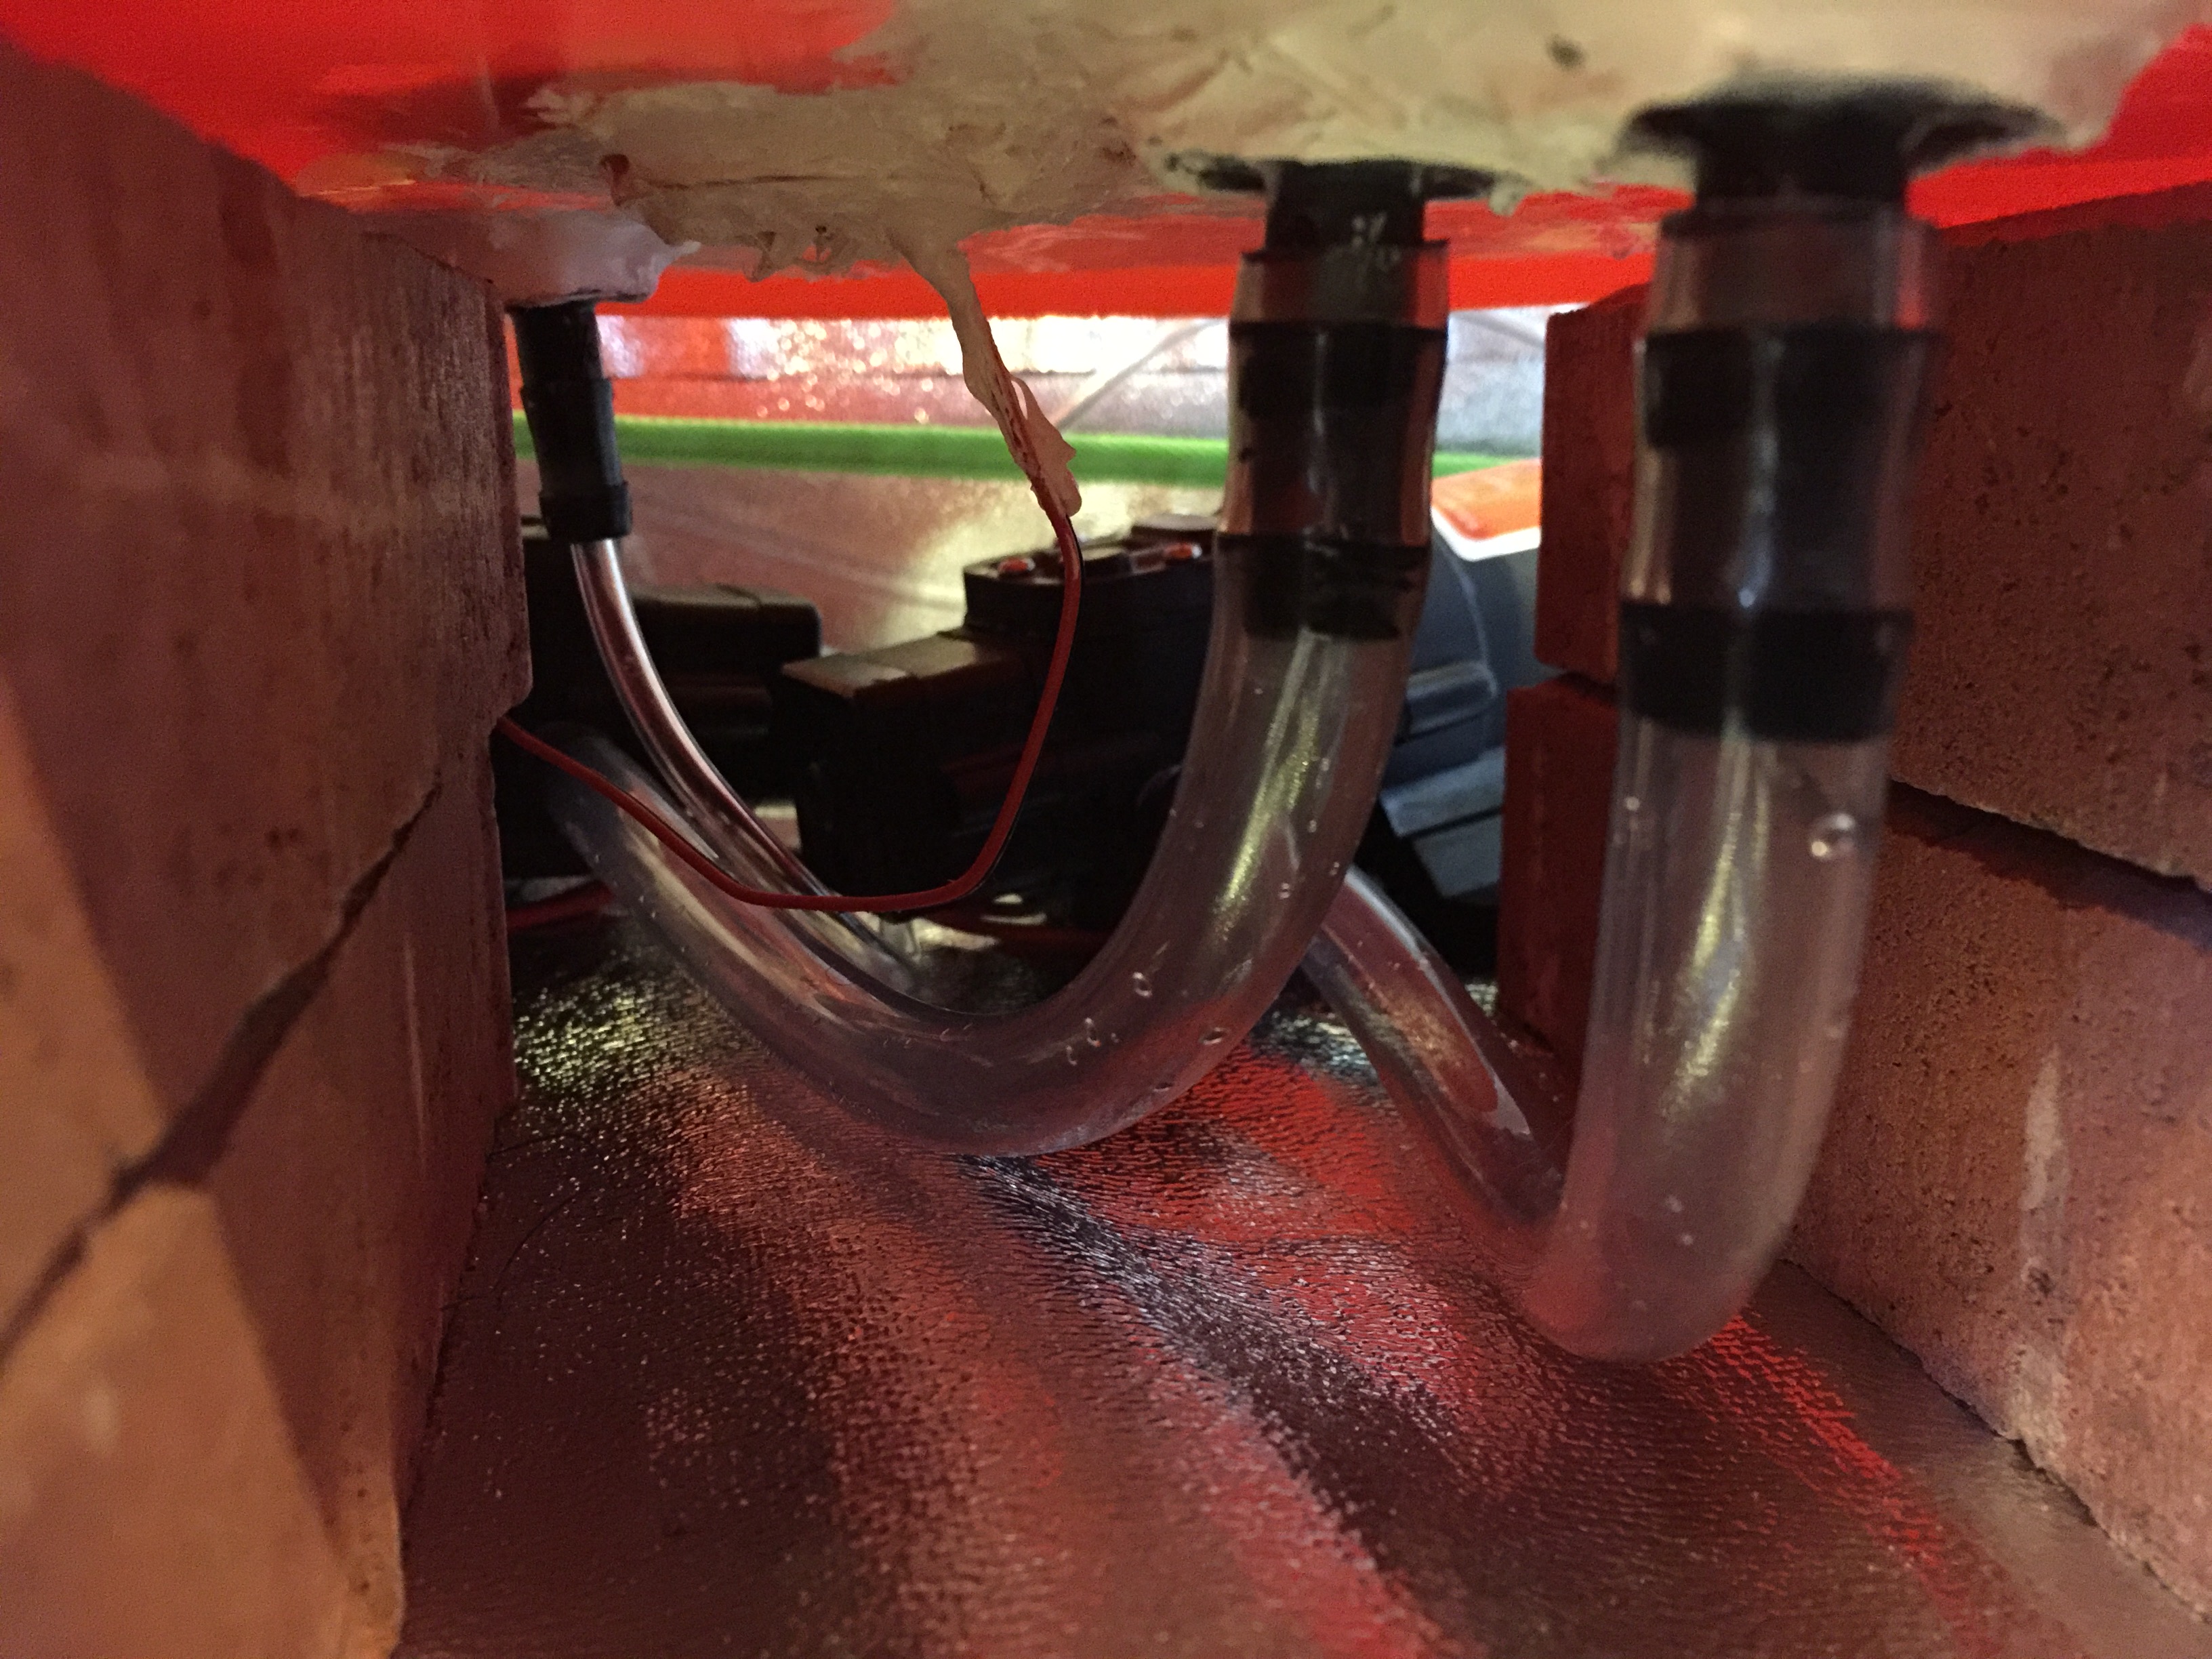
Made a tubing that would get water from the DC water pump to the plant.
Tubing for water flow to plant
July 7 2016:
We received my raspberry pi relay.
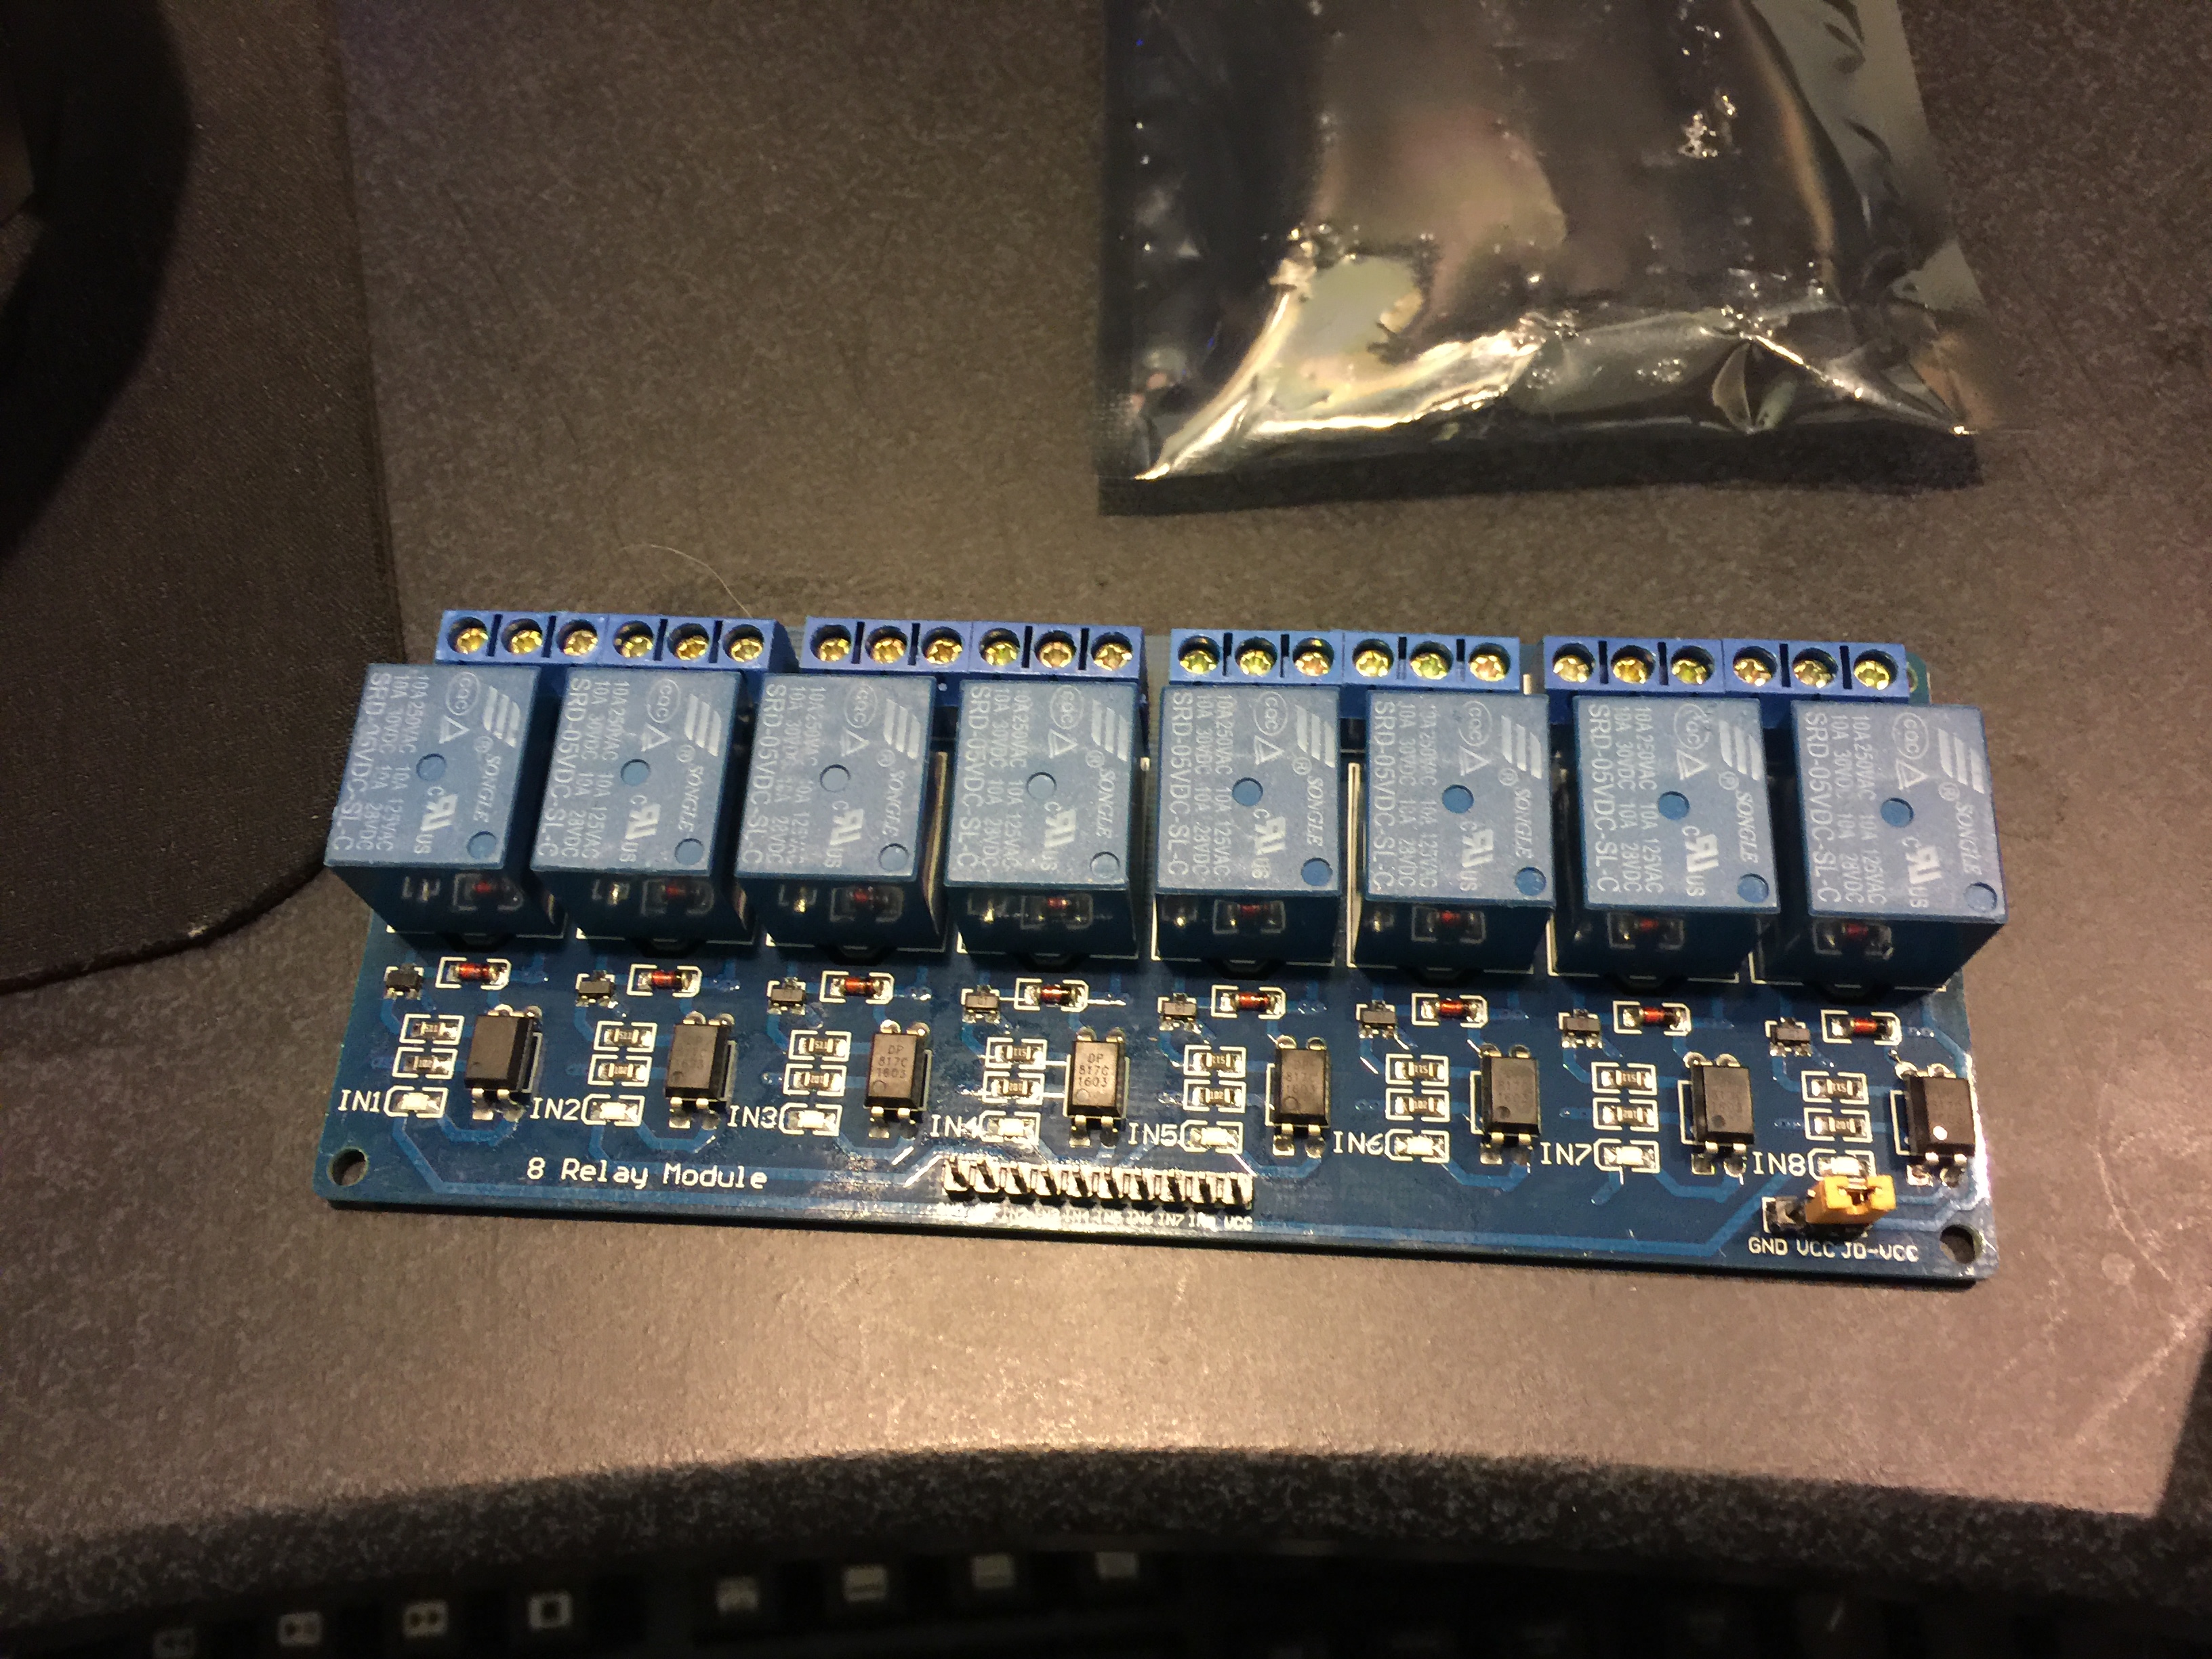
8 terminal relay
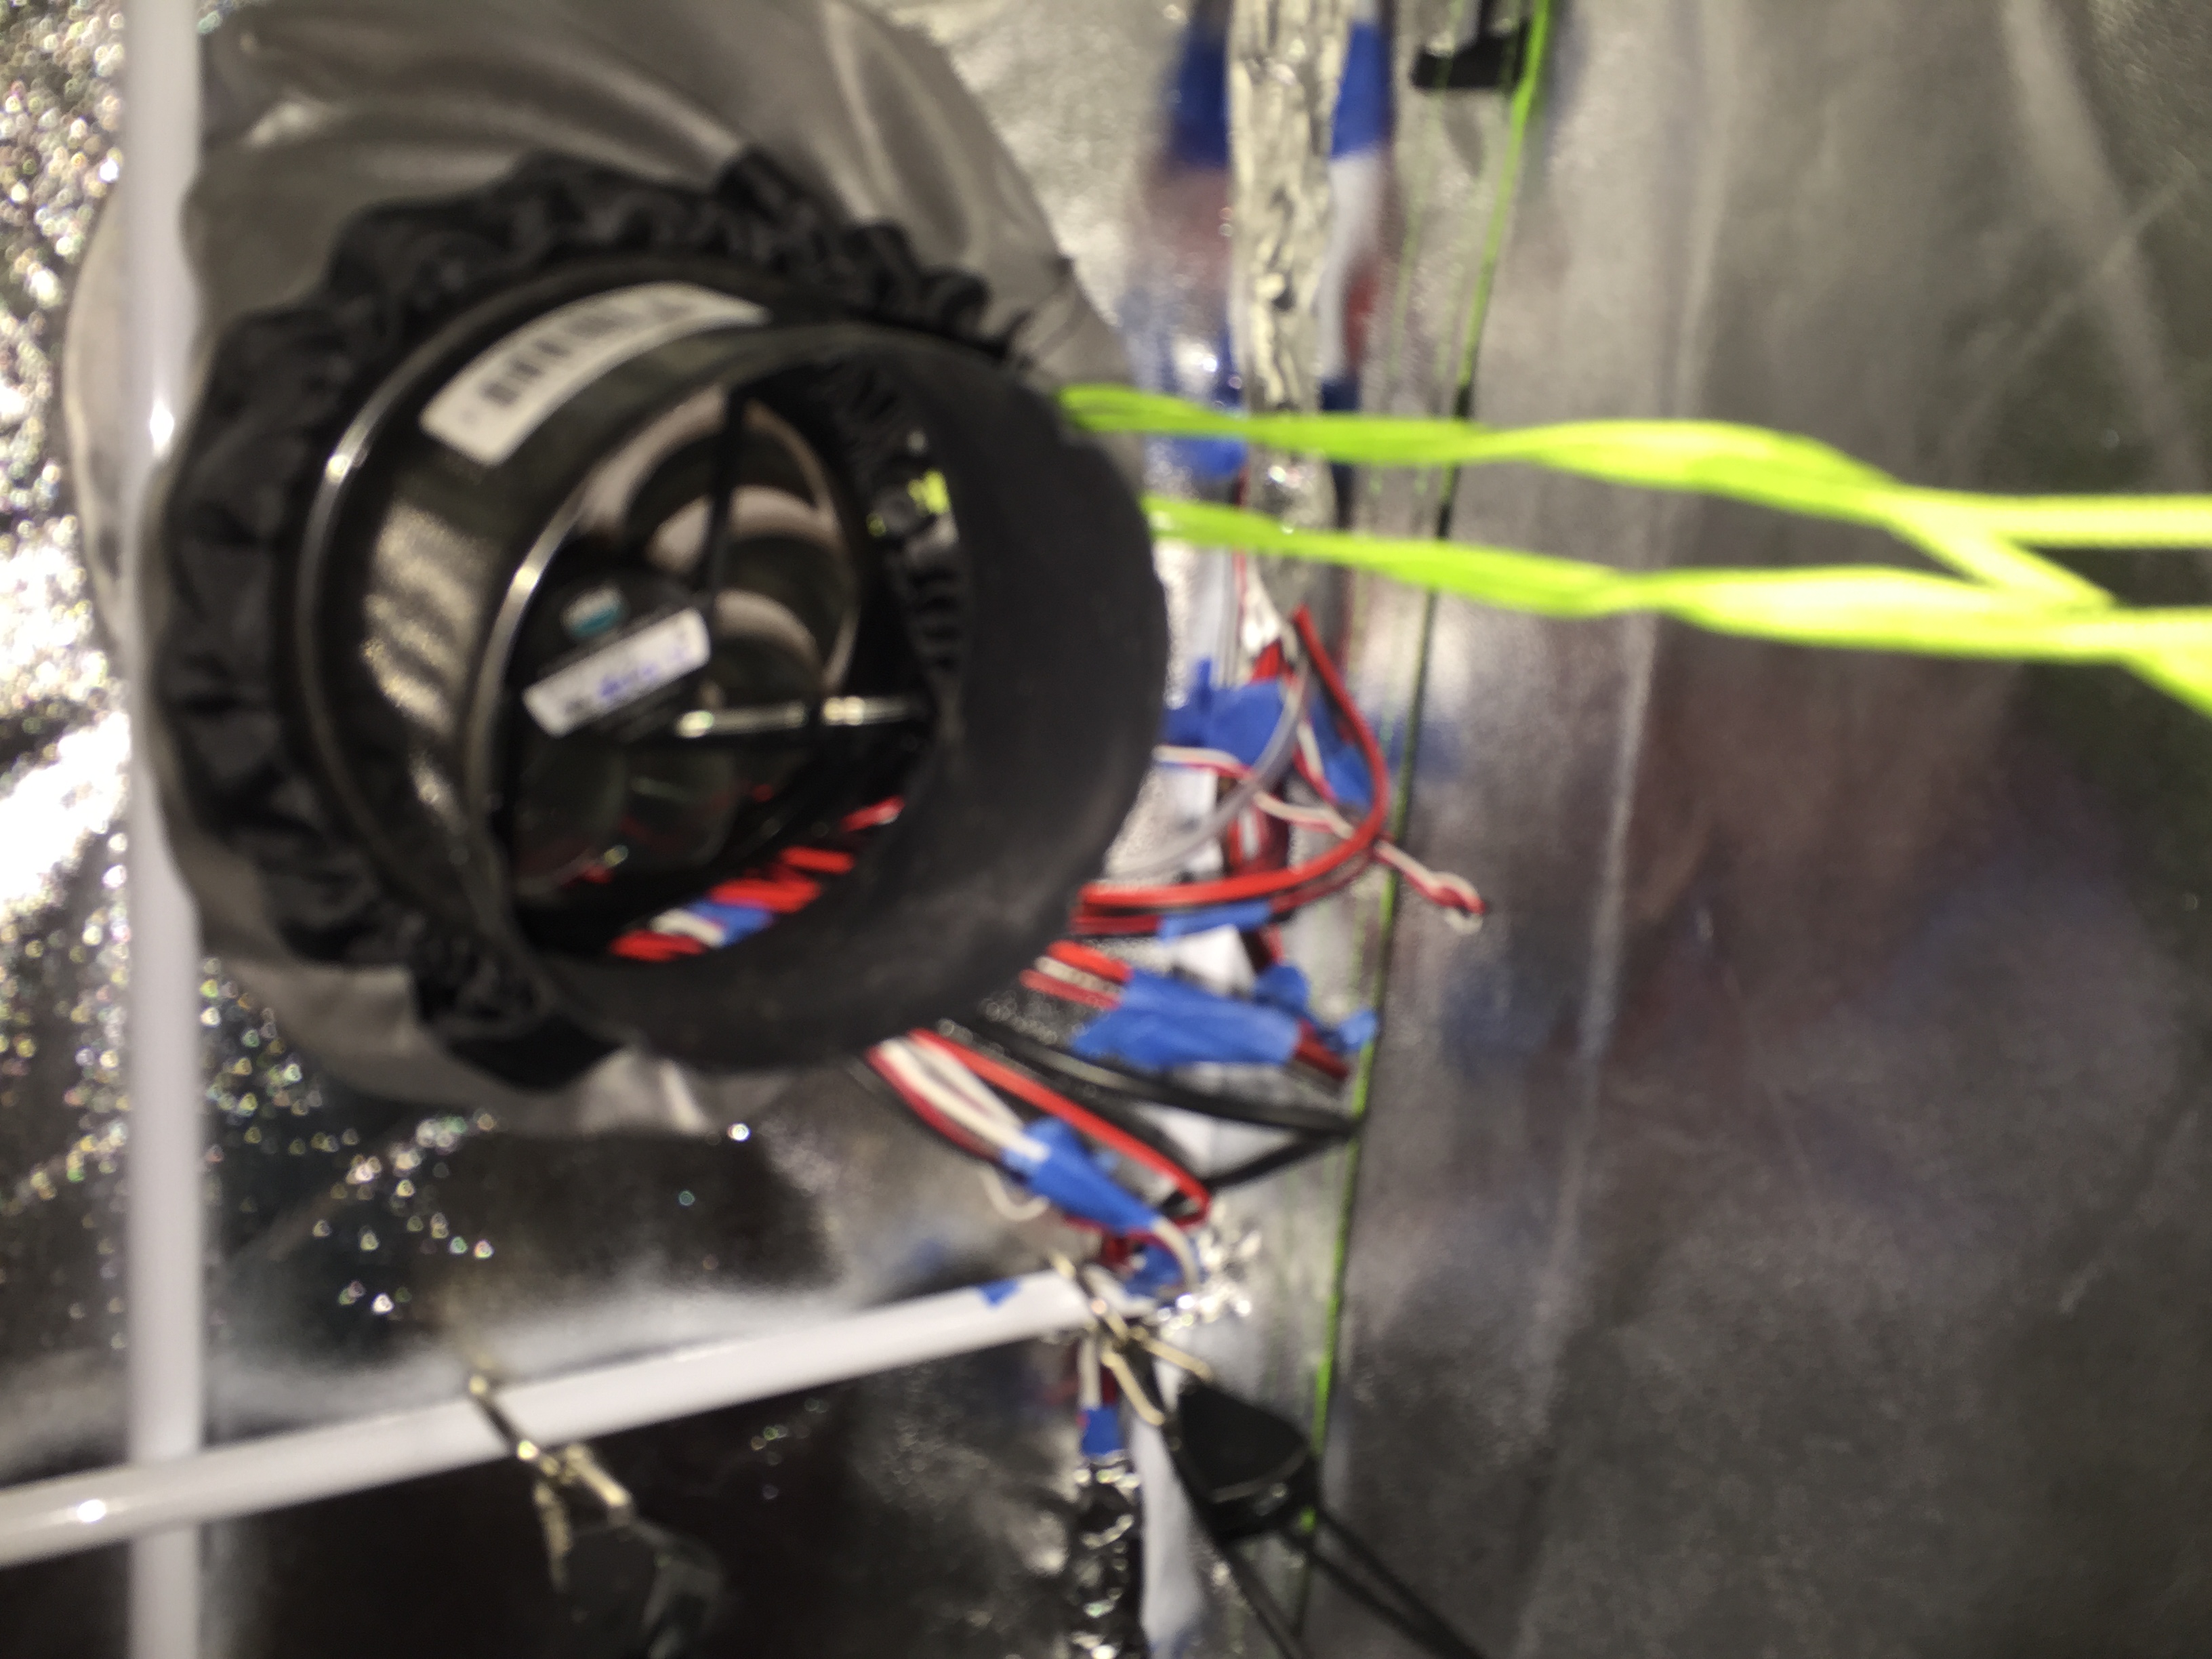
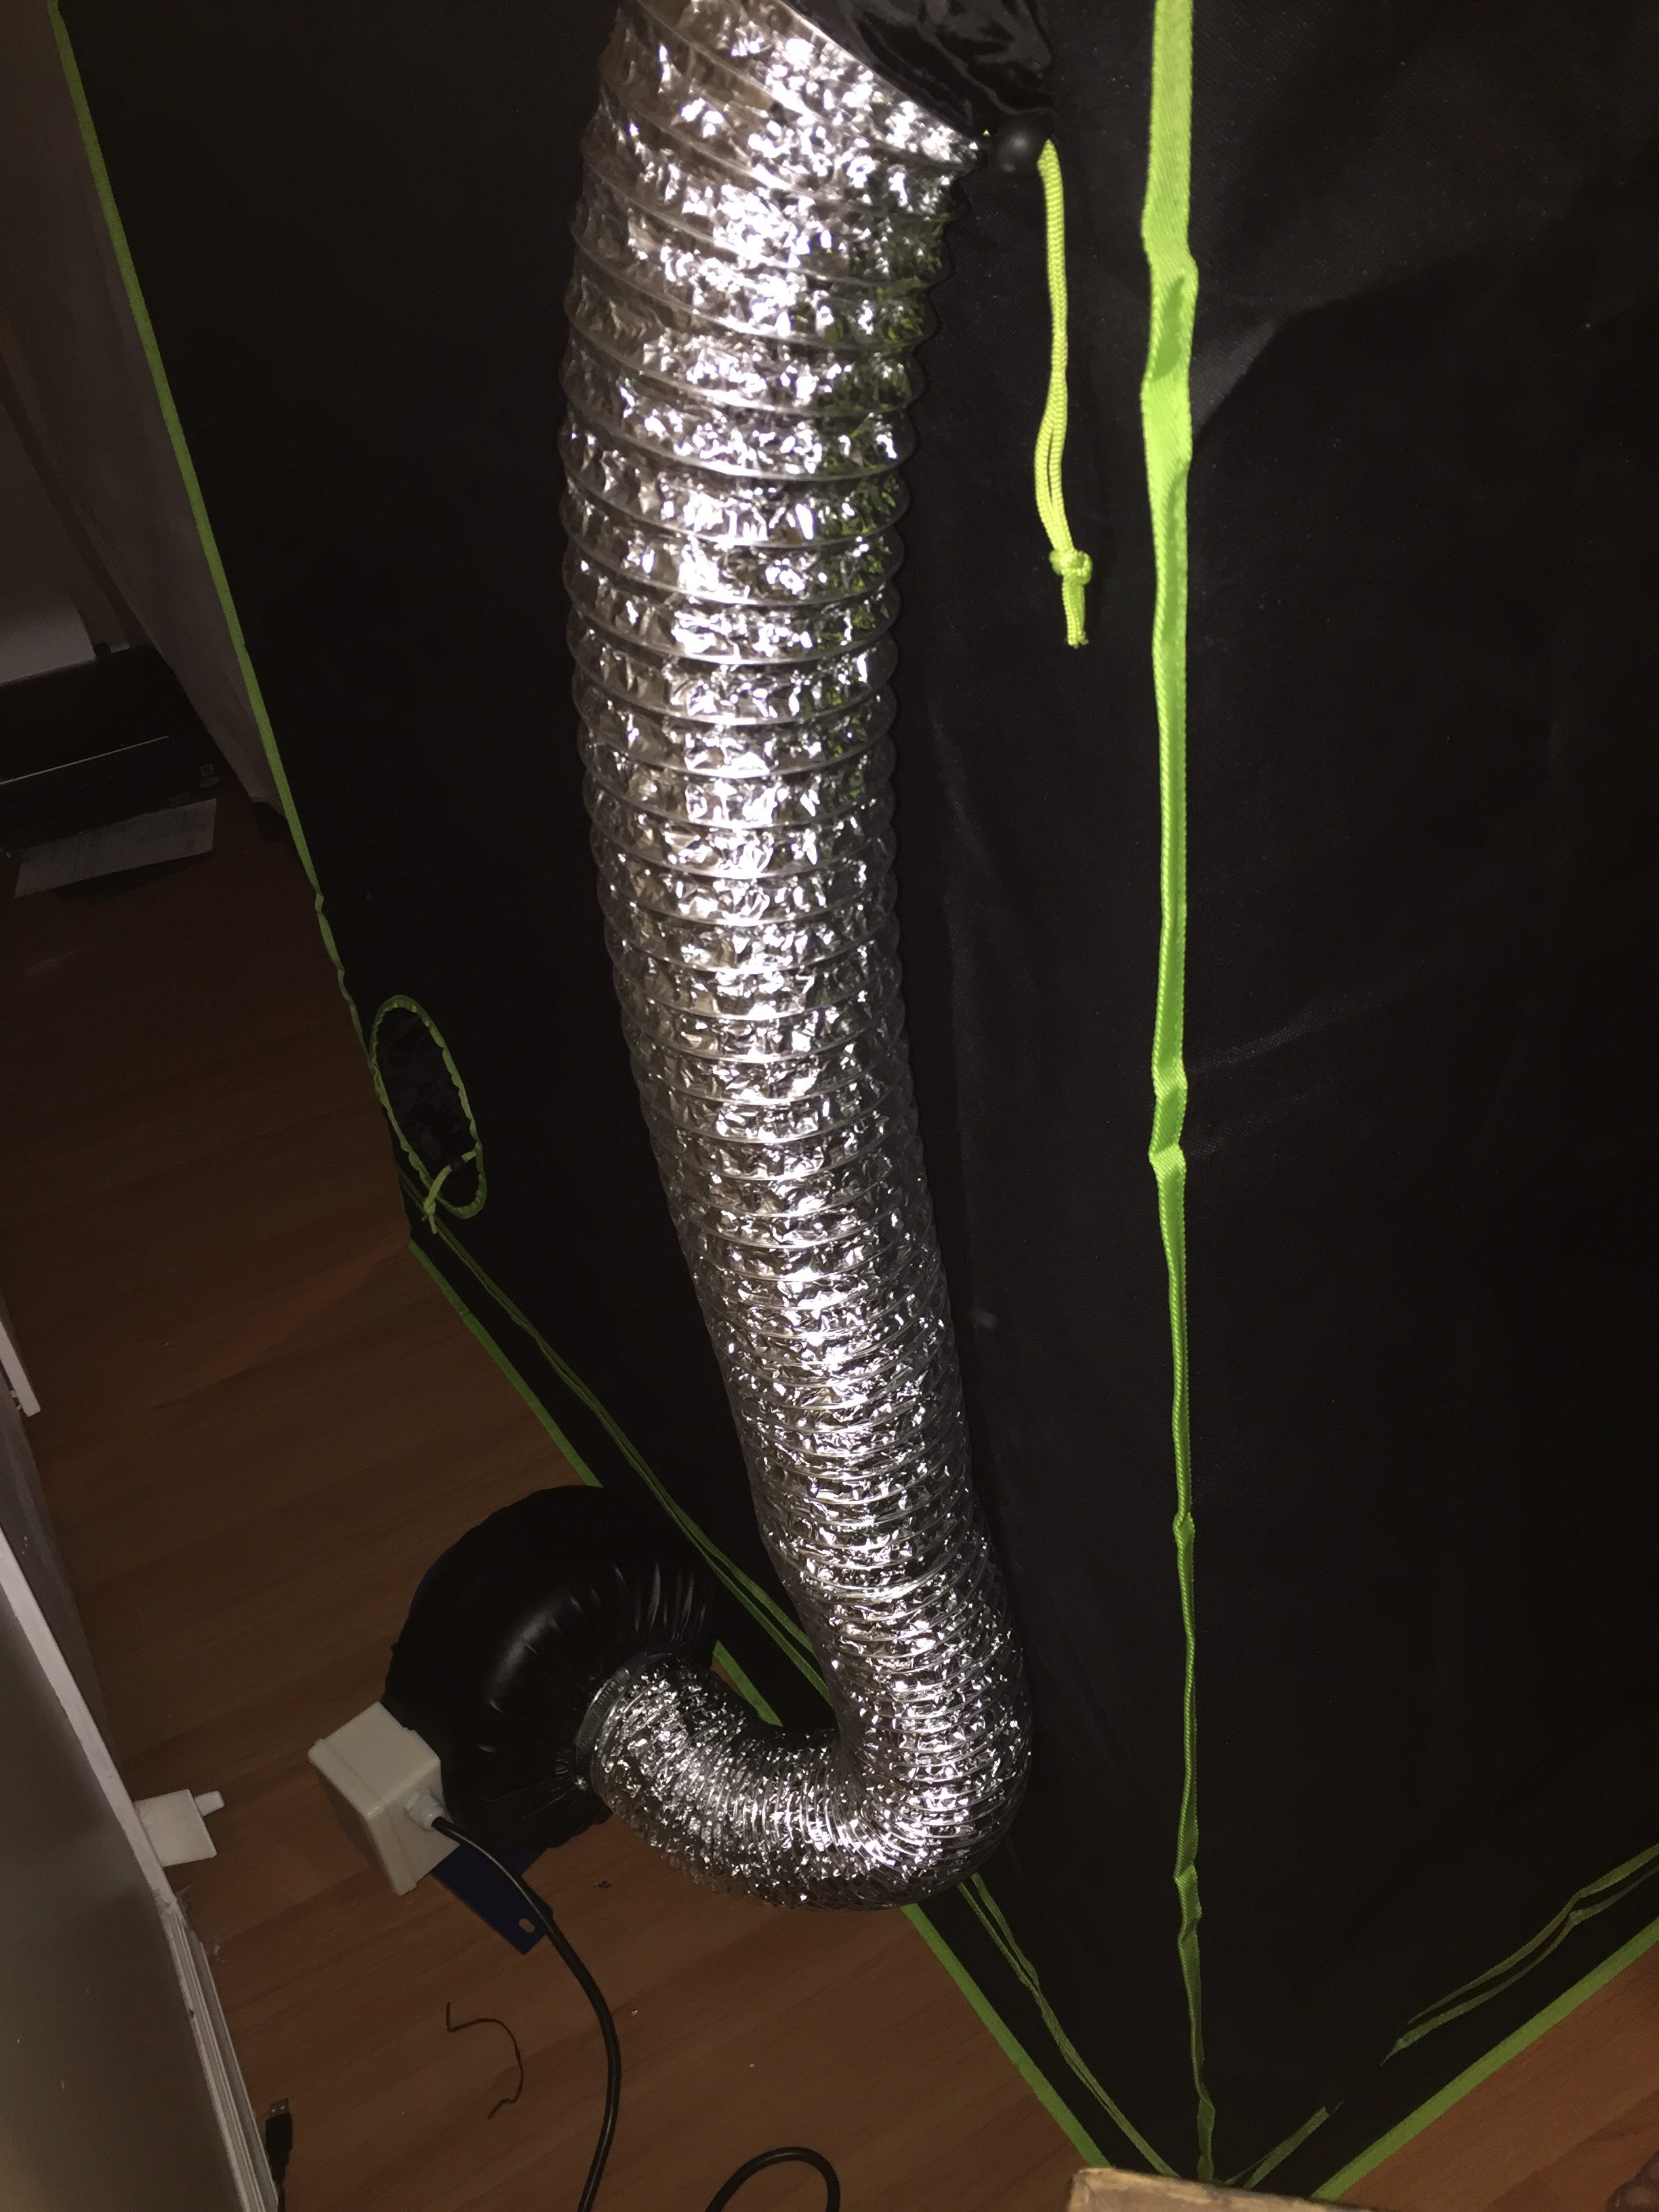
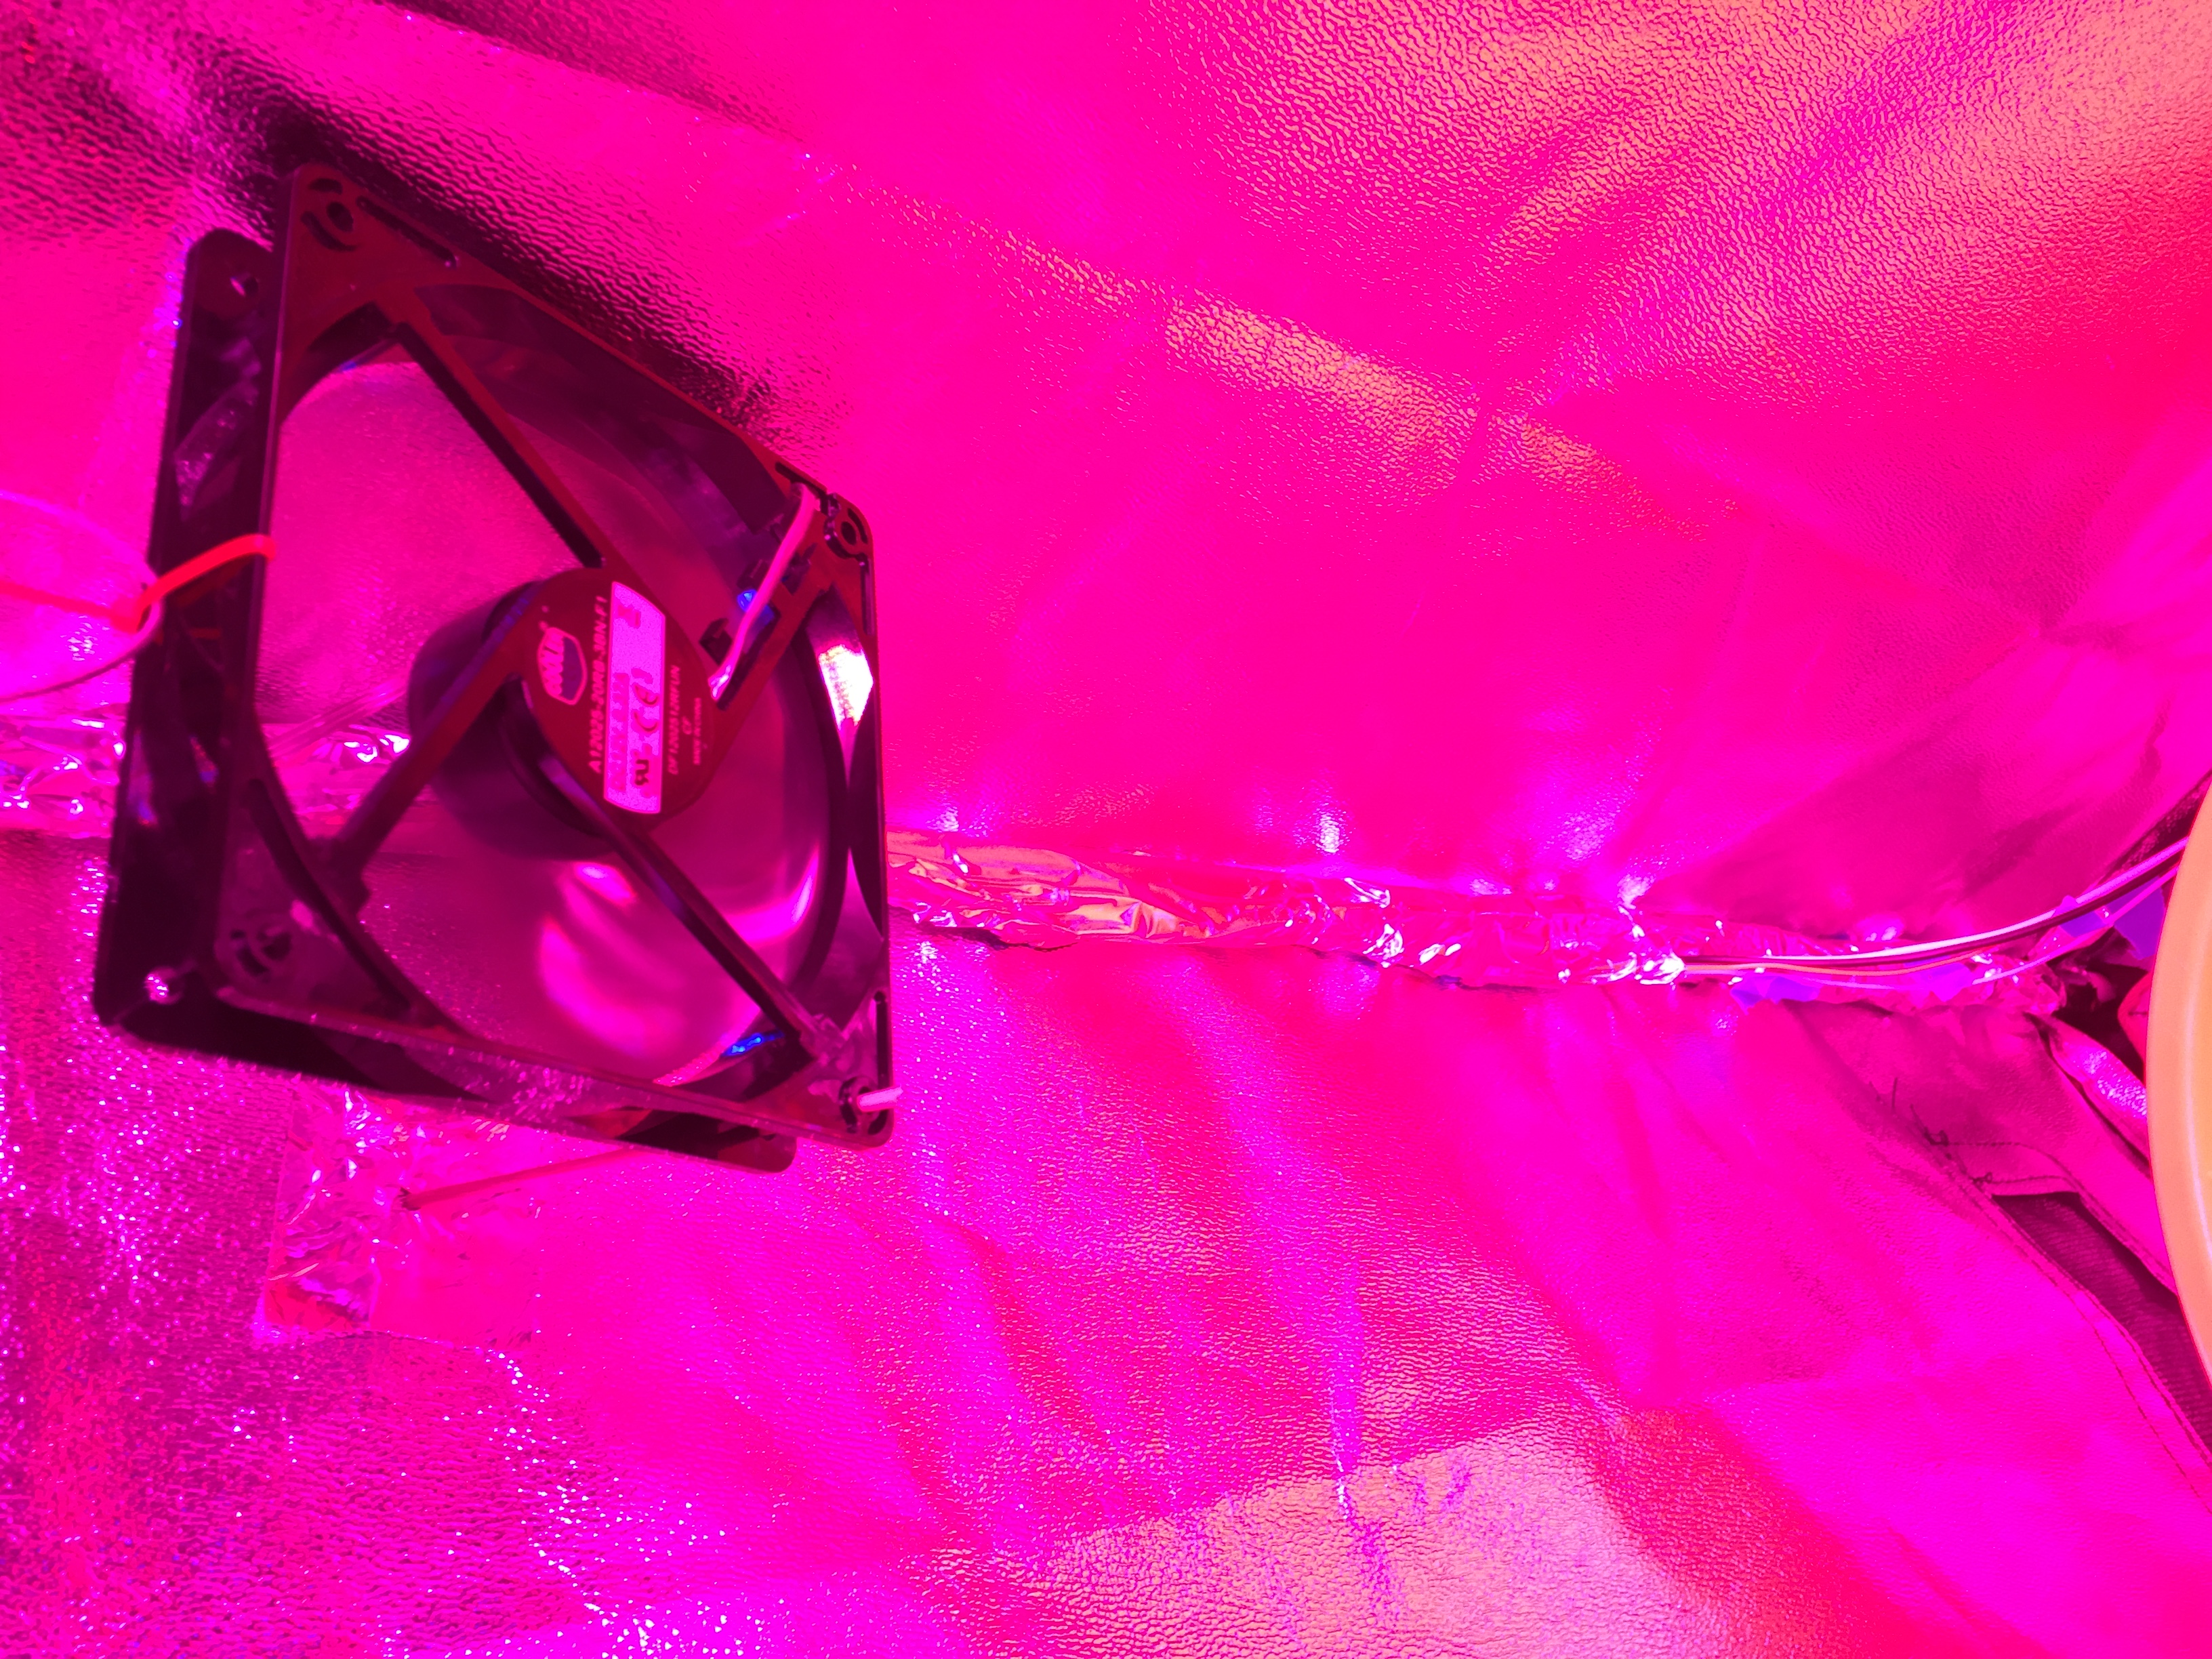
Justin set up the fans for the ventilation inside the grow tent as well as the exhaust fan and intake fan.
Connecting wires part 1
Connecting wires part 2
Connecting wires part 3
Finished.
We did this step 4 times for my motors: intake, exhaust, ventilation, and the last one which was a parallel circuit from the Motor HAT with the air pump and the DC water pump.

The finished Motor HAT
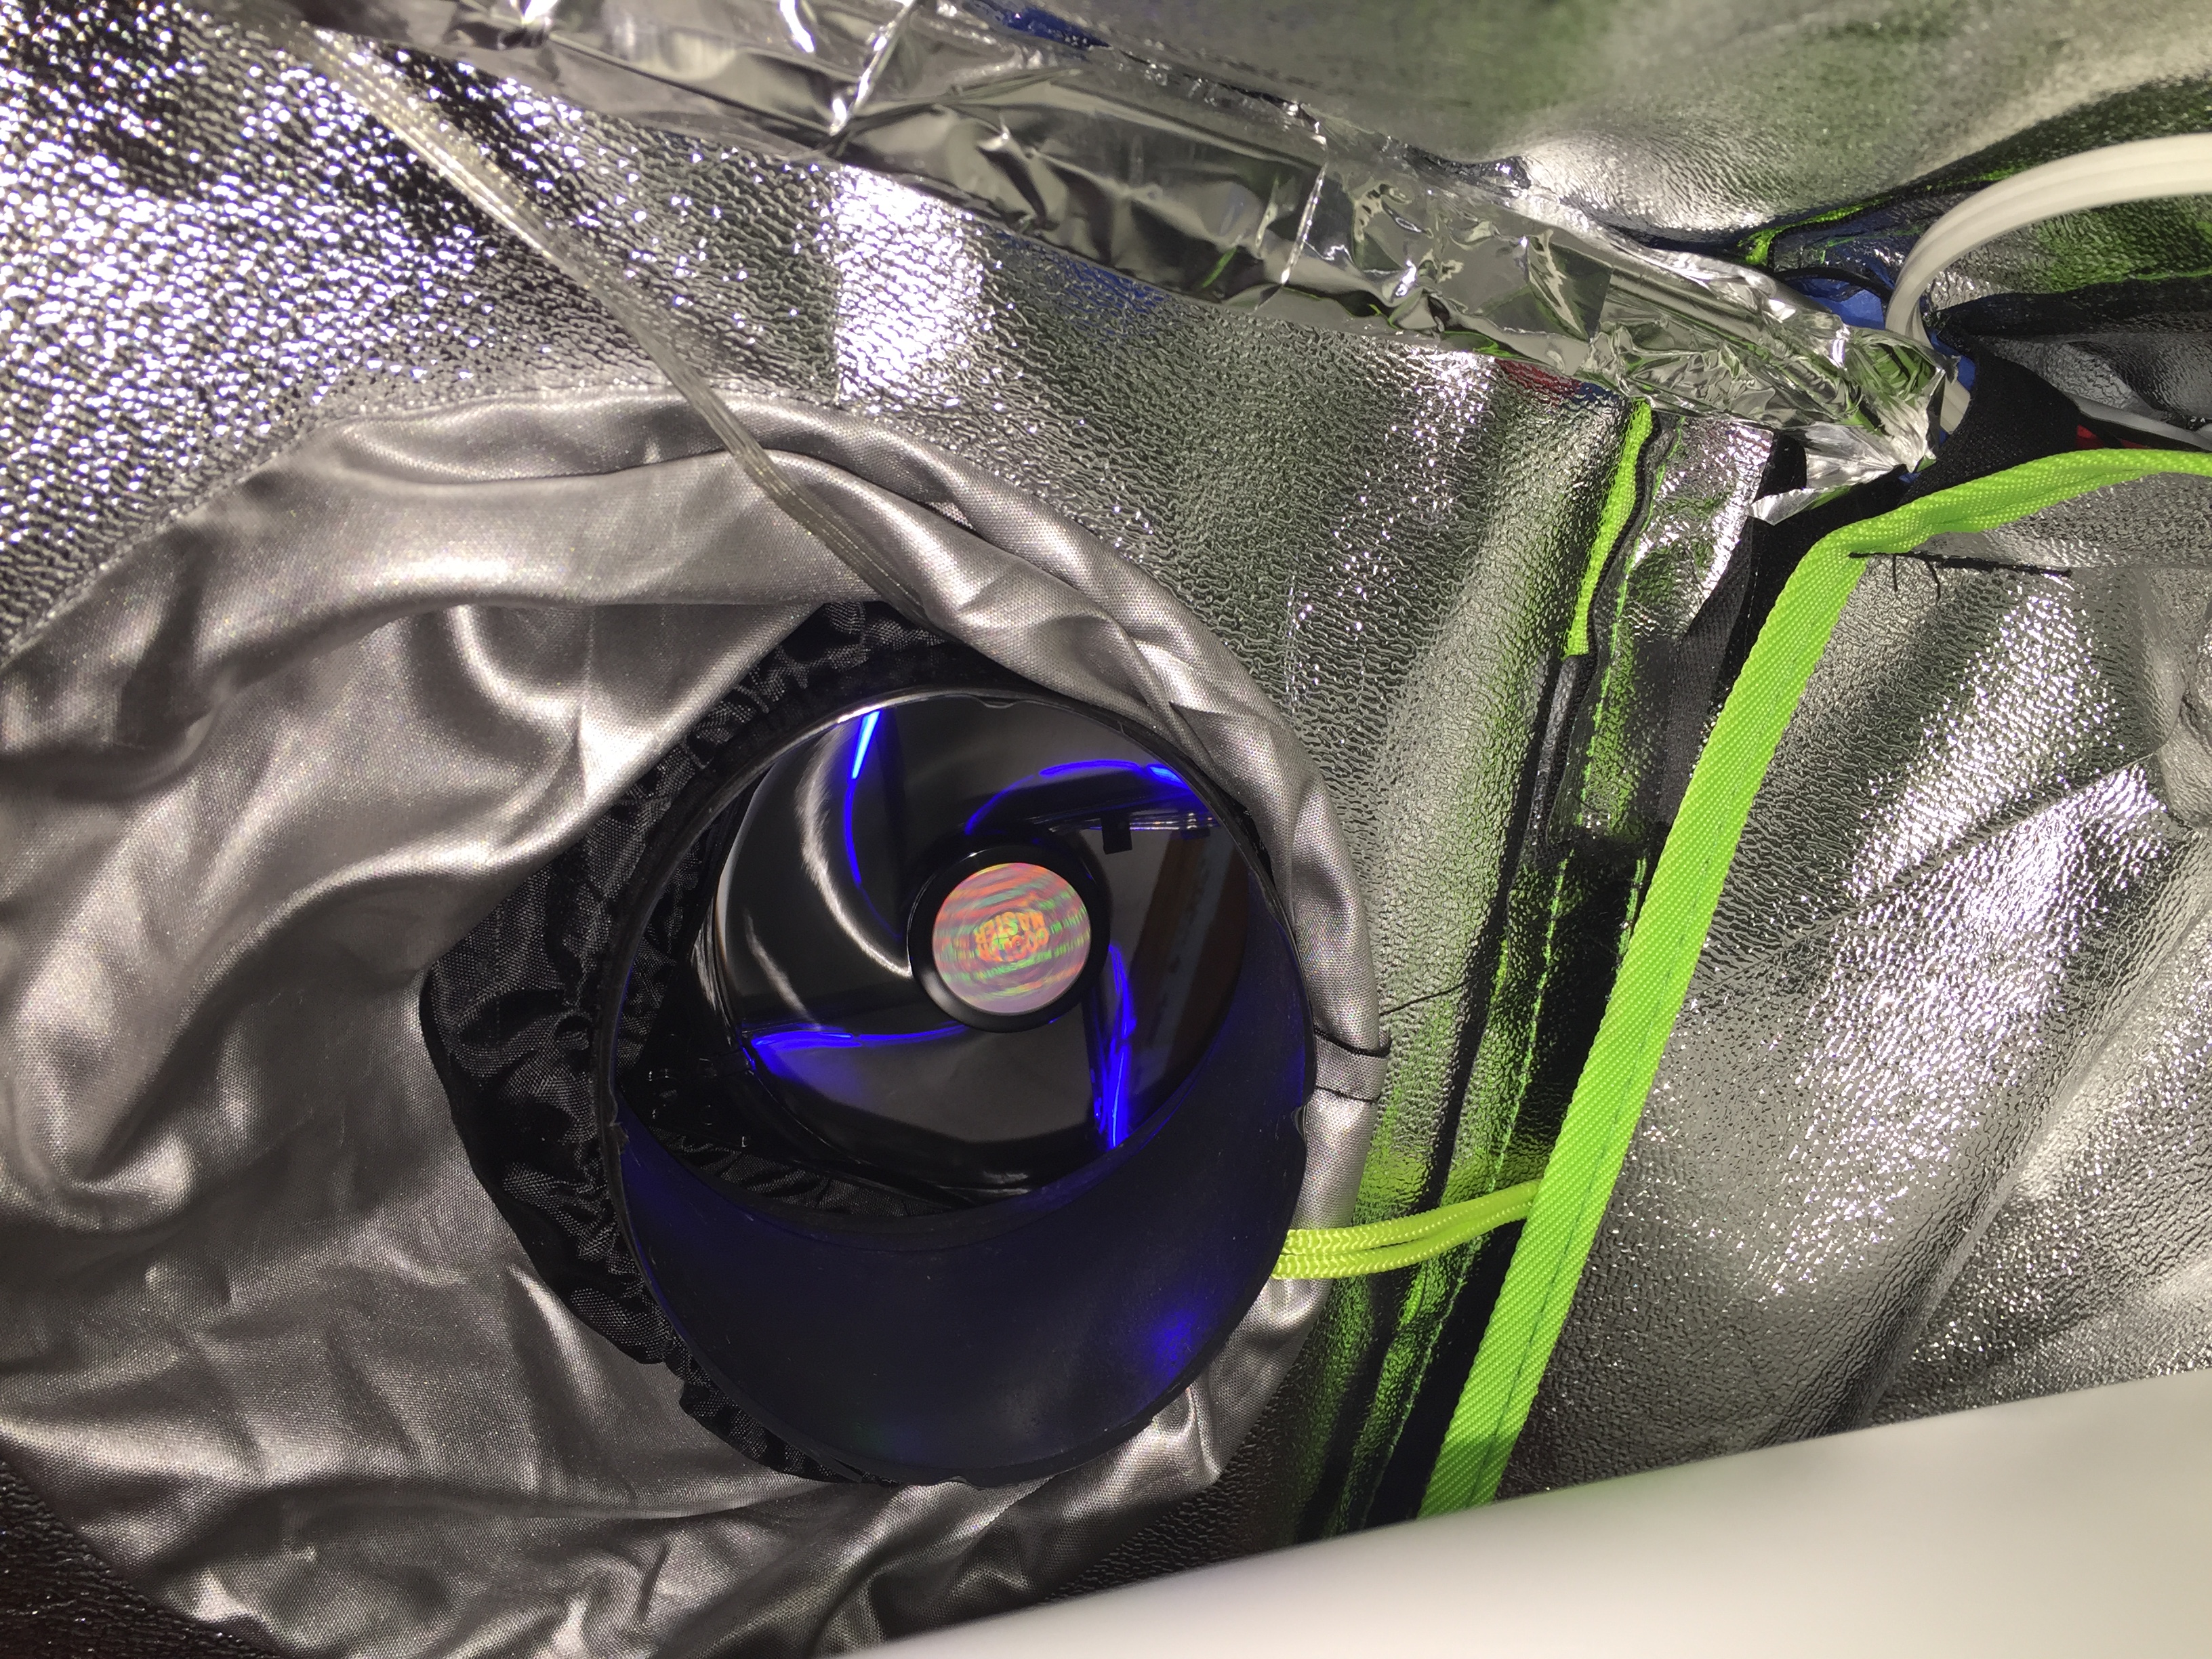
Intake fan placement
Exhaust fan placement
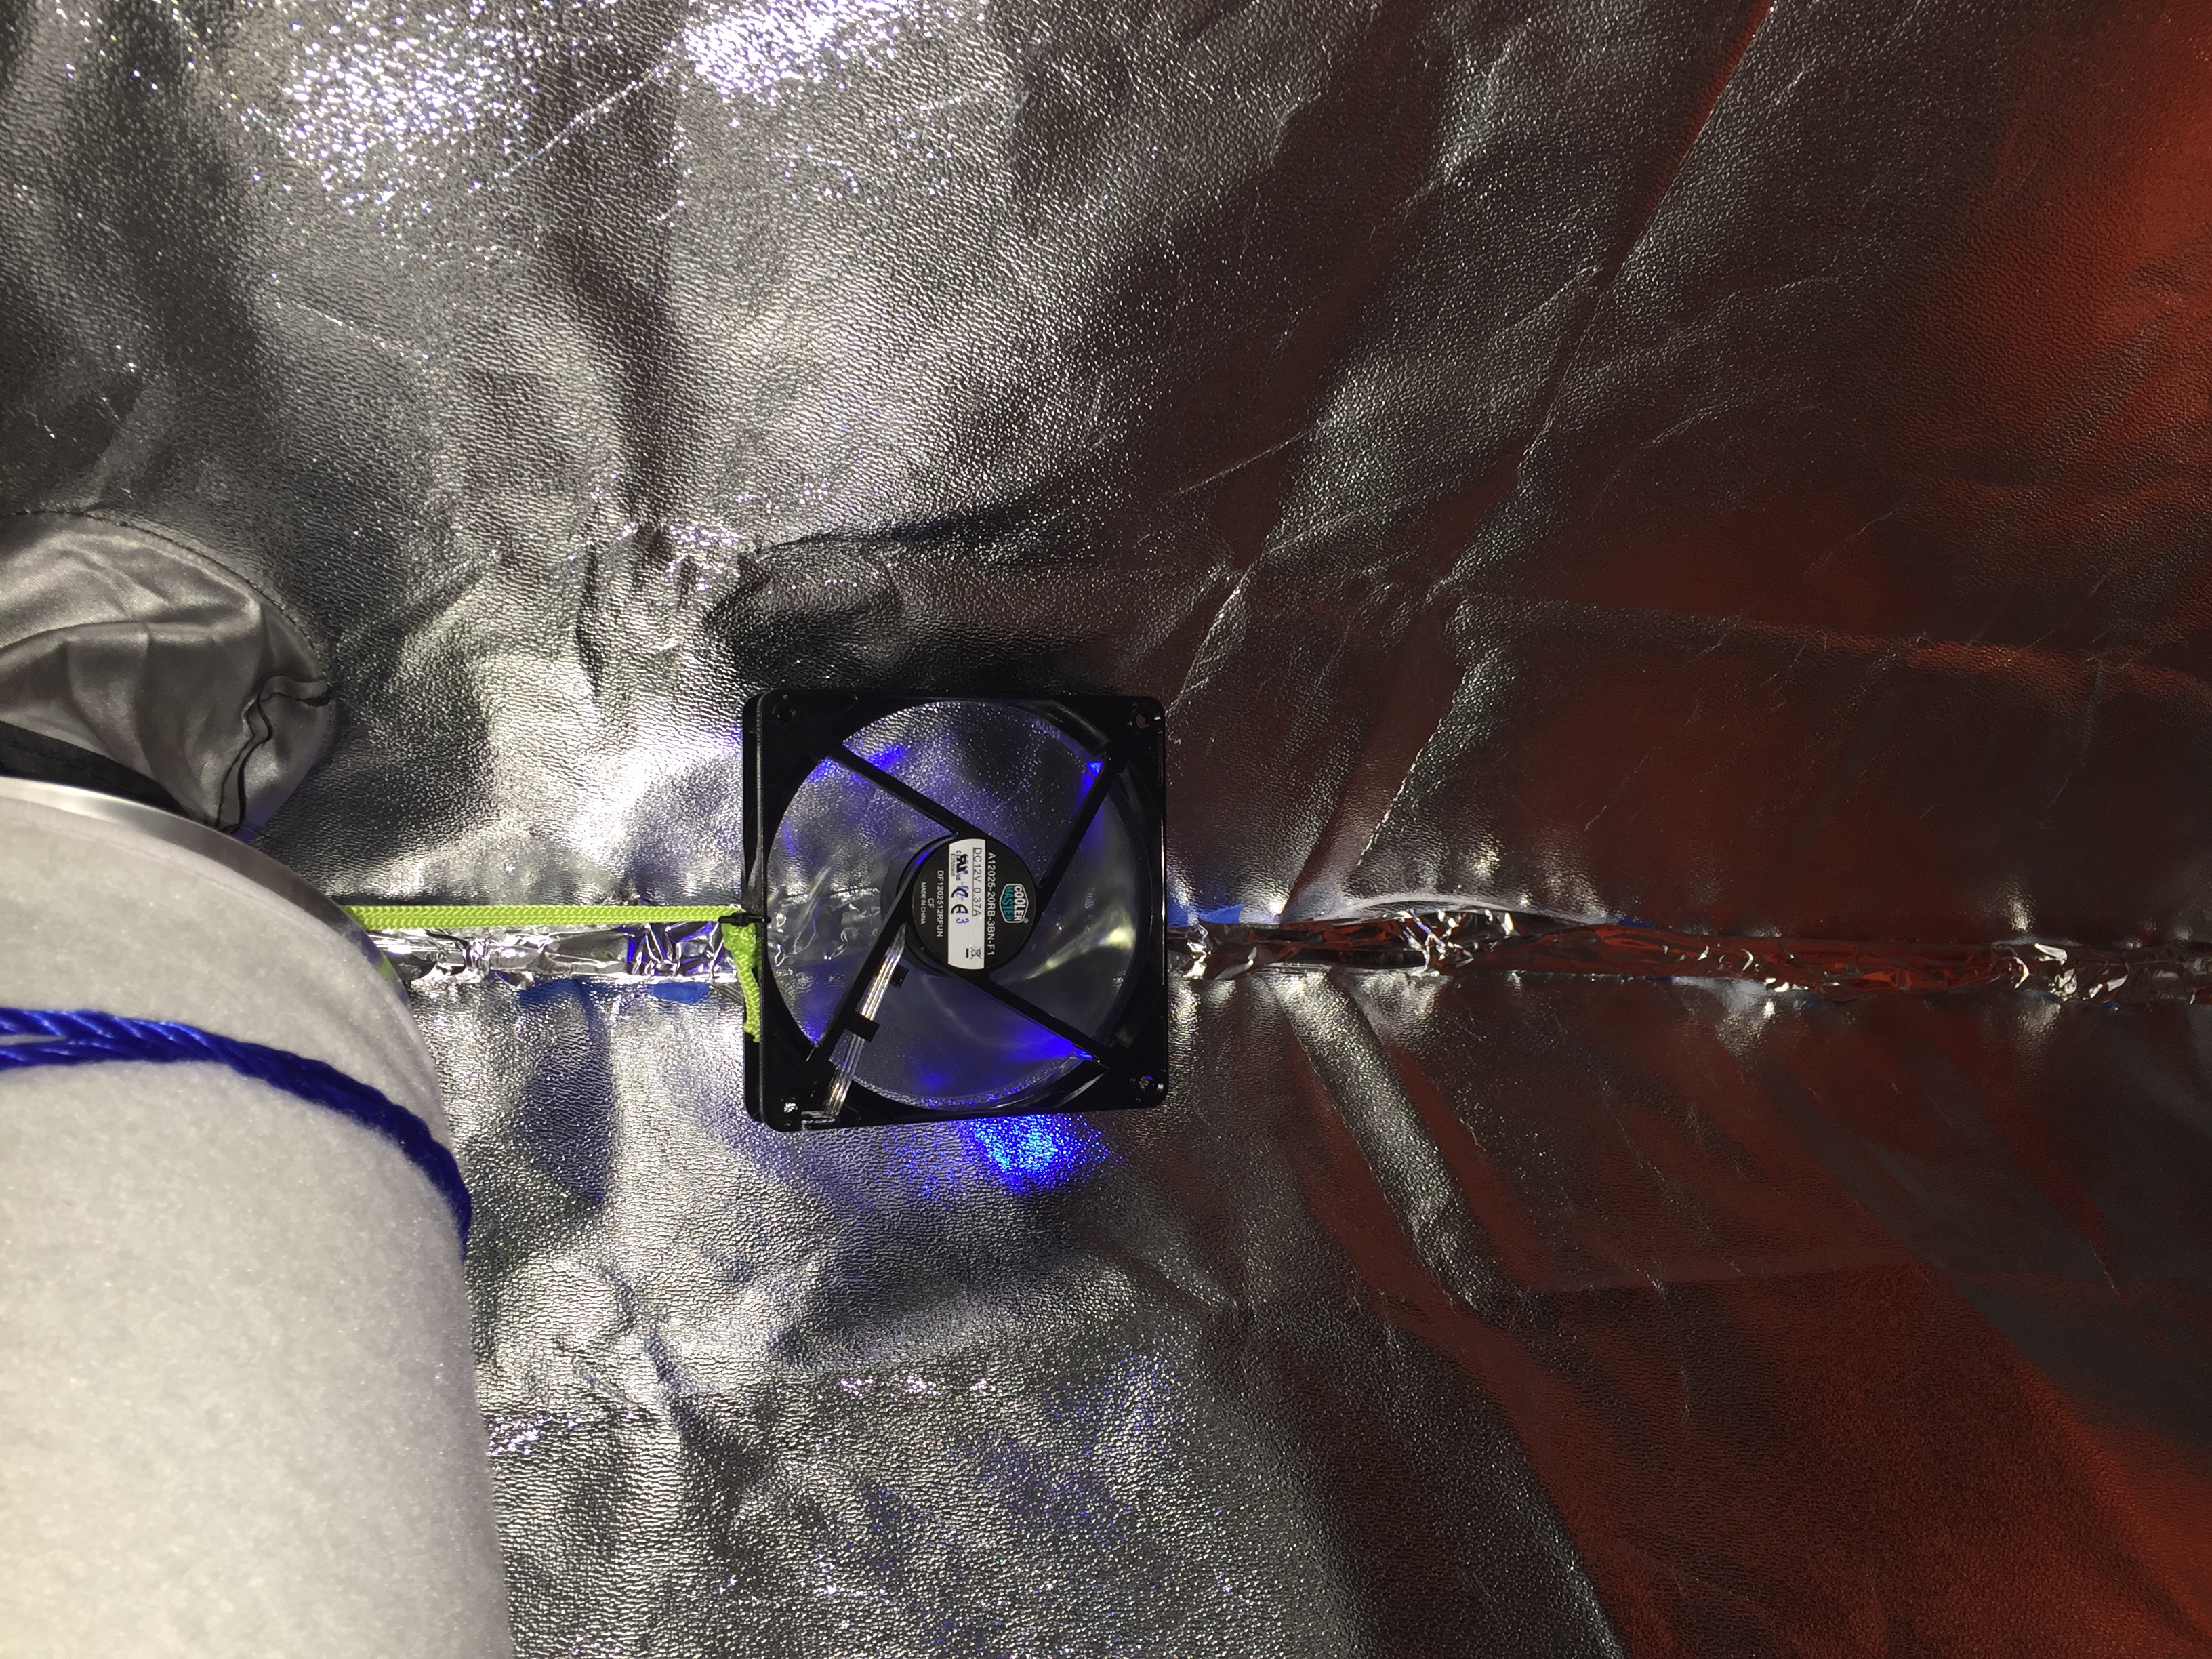
Ventilation fan placement
Testing out Circulation:
Testing out dc 6v air pump:
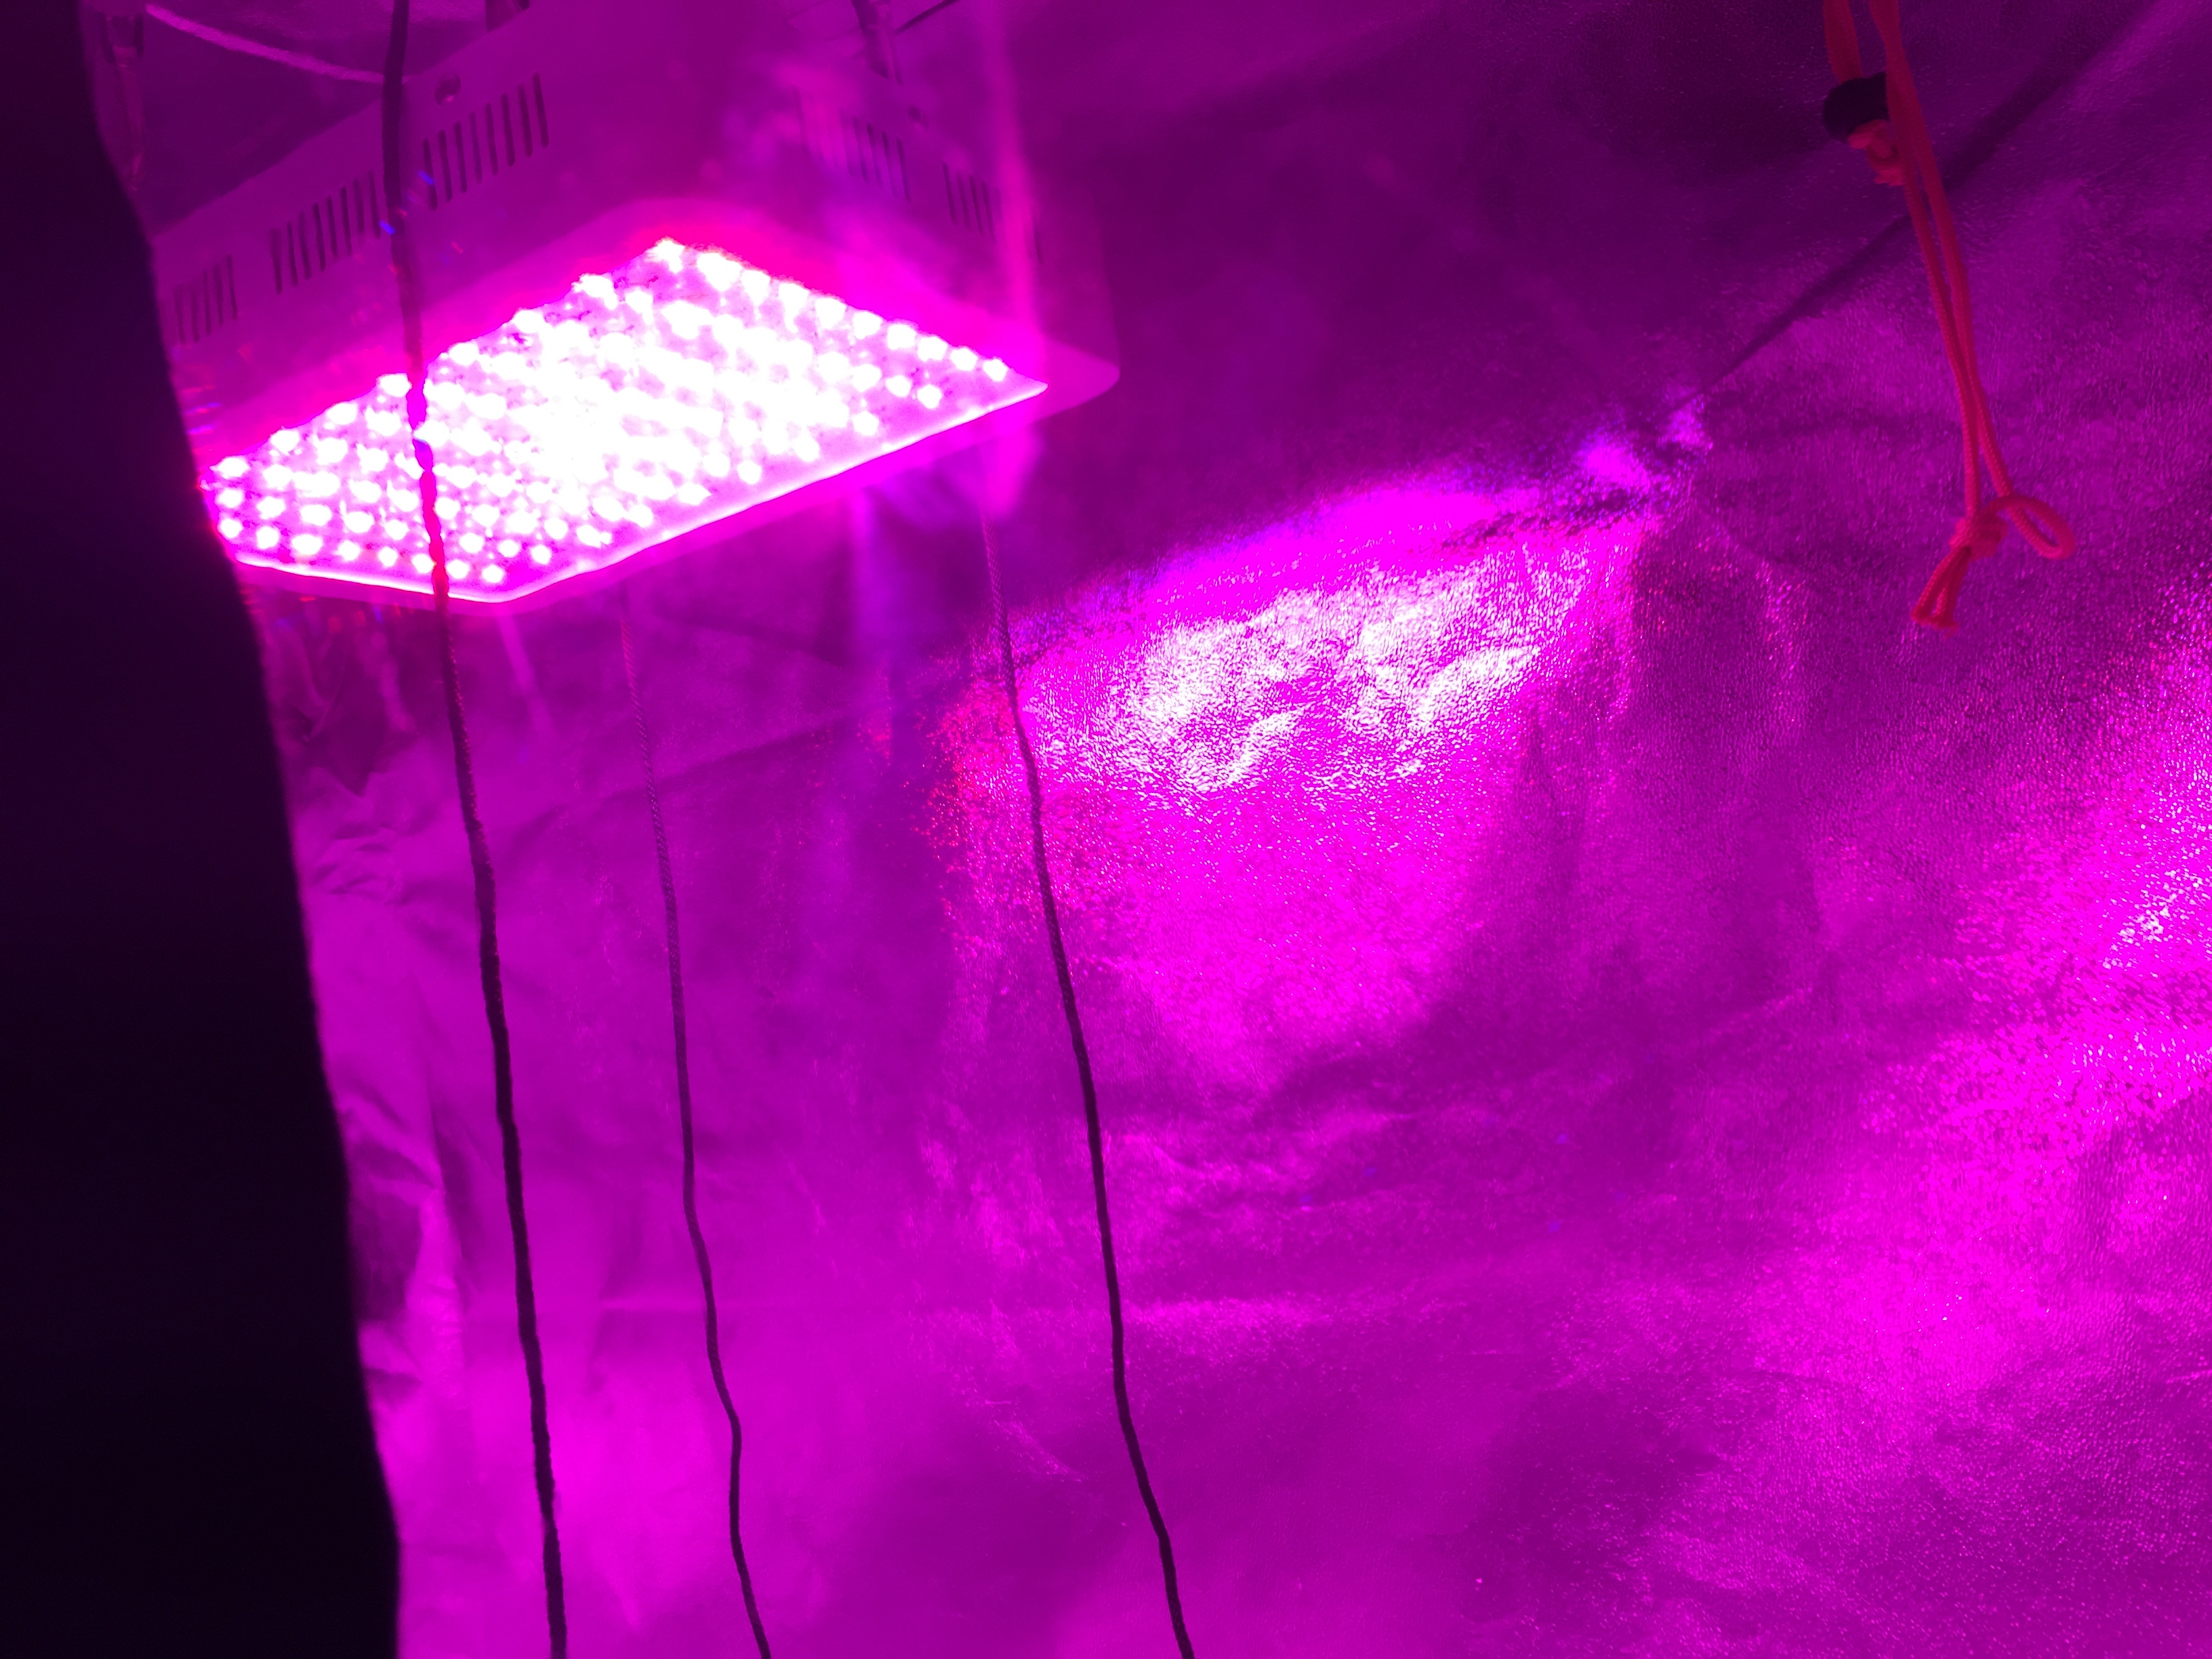
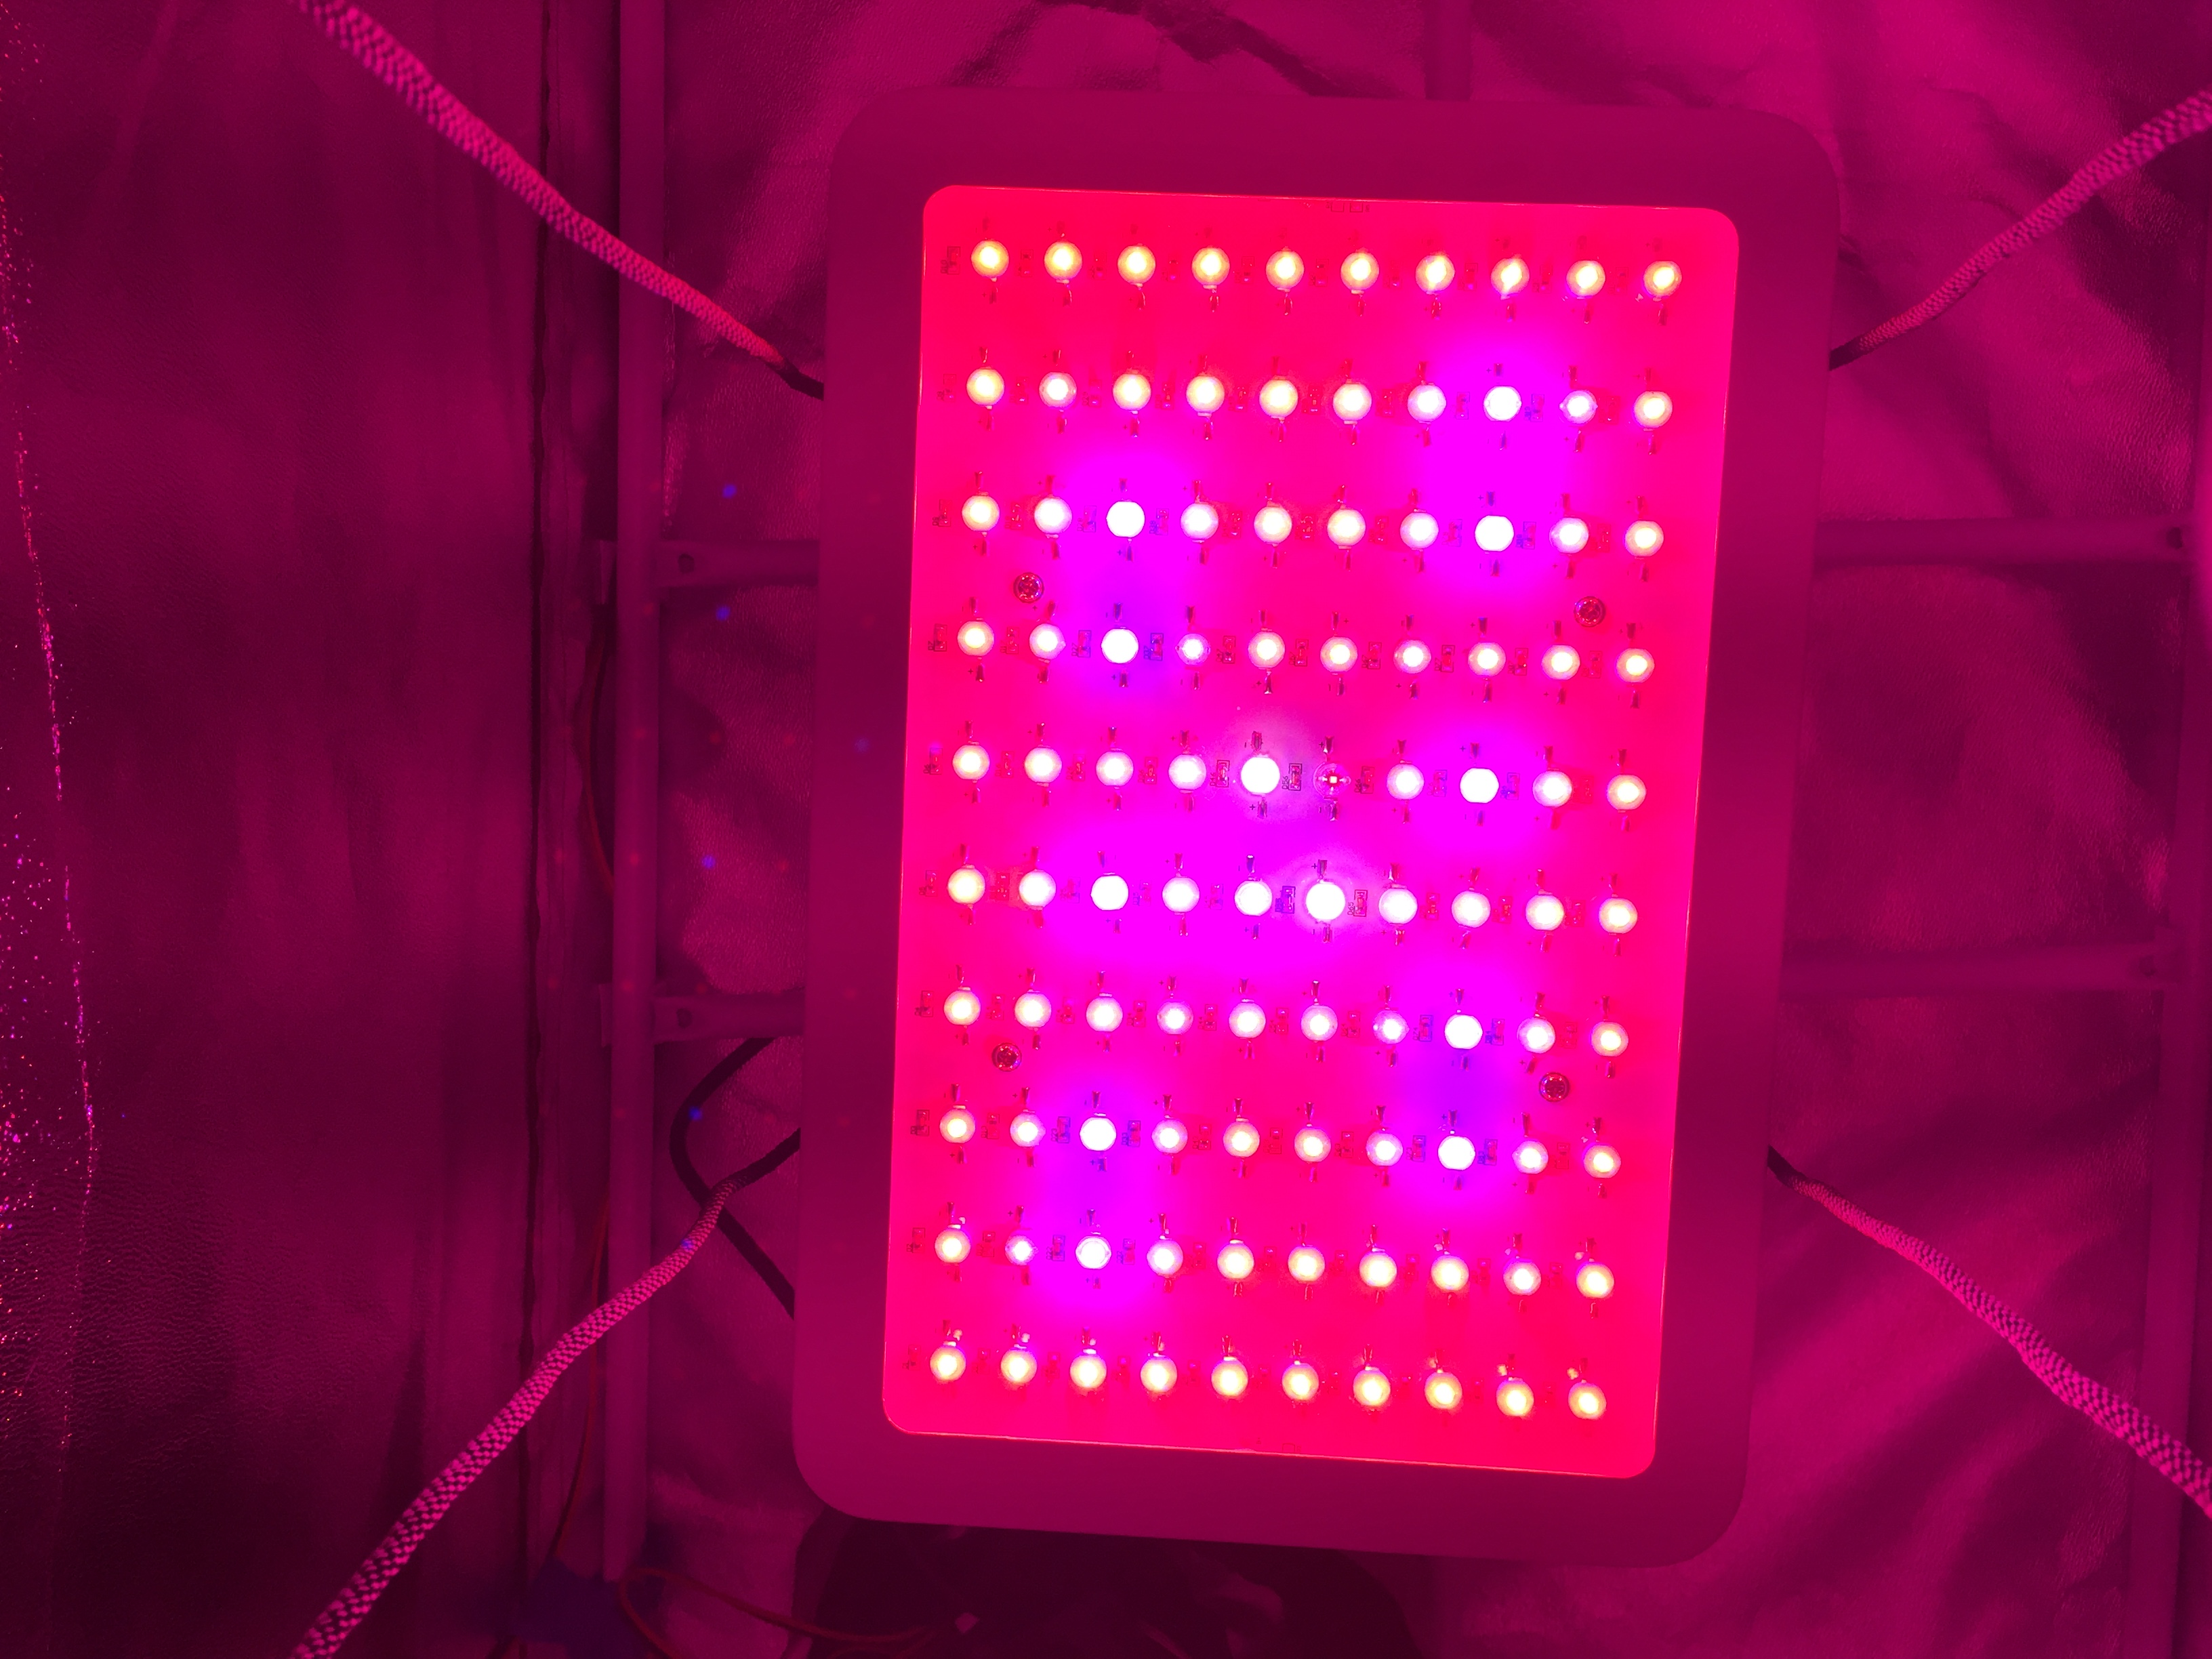
July 9 2016:
We received the grow lights and tested it out:
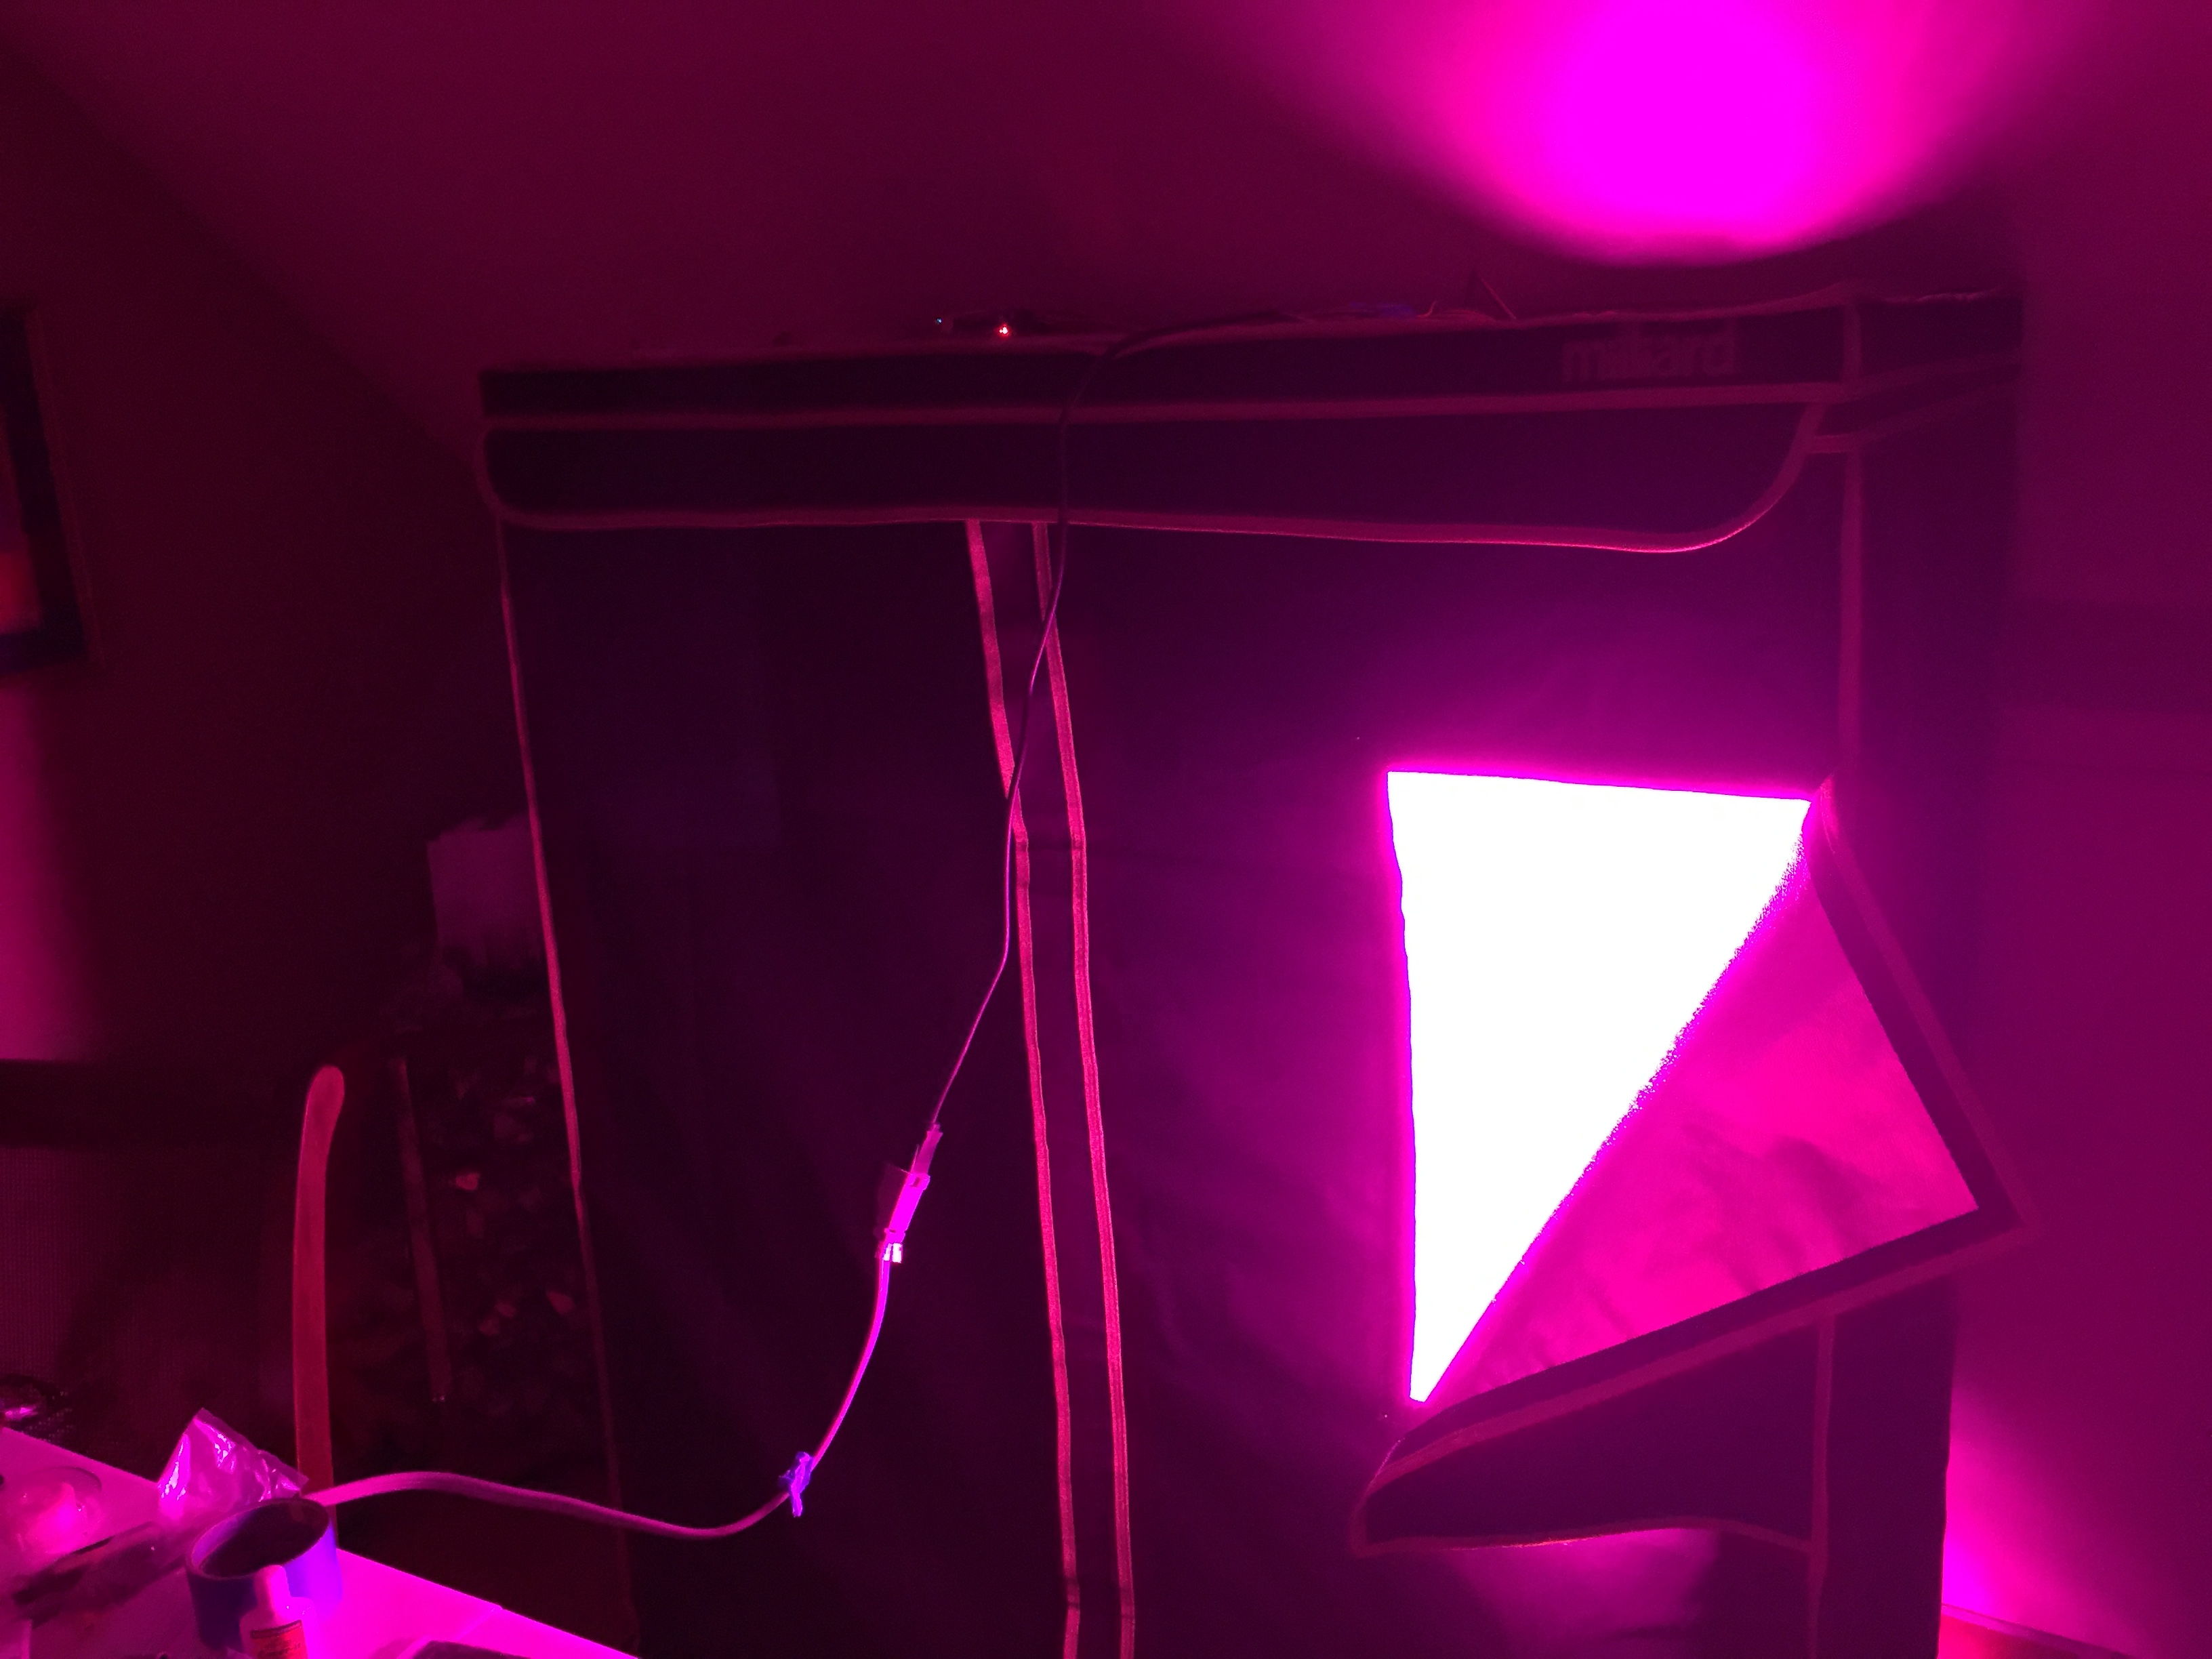
The grow lights work!
View 1 of grow light
View 2 of grow light
Installed the carbon air filter:
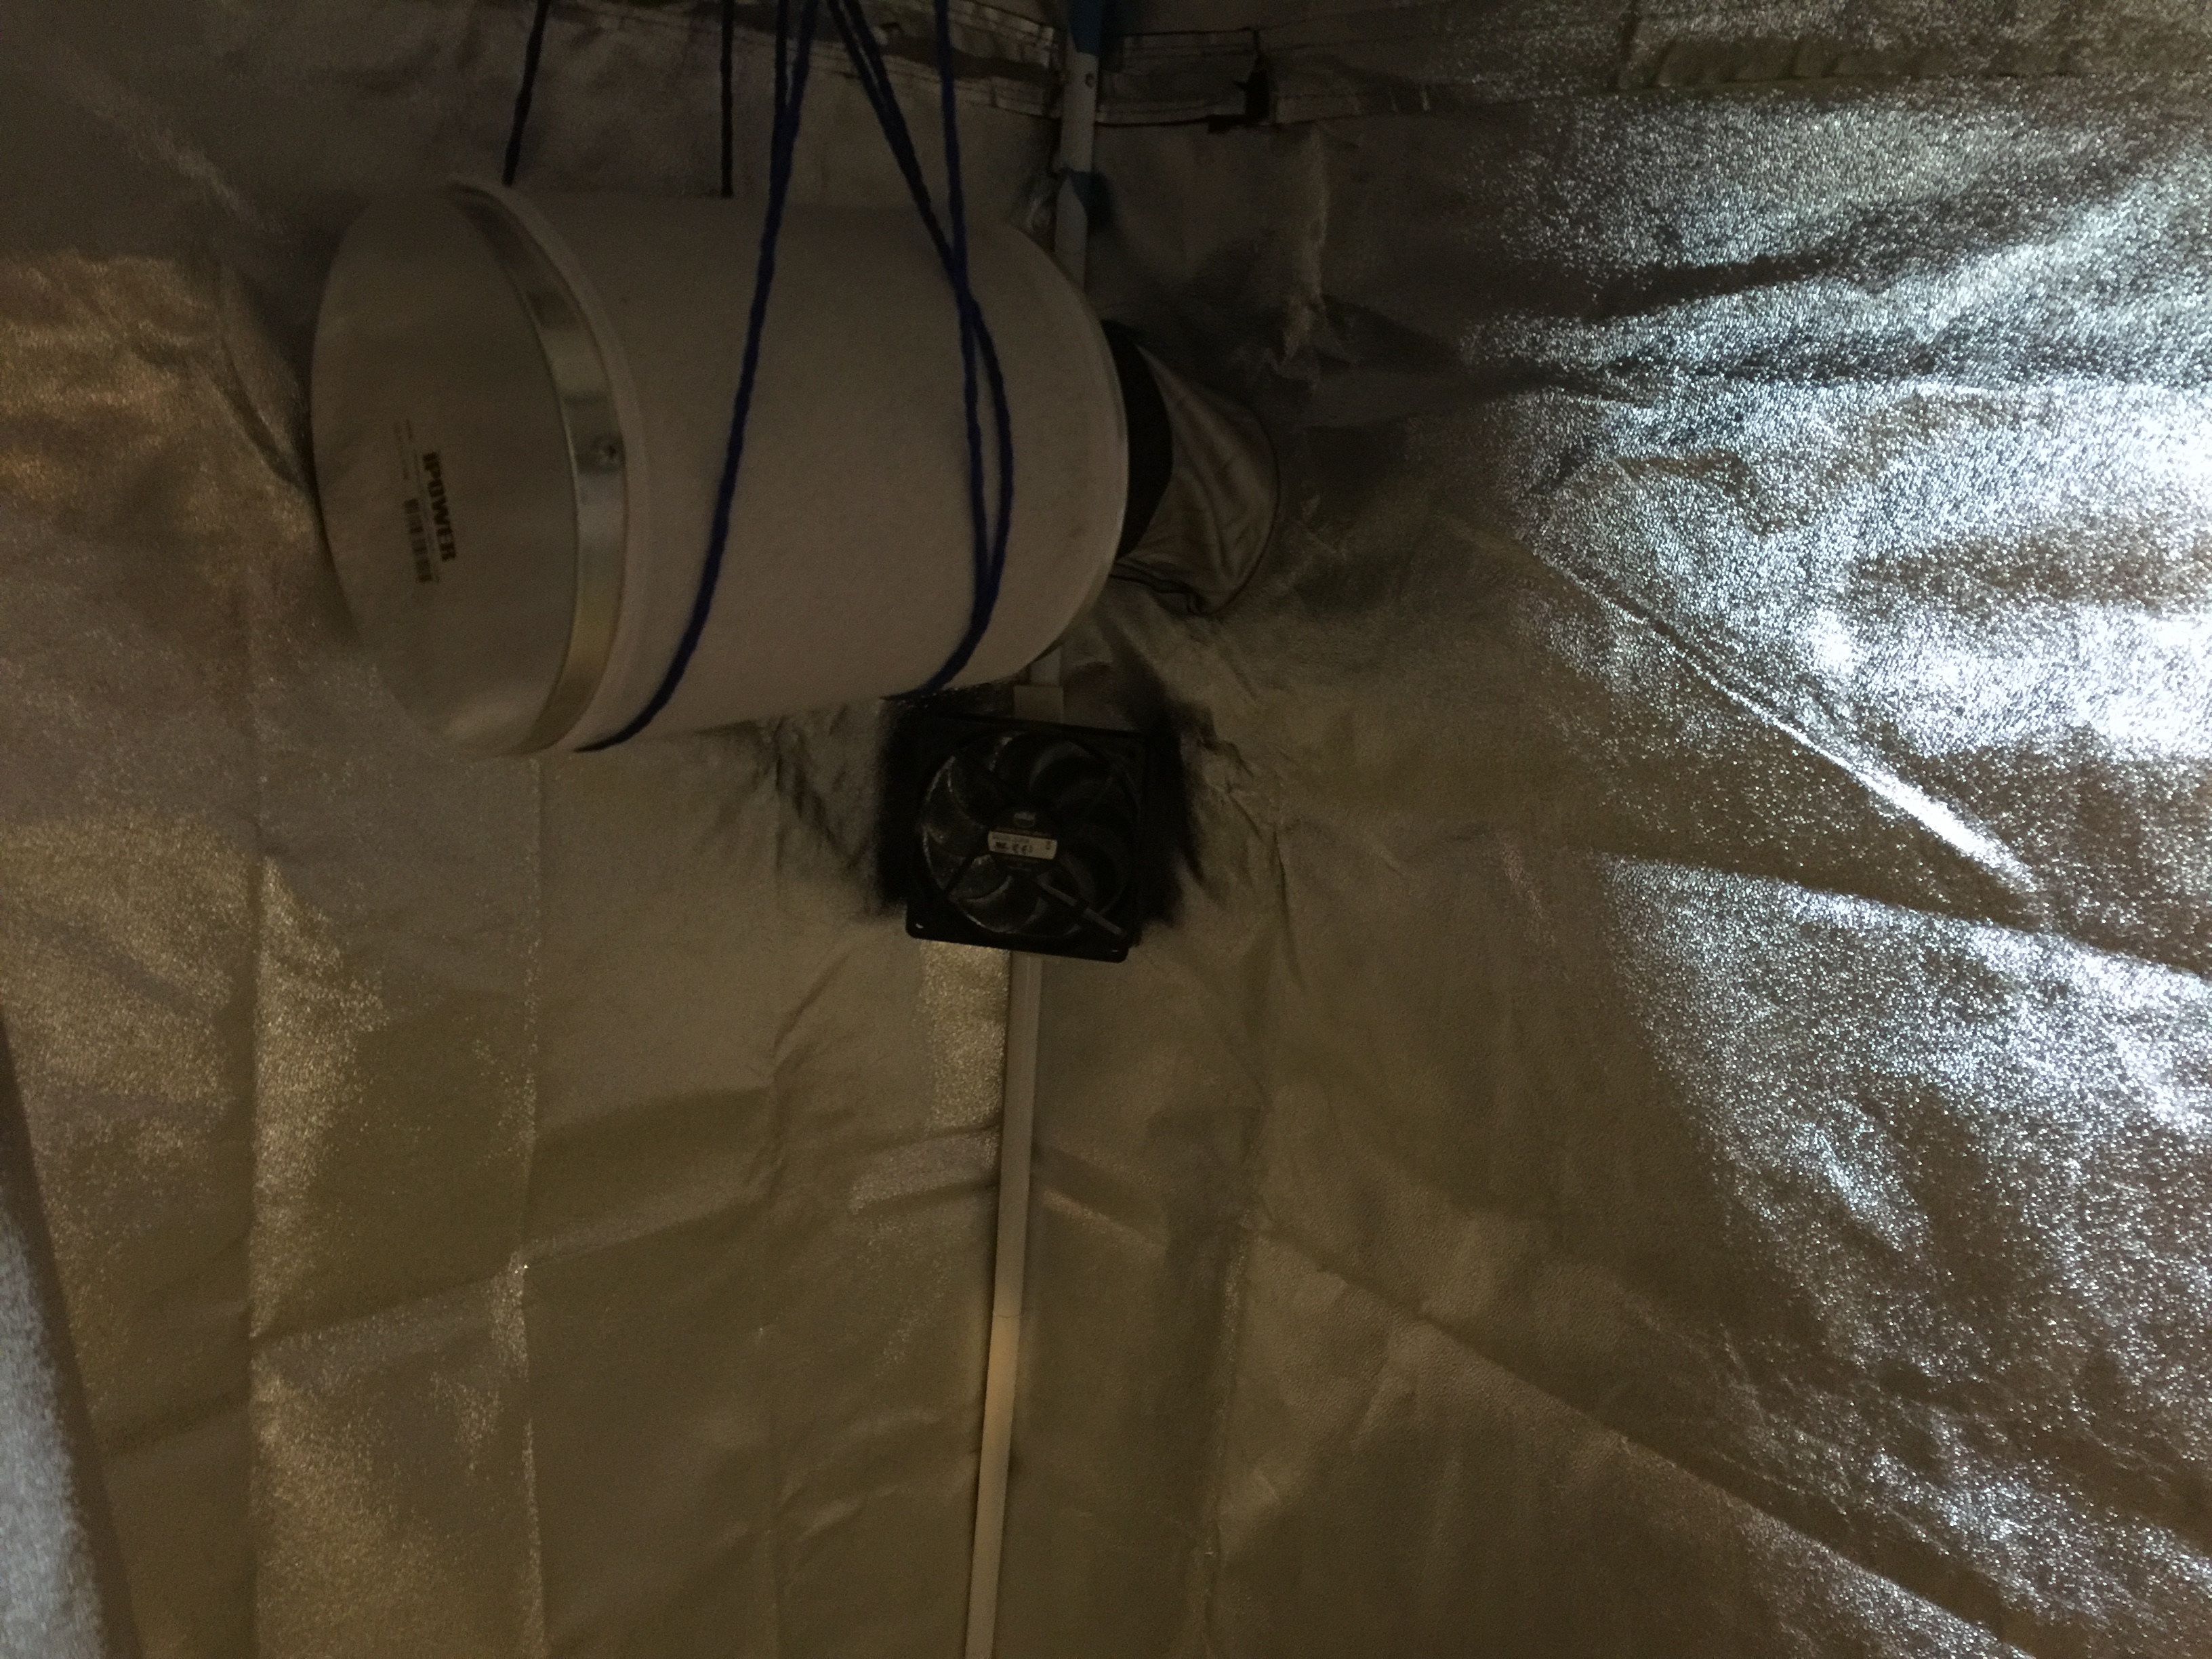
Carbon air filter placement
Inline fan view 1
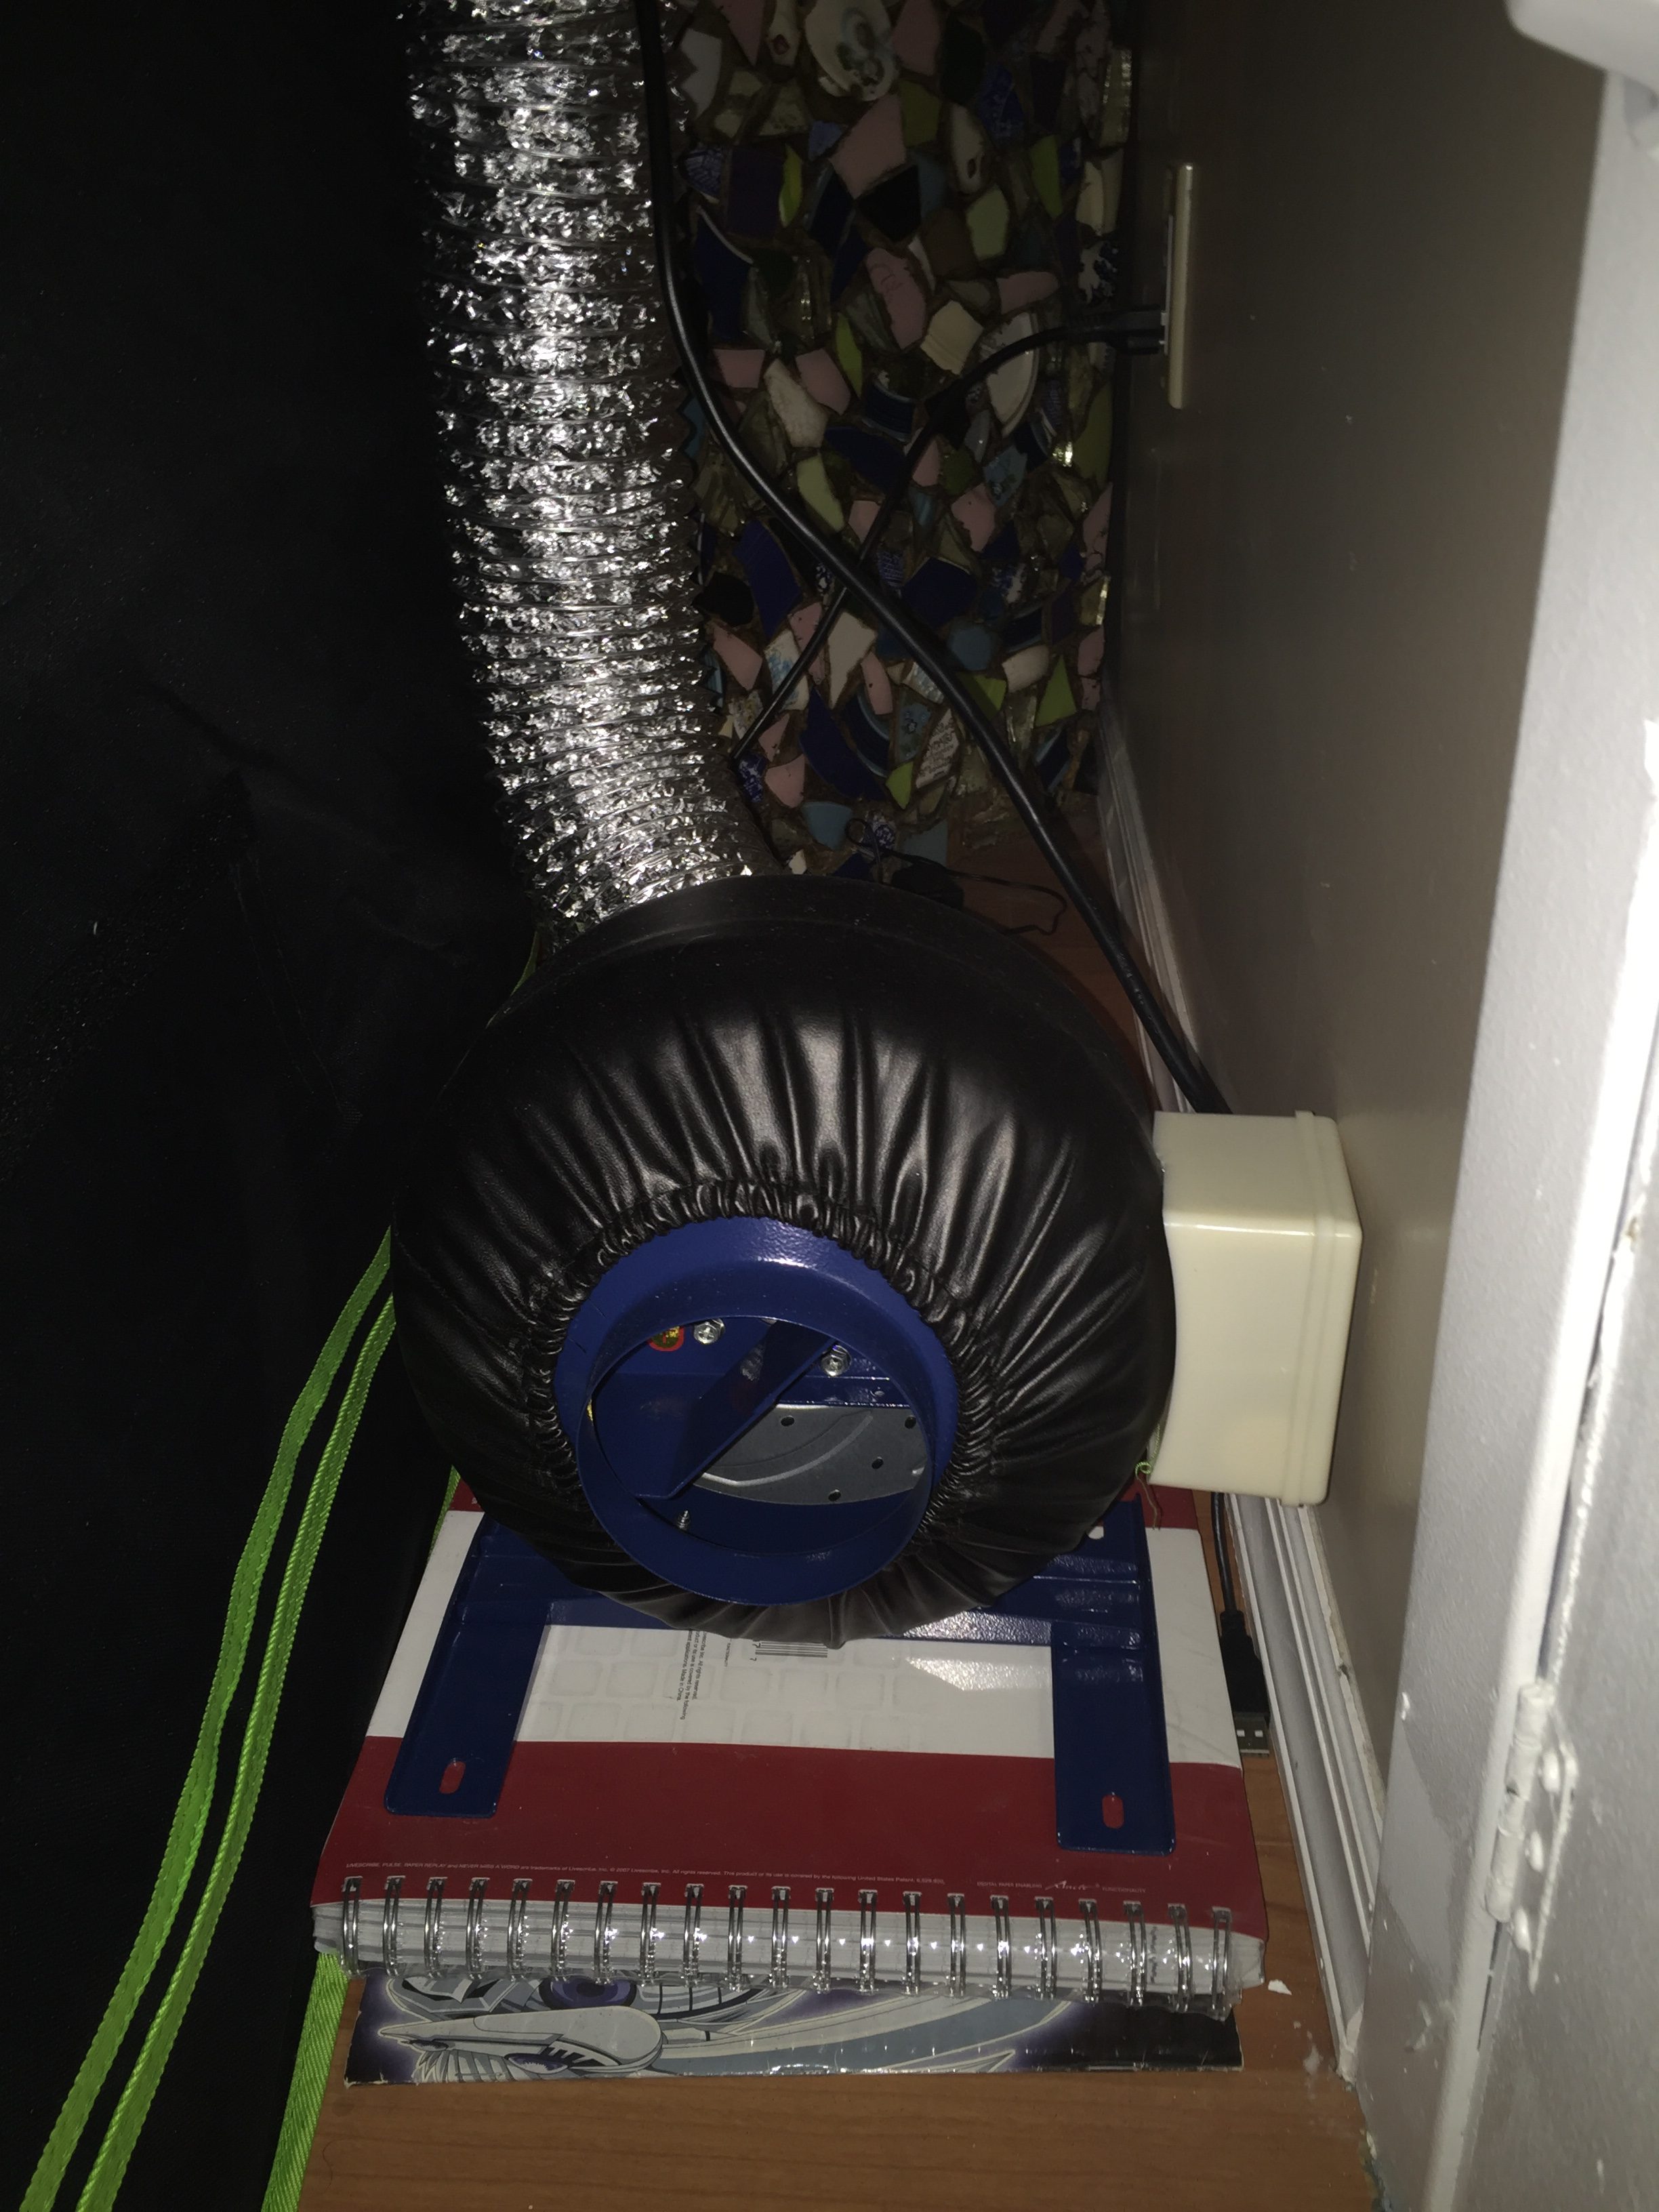
Inline fan for carbon air filter
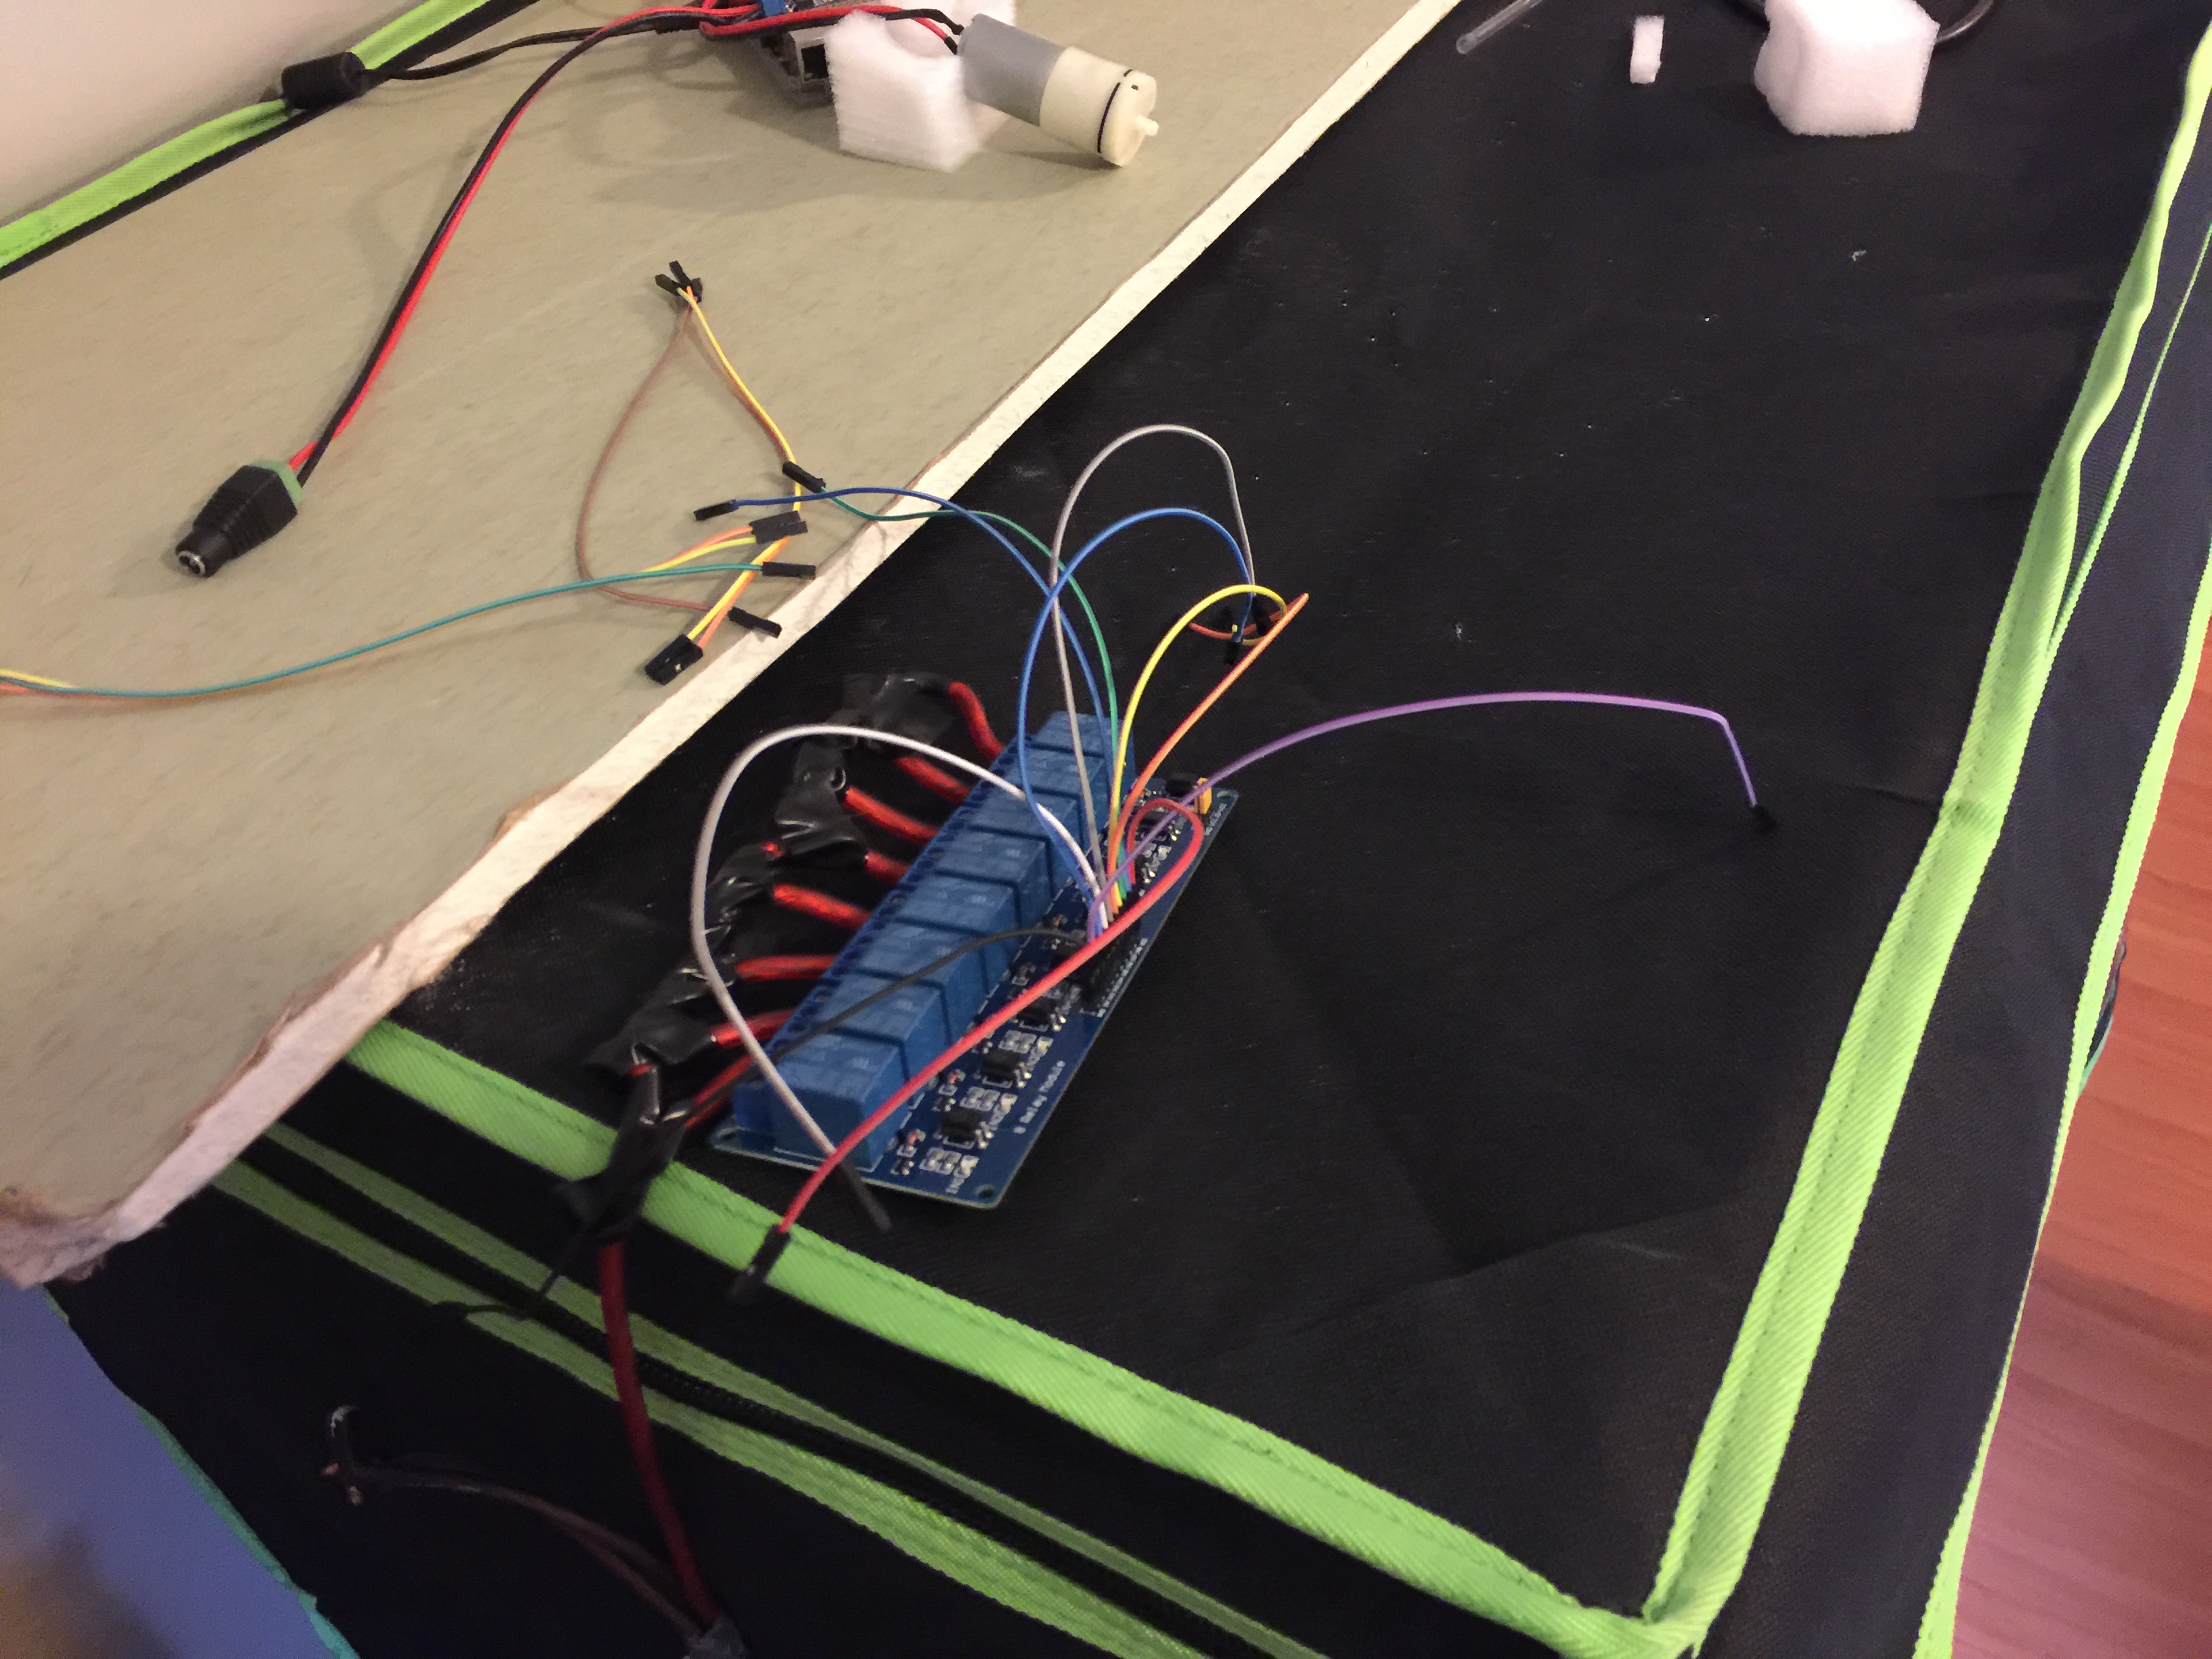
Prepared the relay of the electronic components requiring AC current. Relay was used to create a parallel circuit like an extension cord but programmable
July 12 2016:
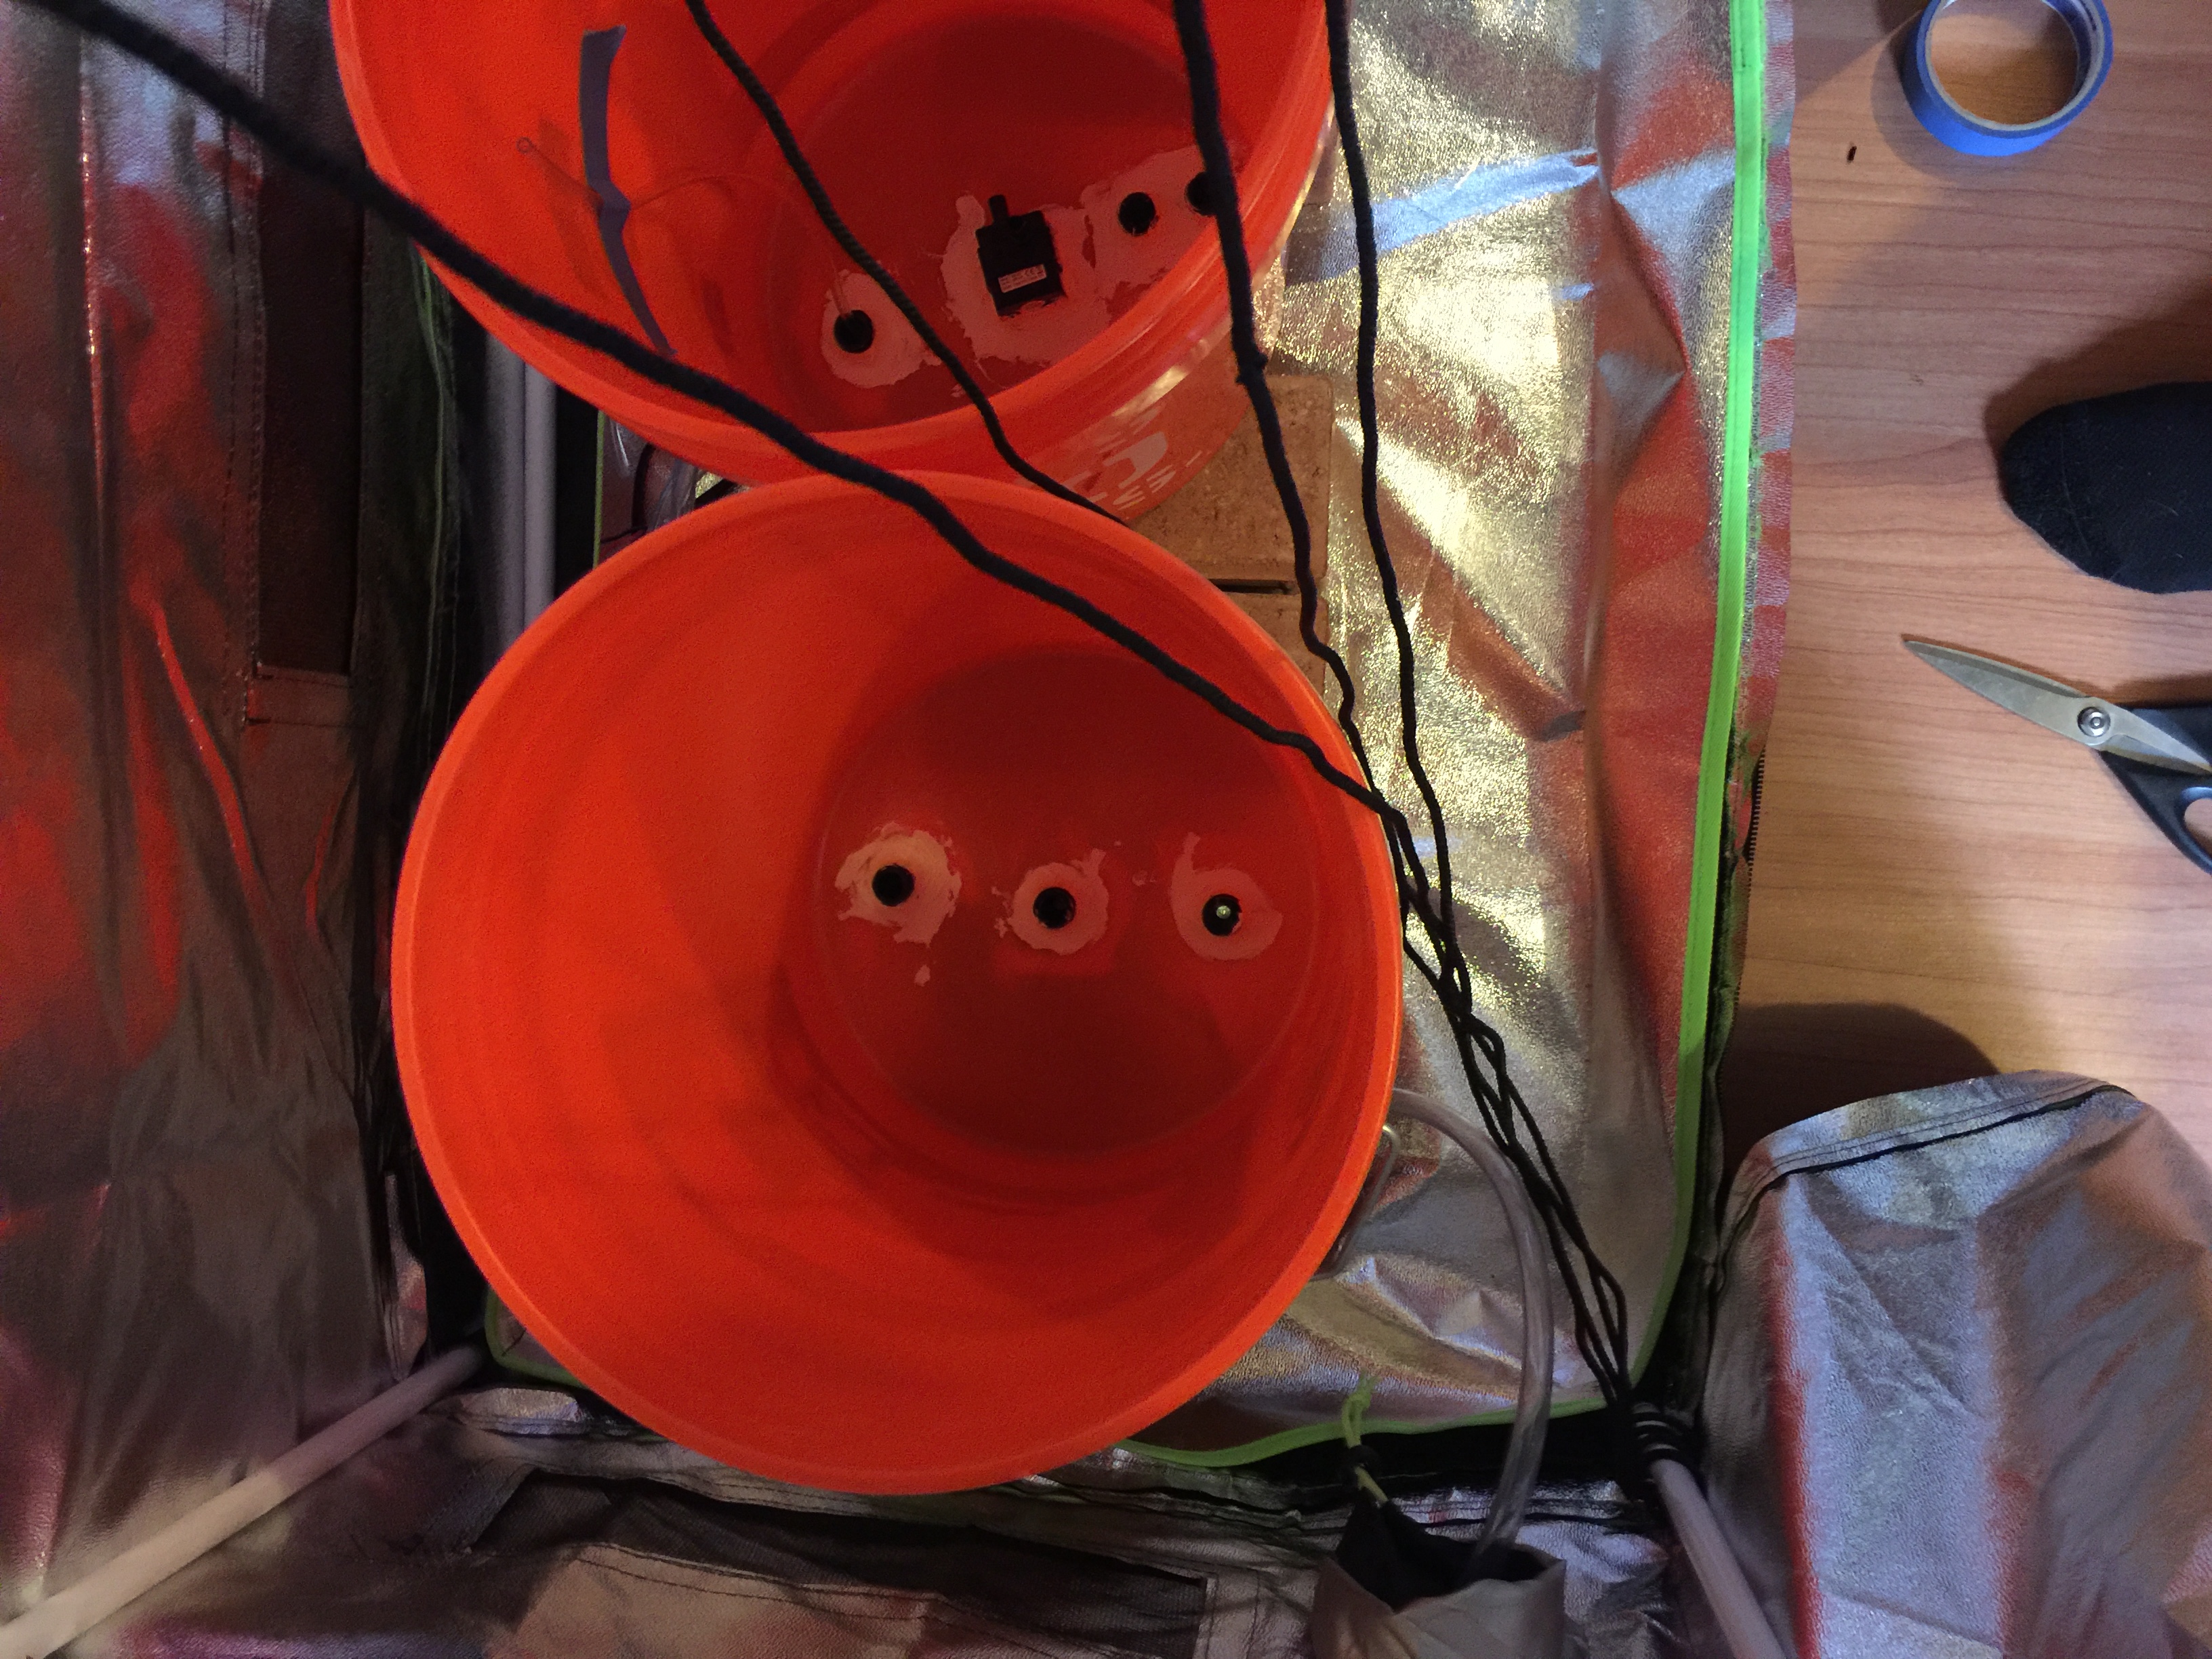
Officially placed the bricks for the 2 buckets as well as the proper pumps and the humidifier. There are 3 pumps one to drain the reservoir bucket, one to move water to the reservoir to the plant bucket, and last one to move plant bucket nutrients to the nutrient bucket.
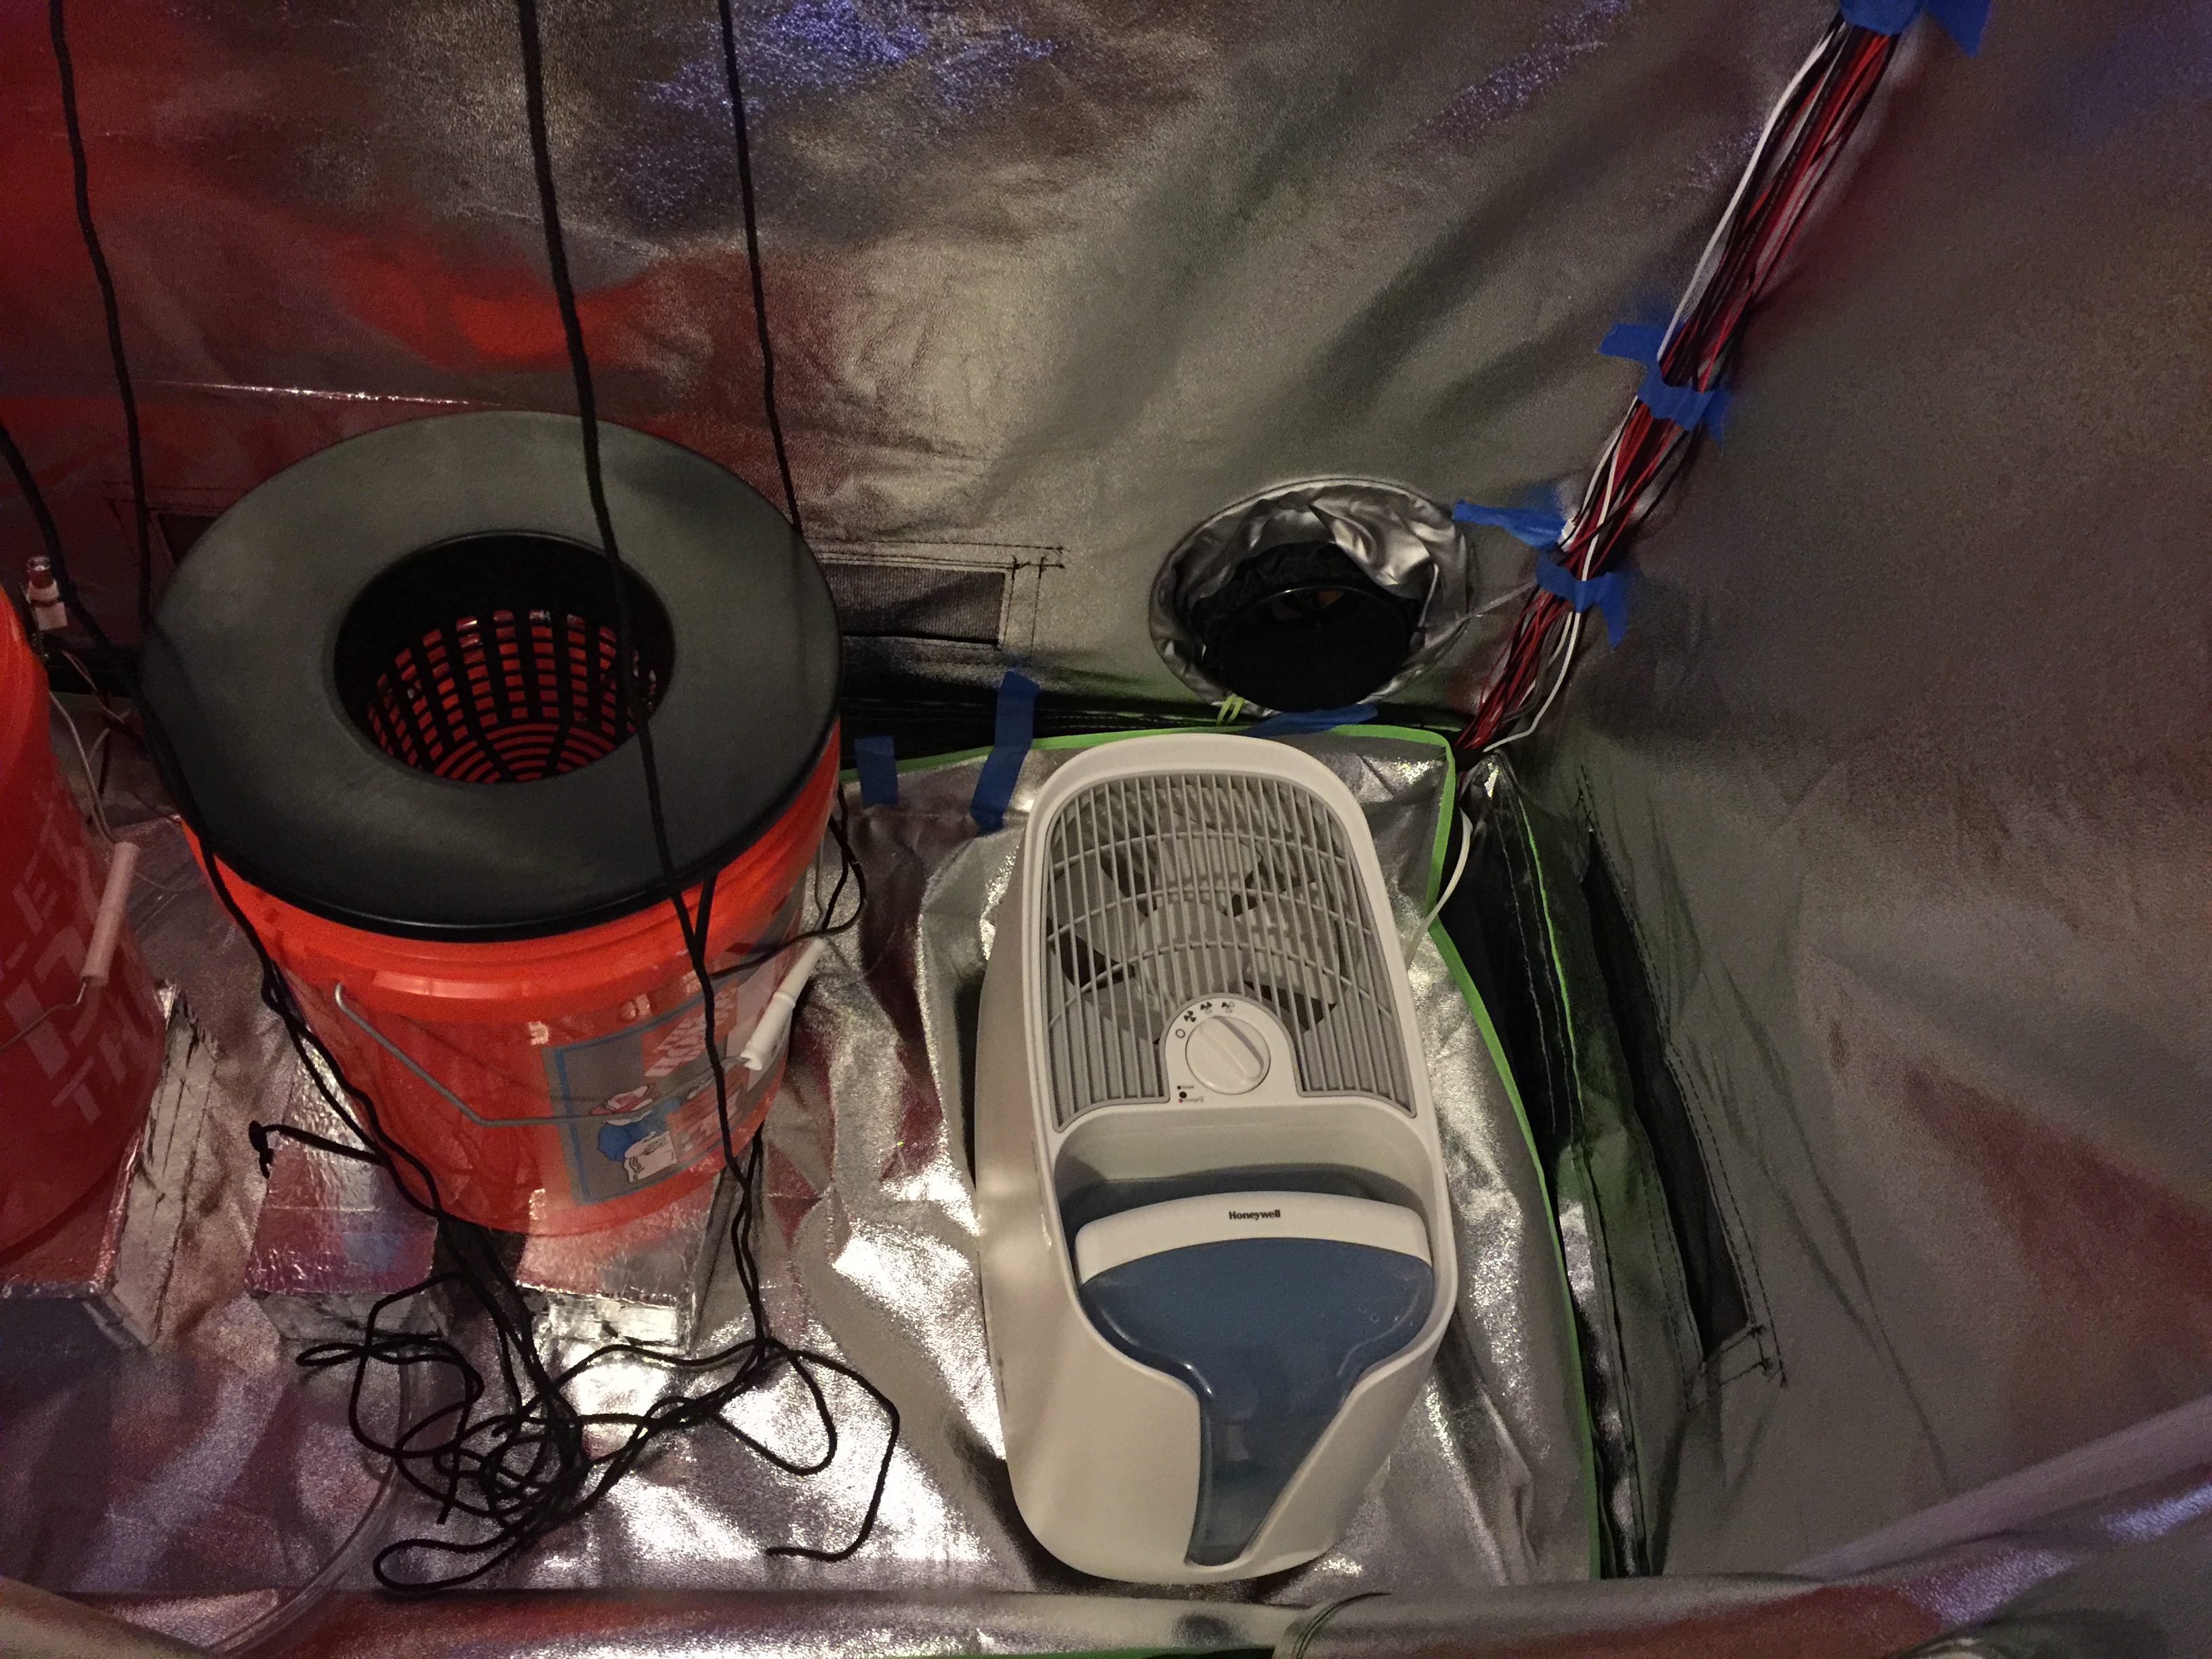
Placing the humidifier and plant bucket

Drain pump

Another view of the pumps
Nutrients to plant and to the reservoir bucket

Reservoir on the left. plant bucket on the right.
July 13th 2016:
Attached the air heater:
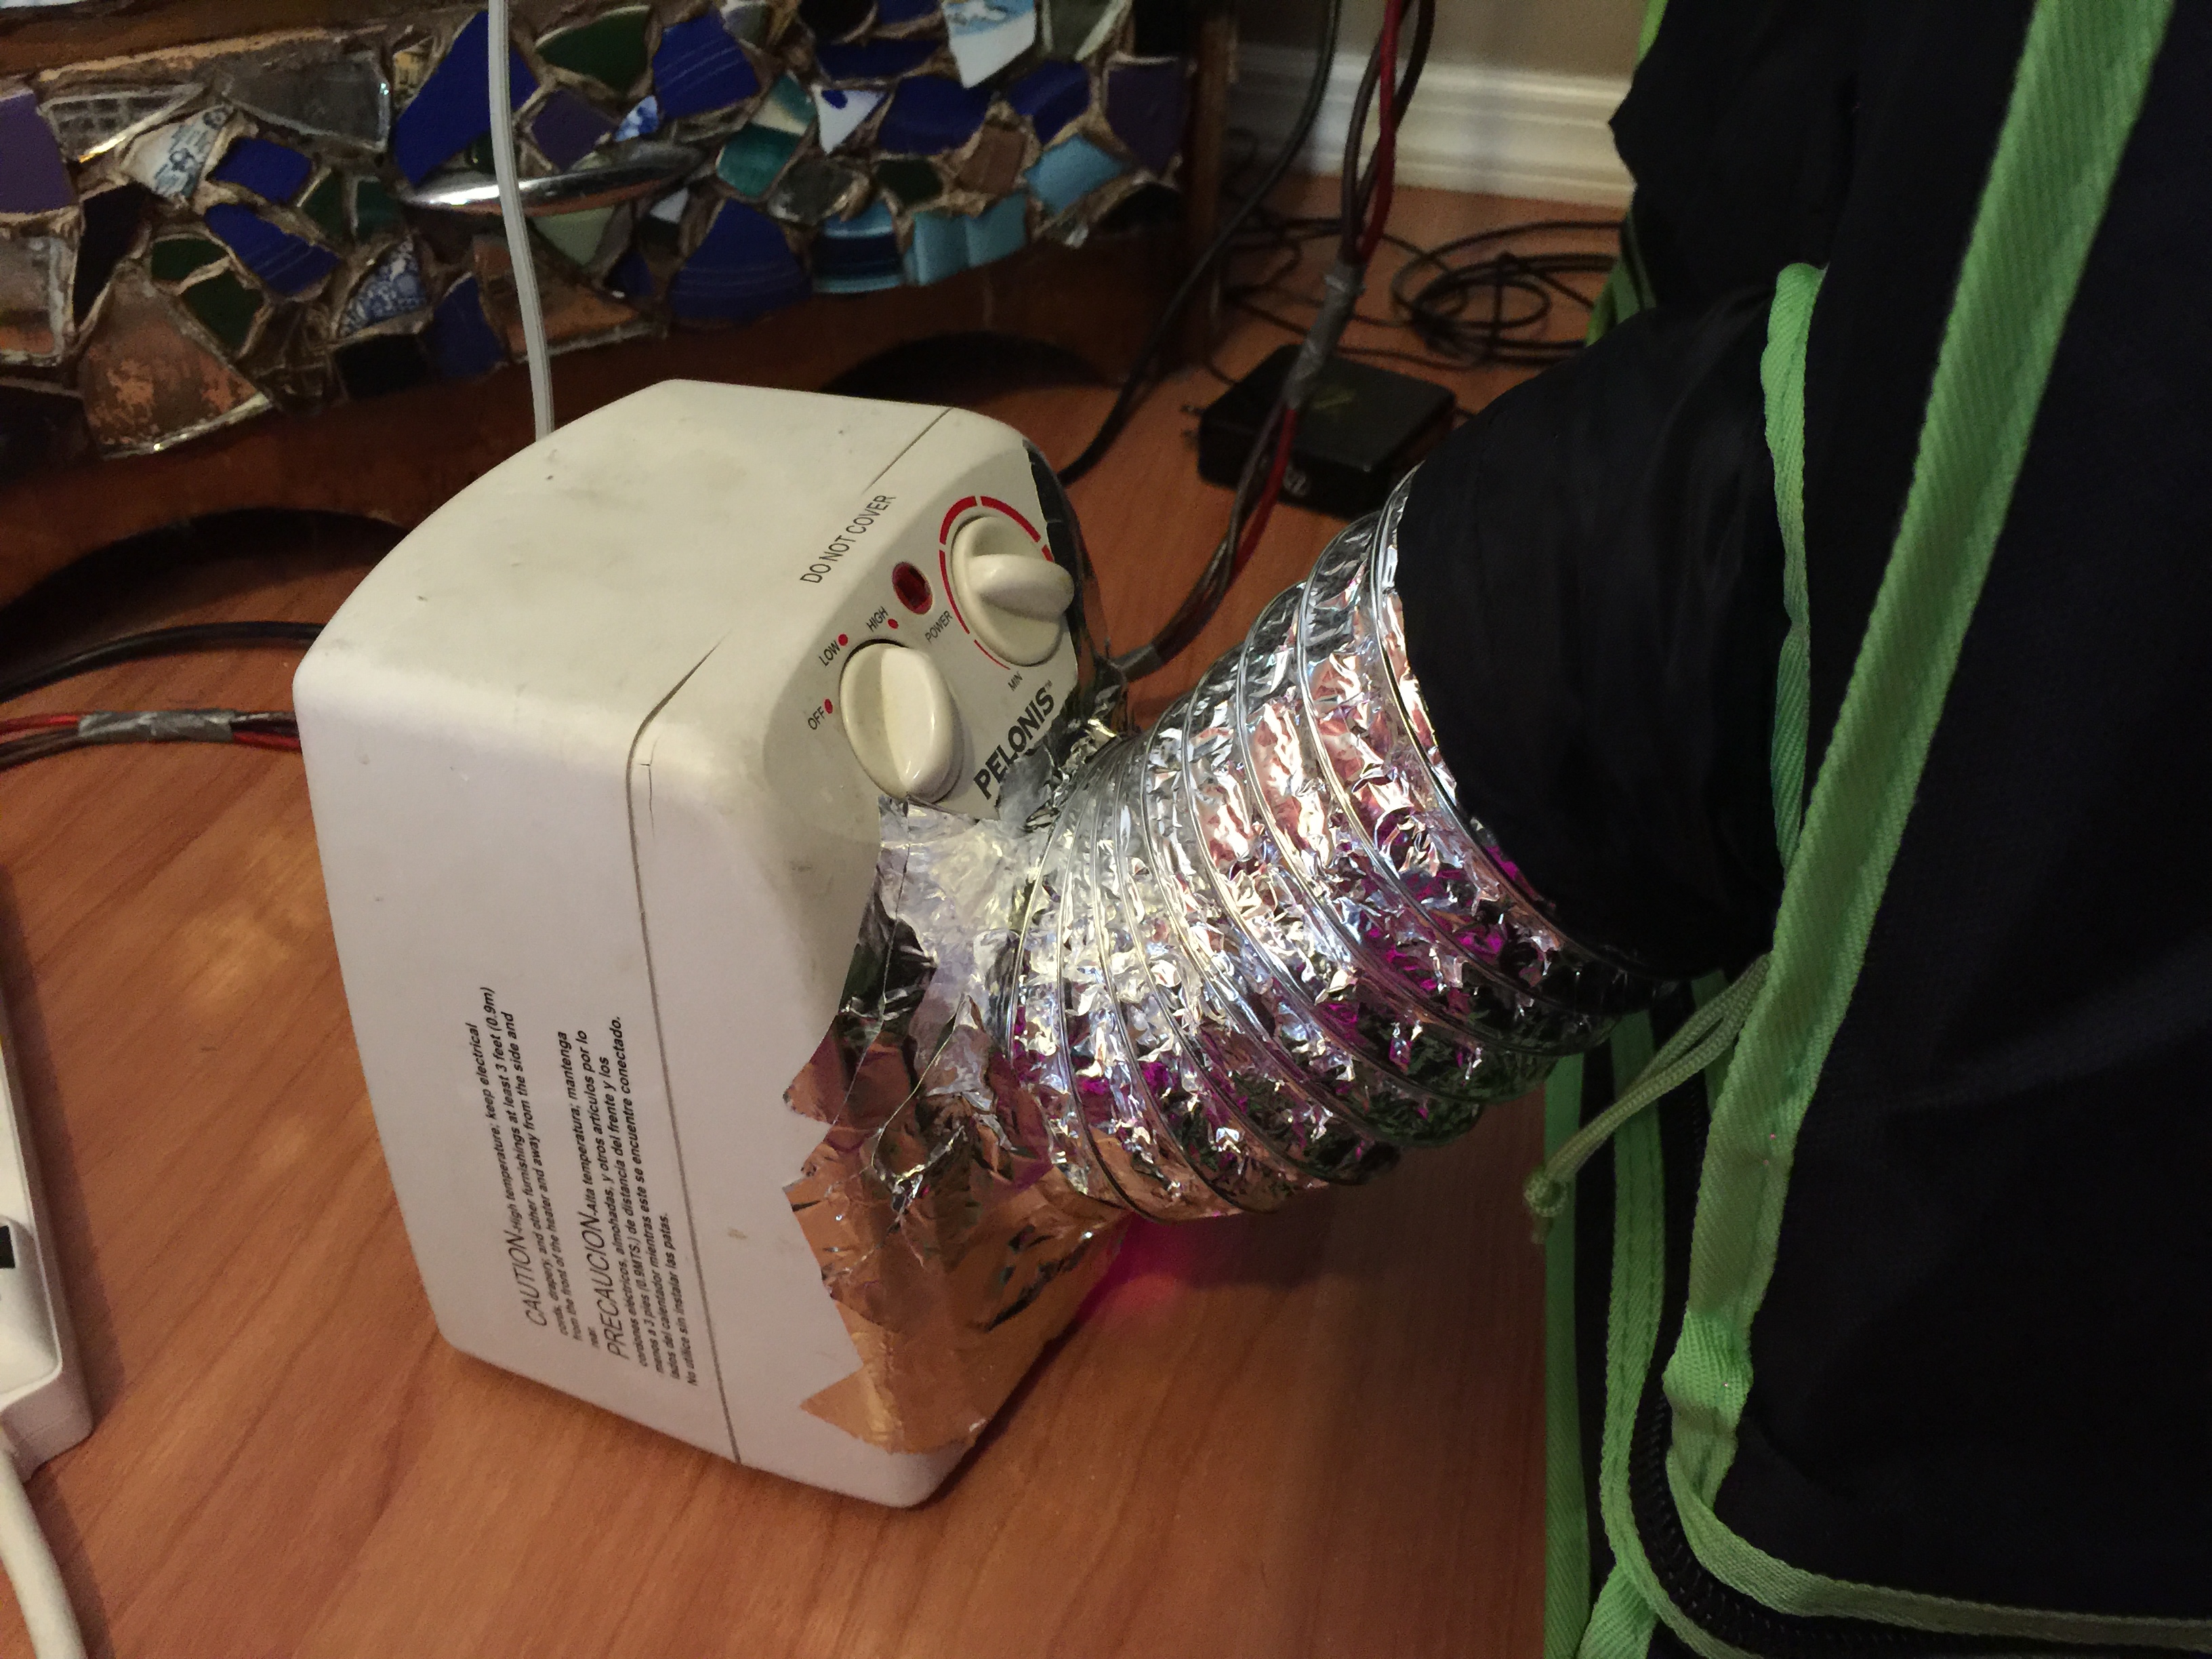
Air heater. It gets the job done effectively. Perfect for the winter.
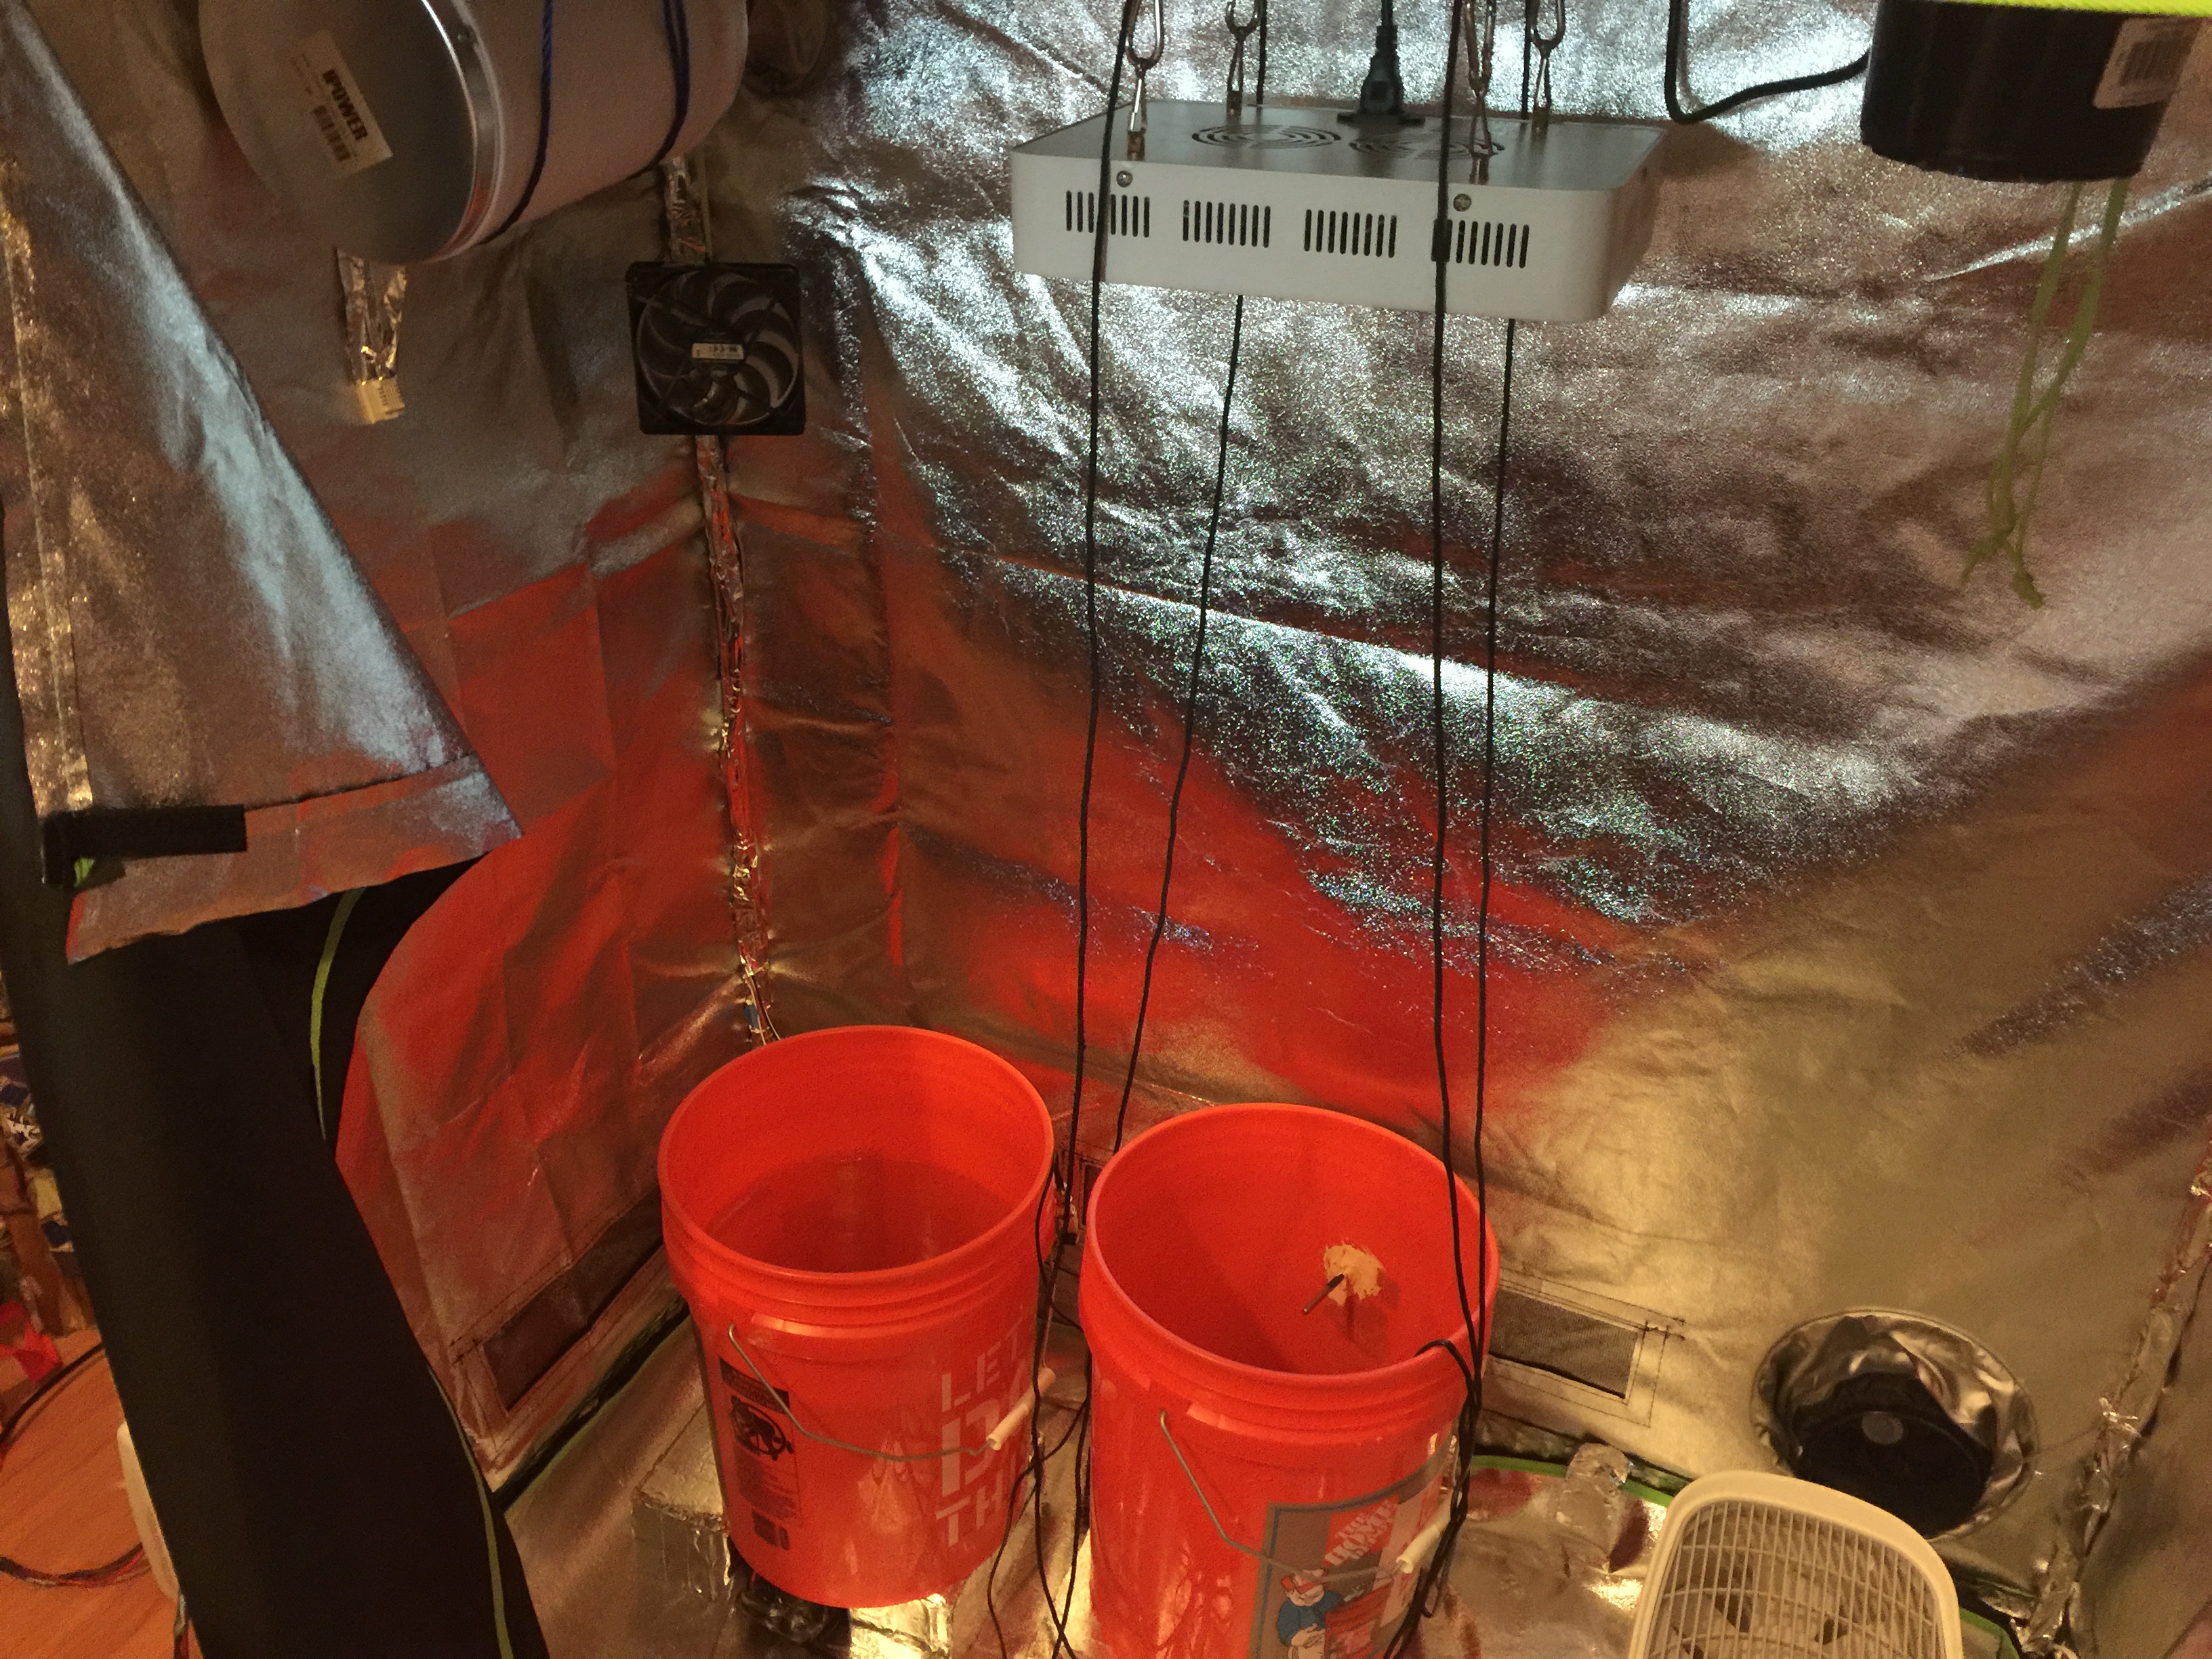
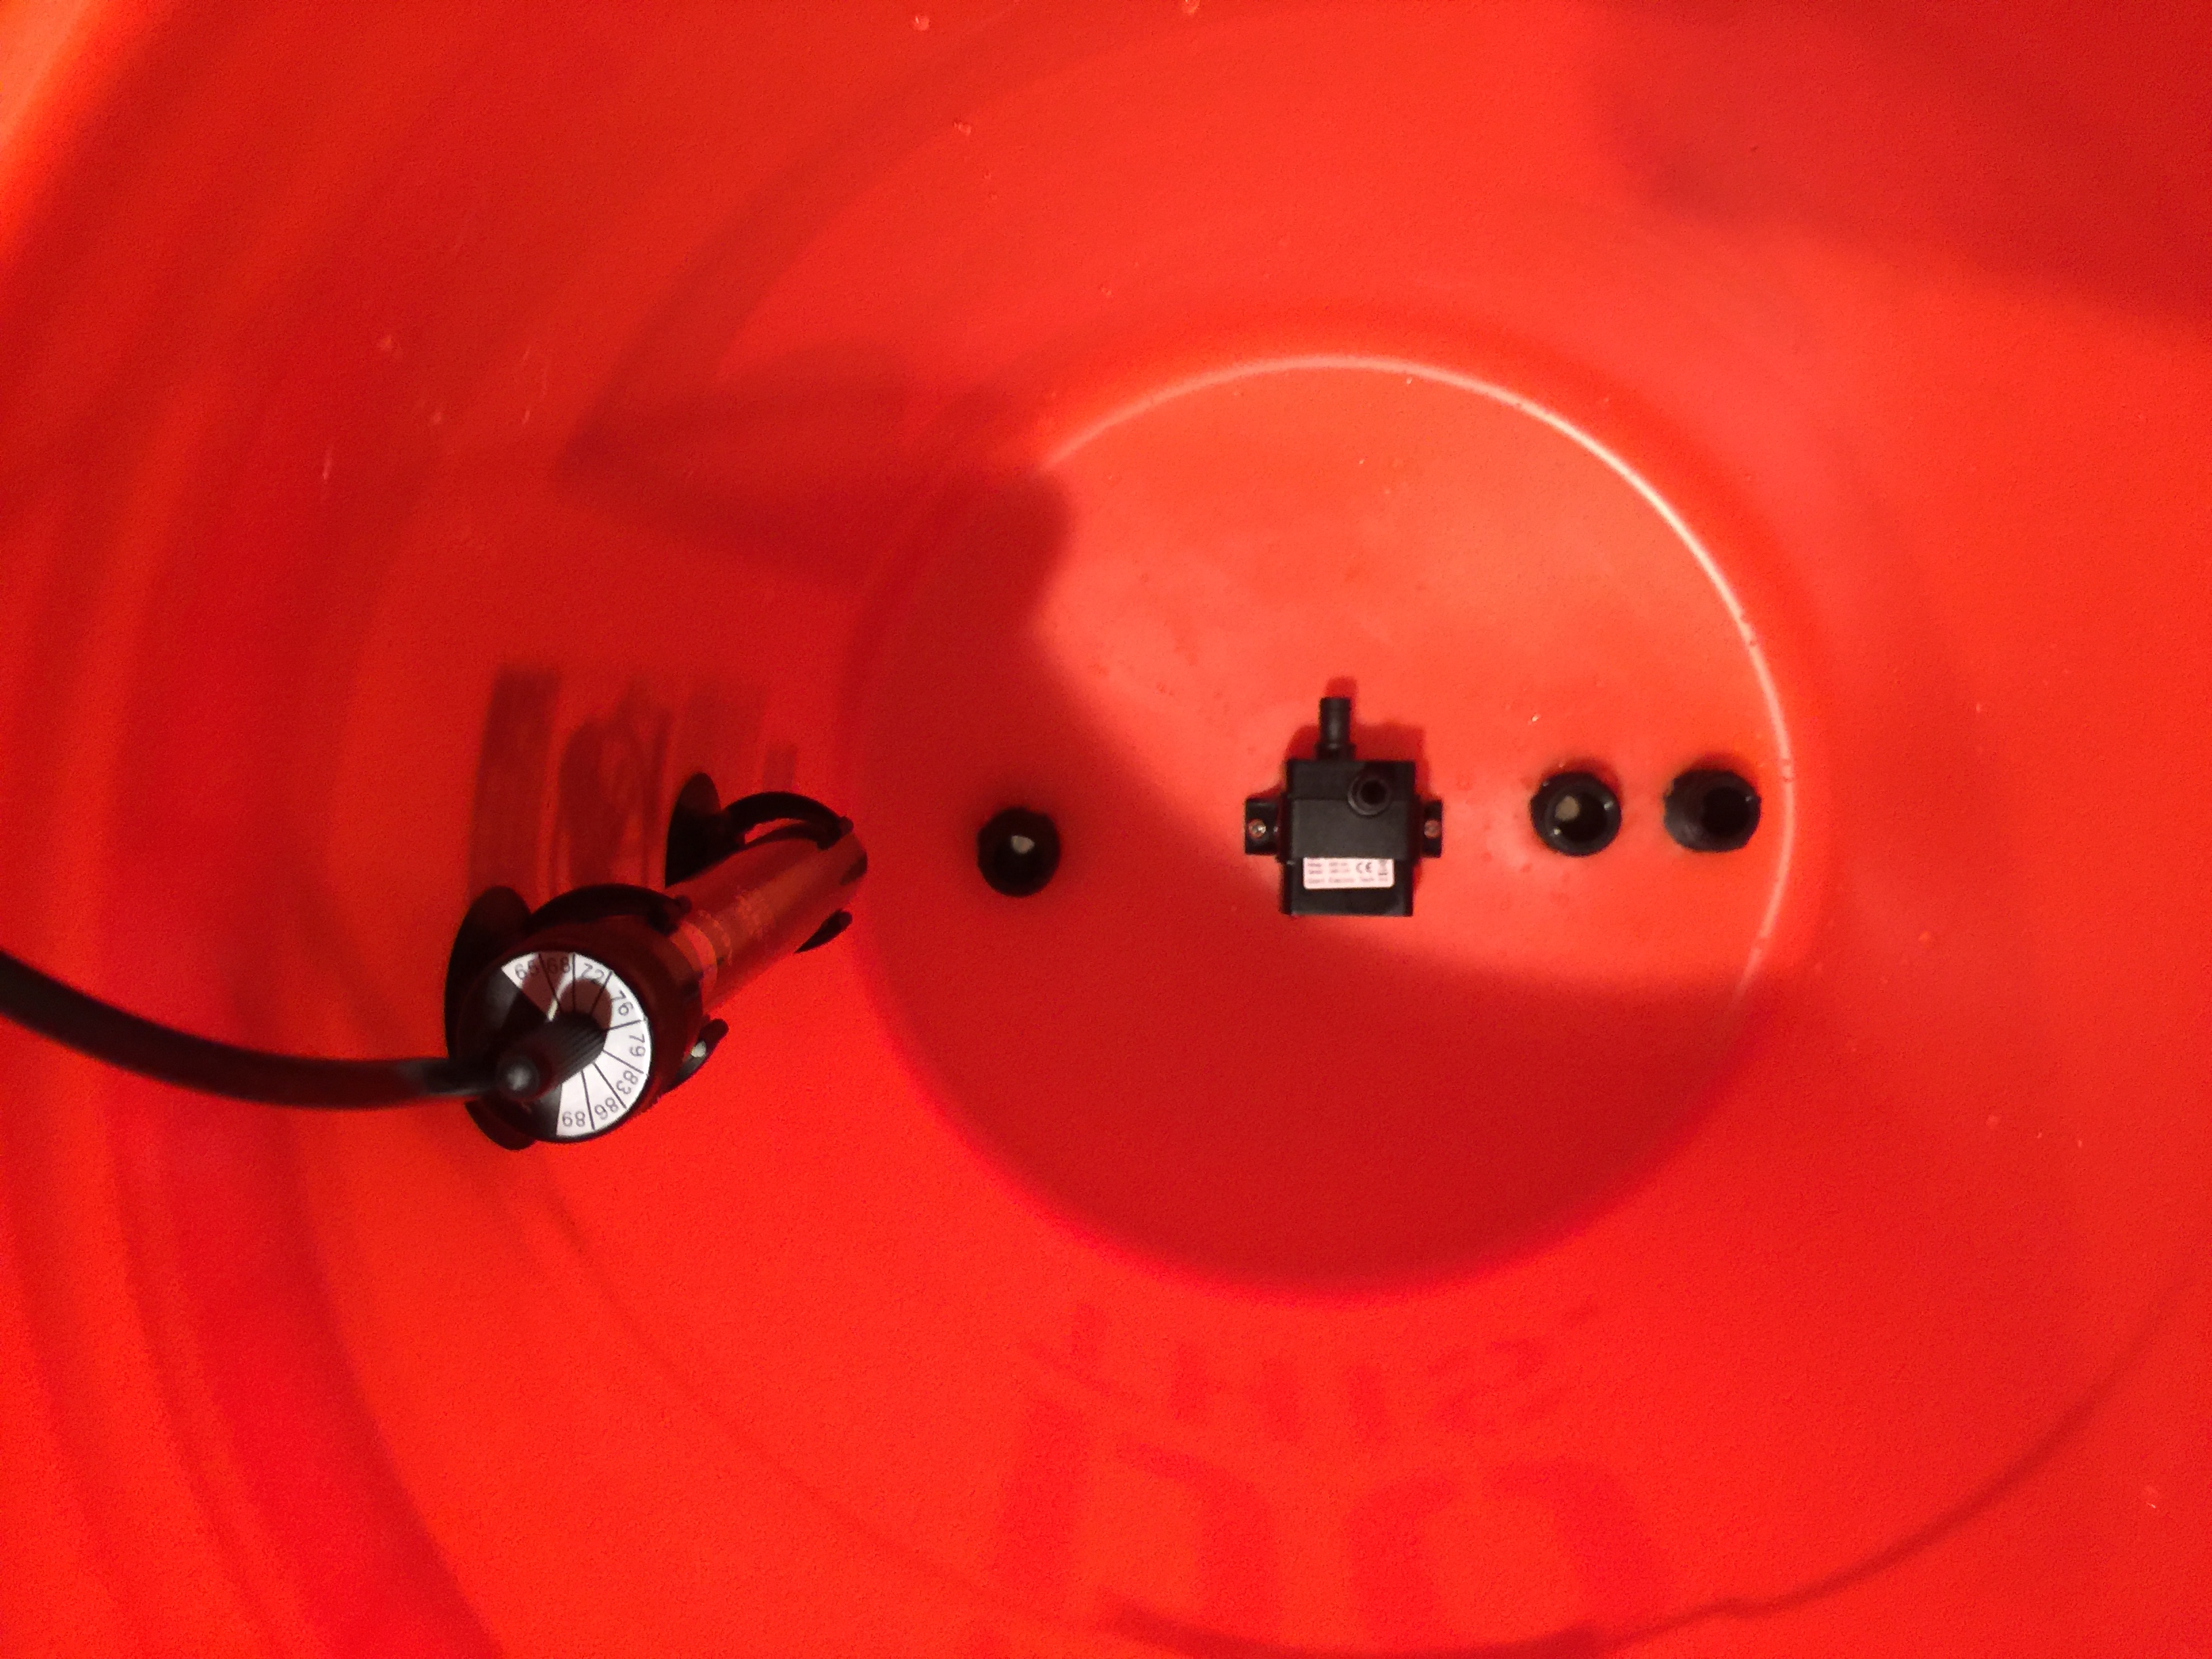
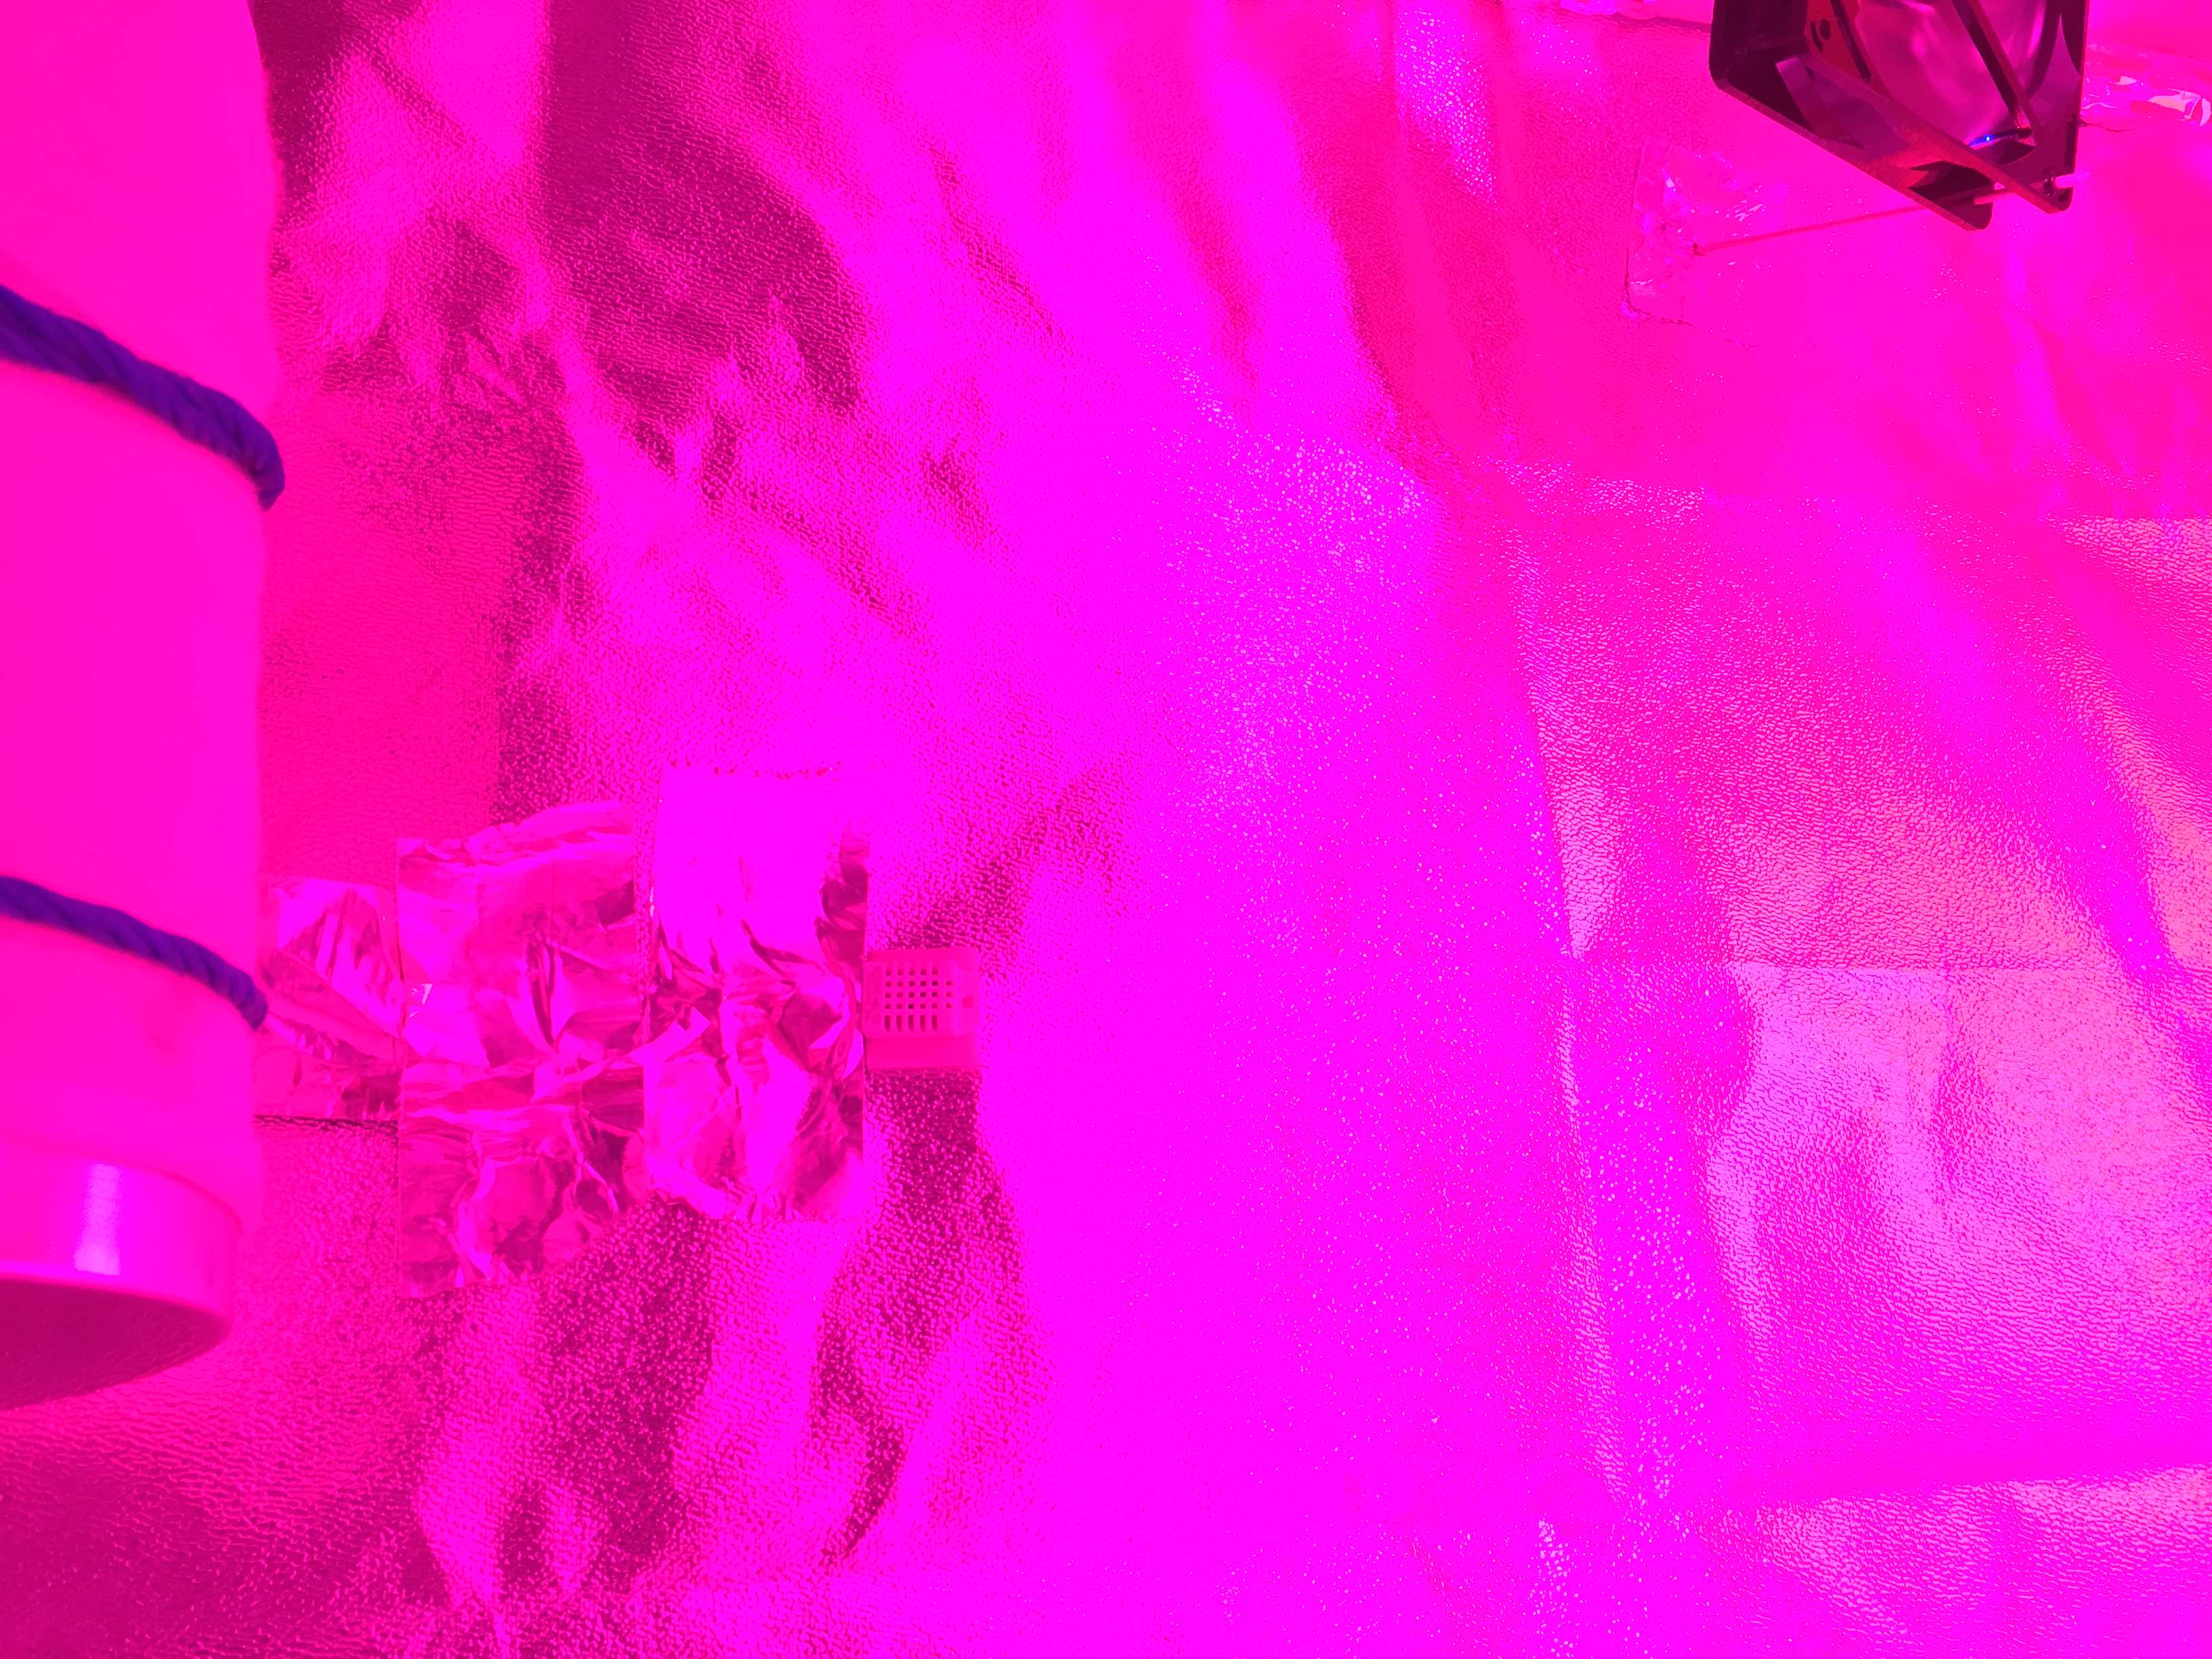
Overall view inside grow tent. Inside the plant buckets is a water temperature sensor.
View of the plant bucket
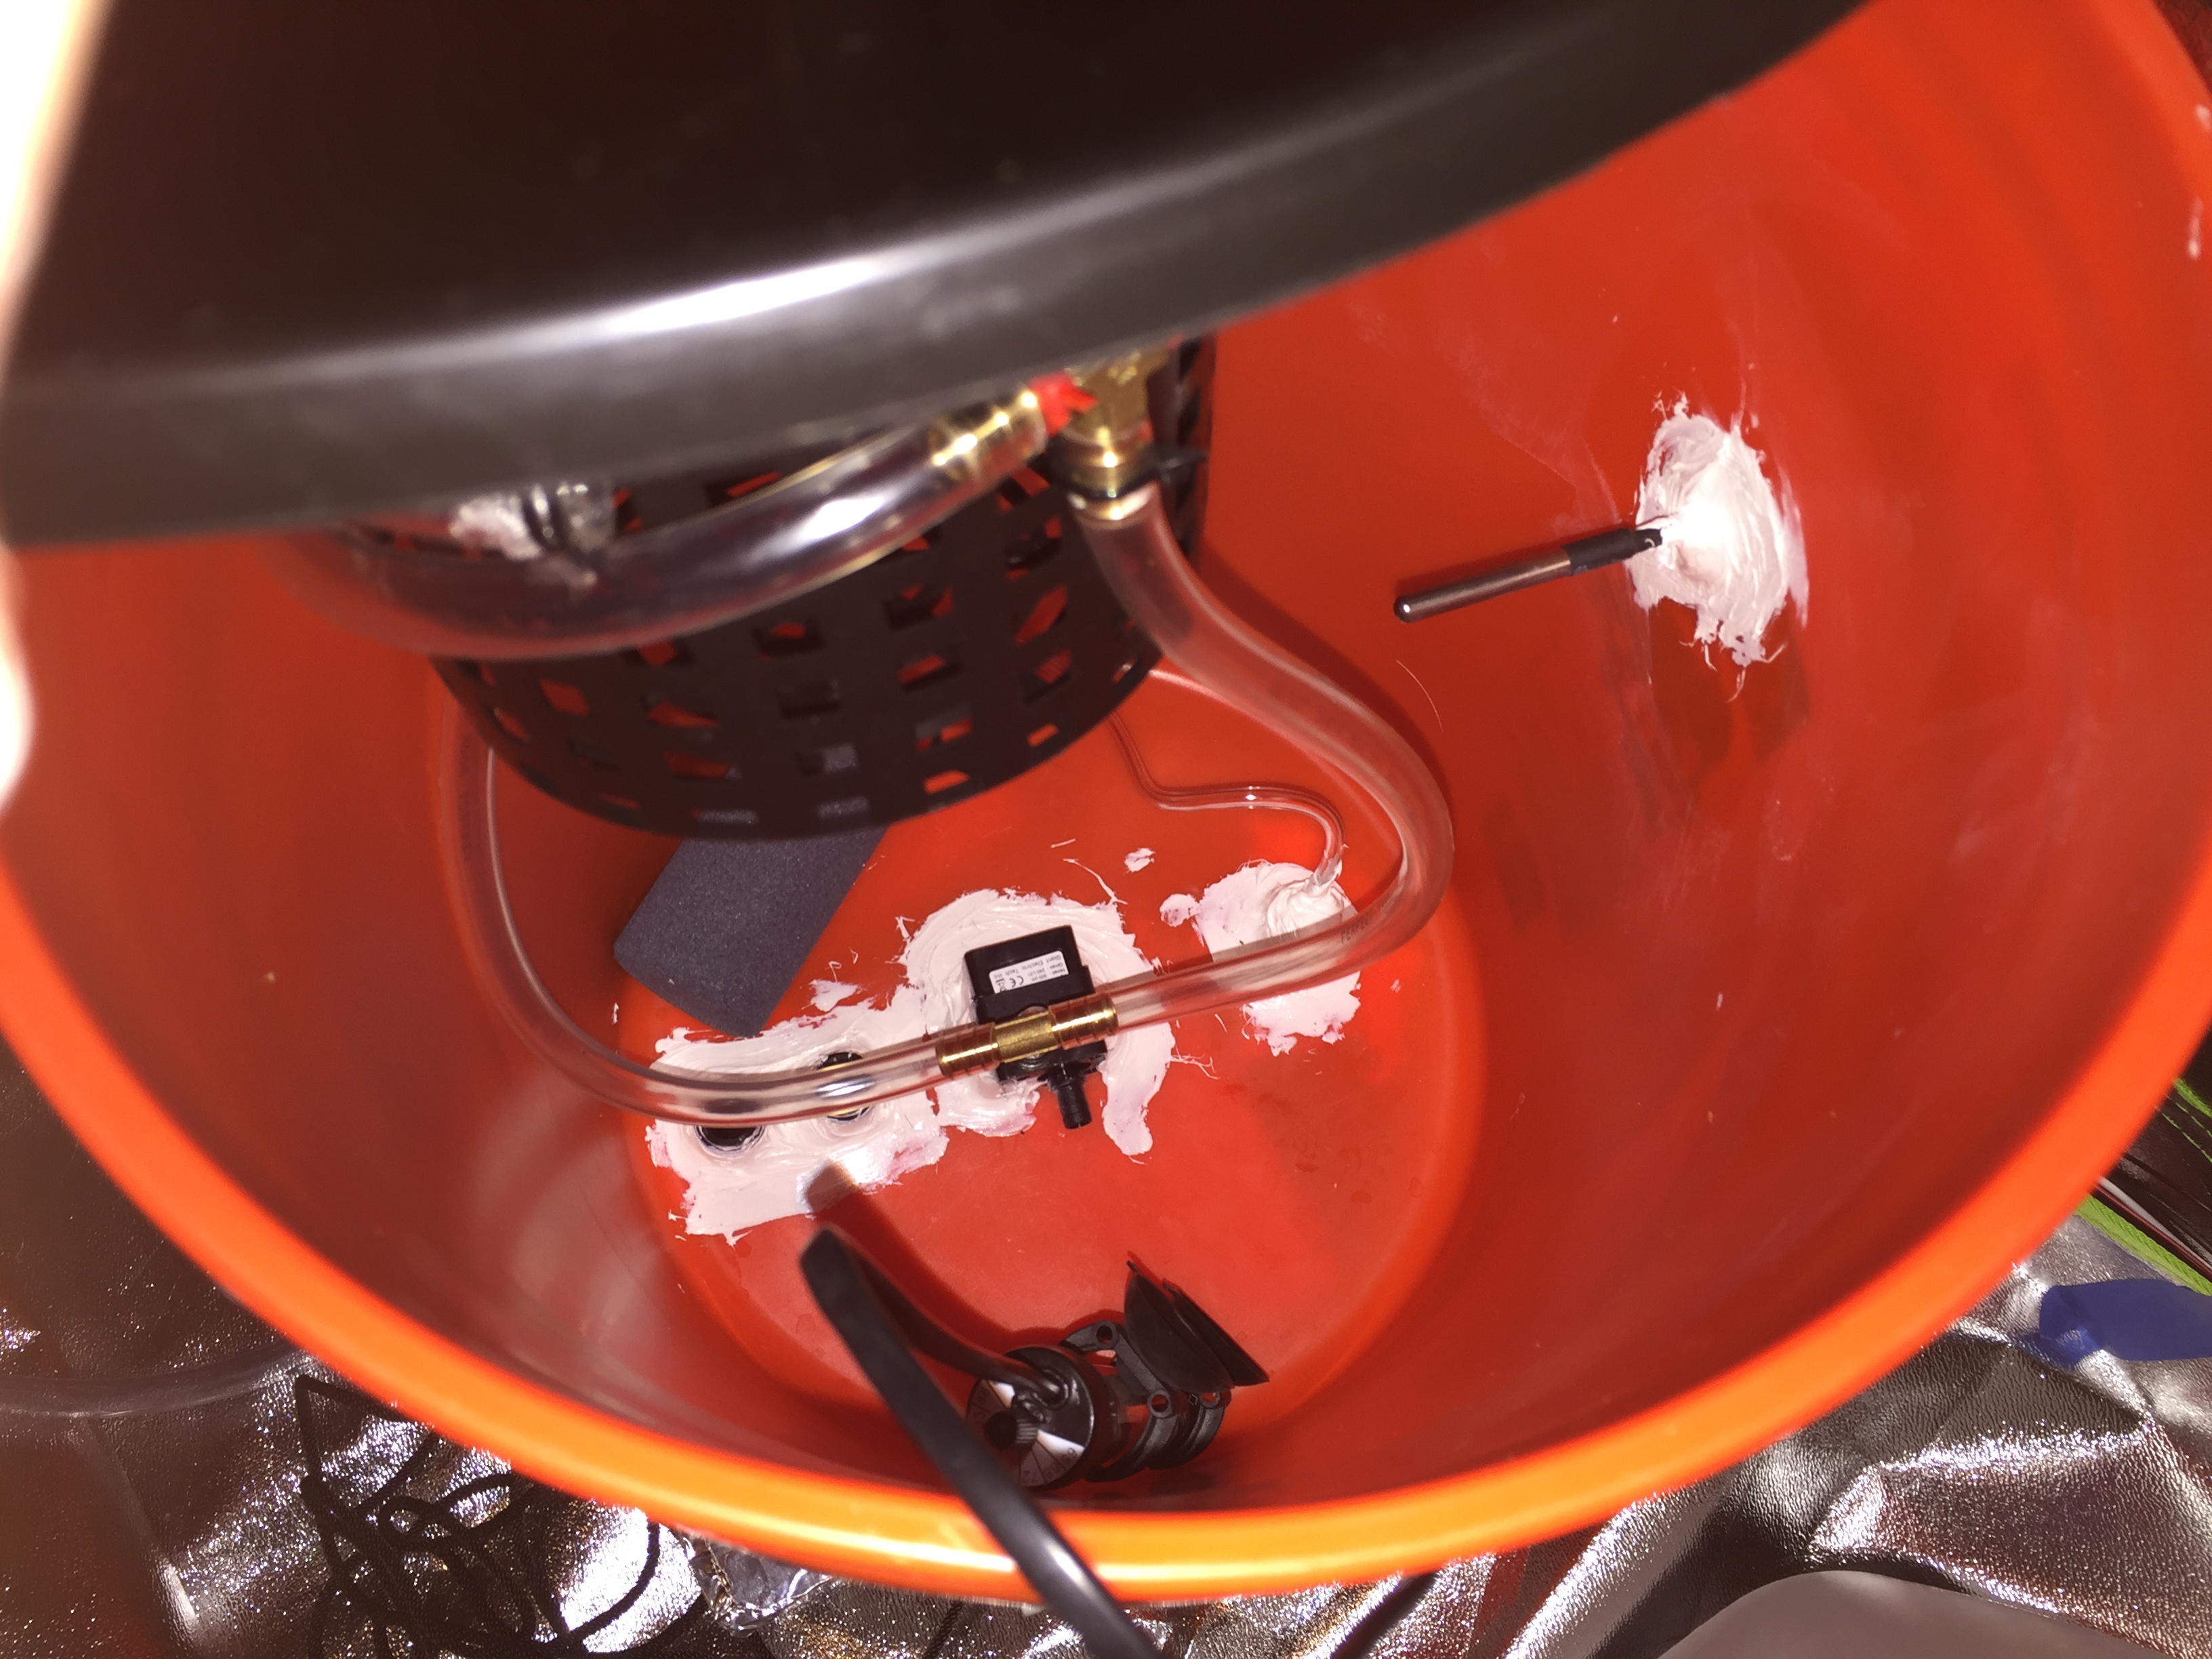
Installed the phSensor called MiniPH from sparky widgets.
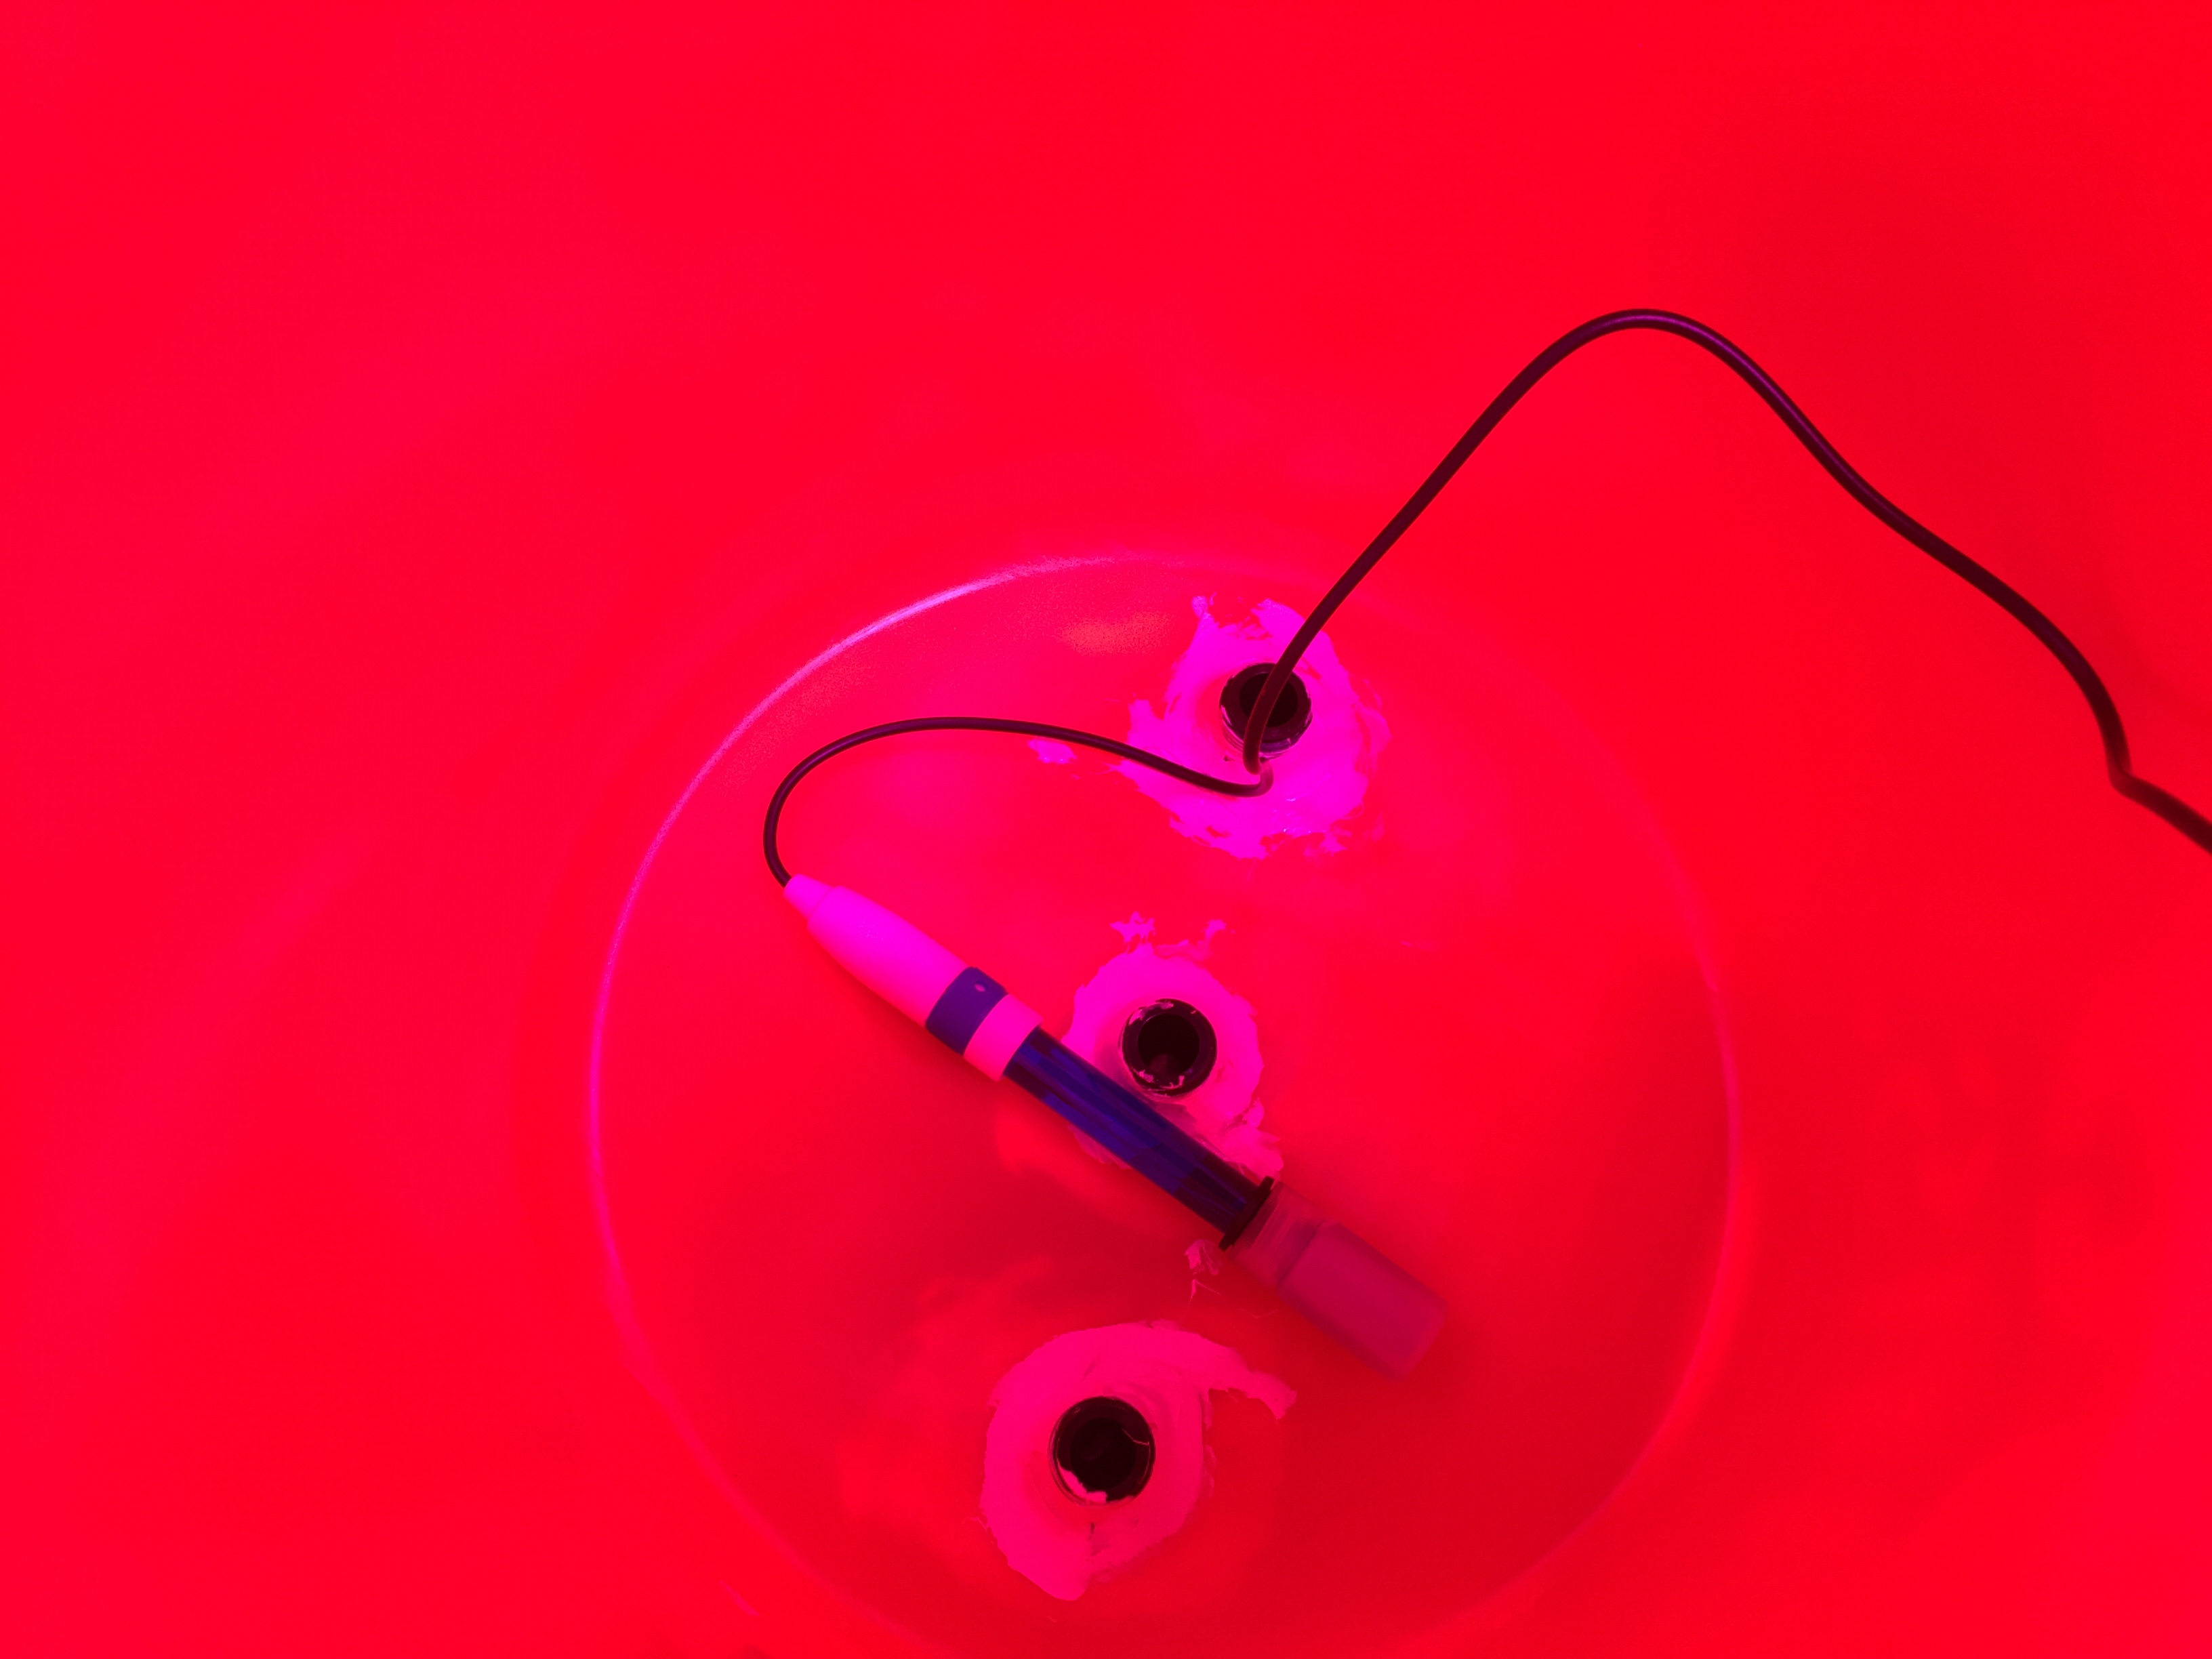
pH sensor in the reservoir bucket
Installed the 2 air temperature sensor and pH Sensor to the motor HAT:
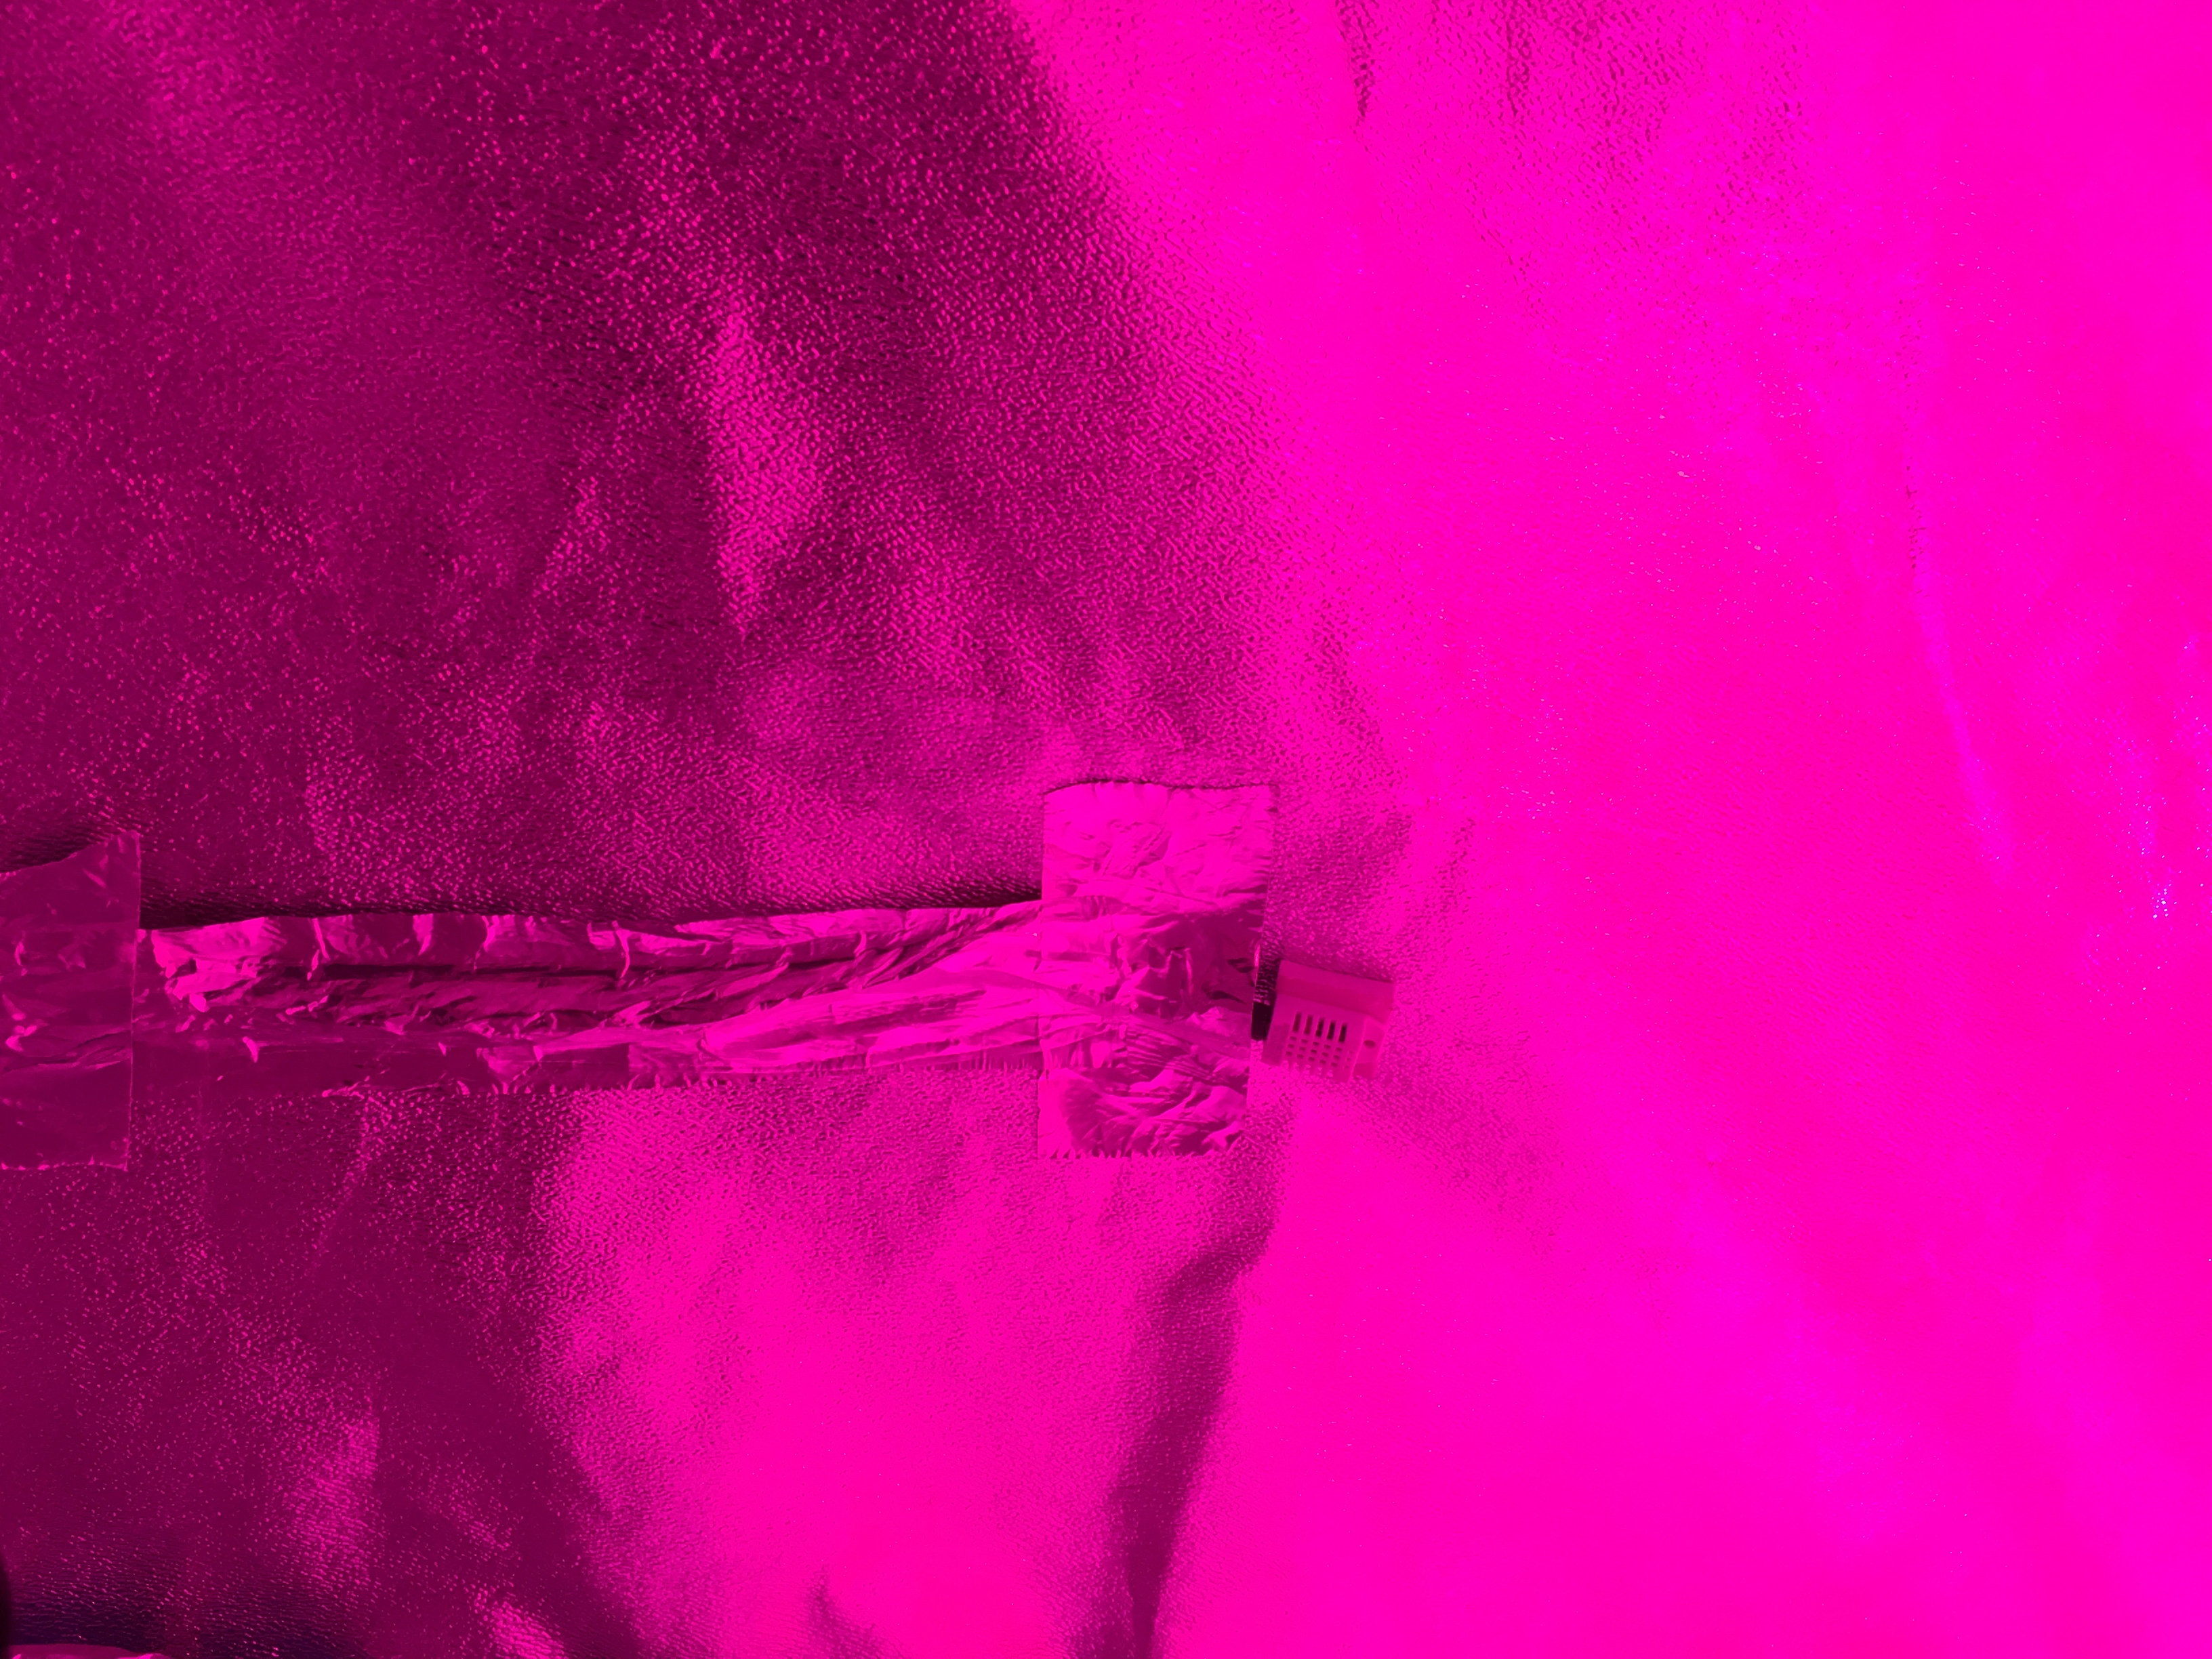
Air temperature sensor 1
air temperature 2
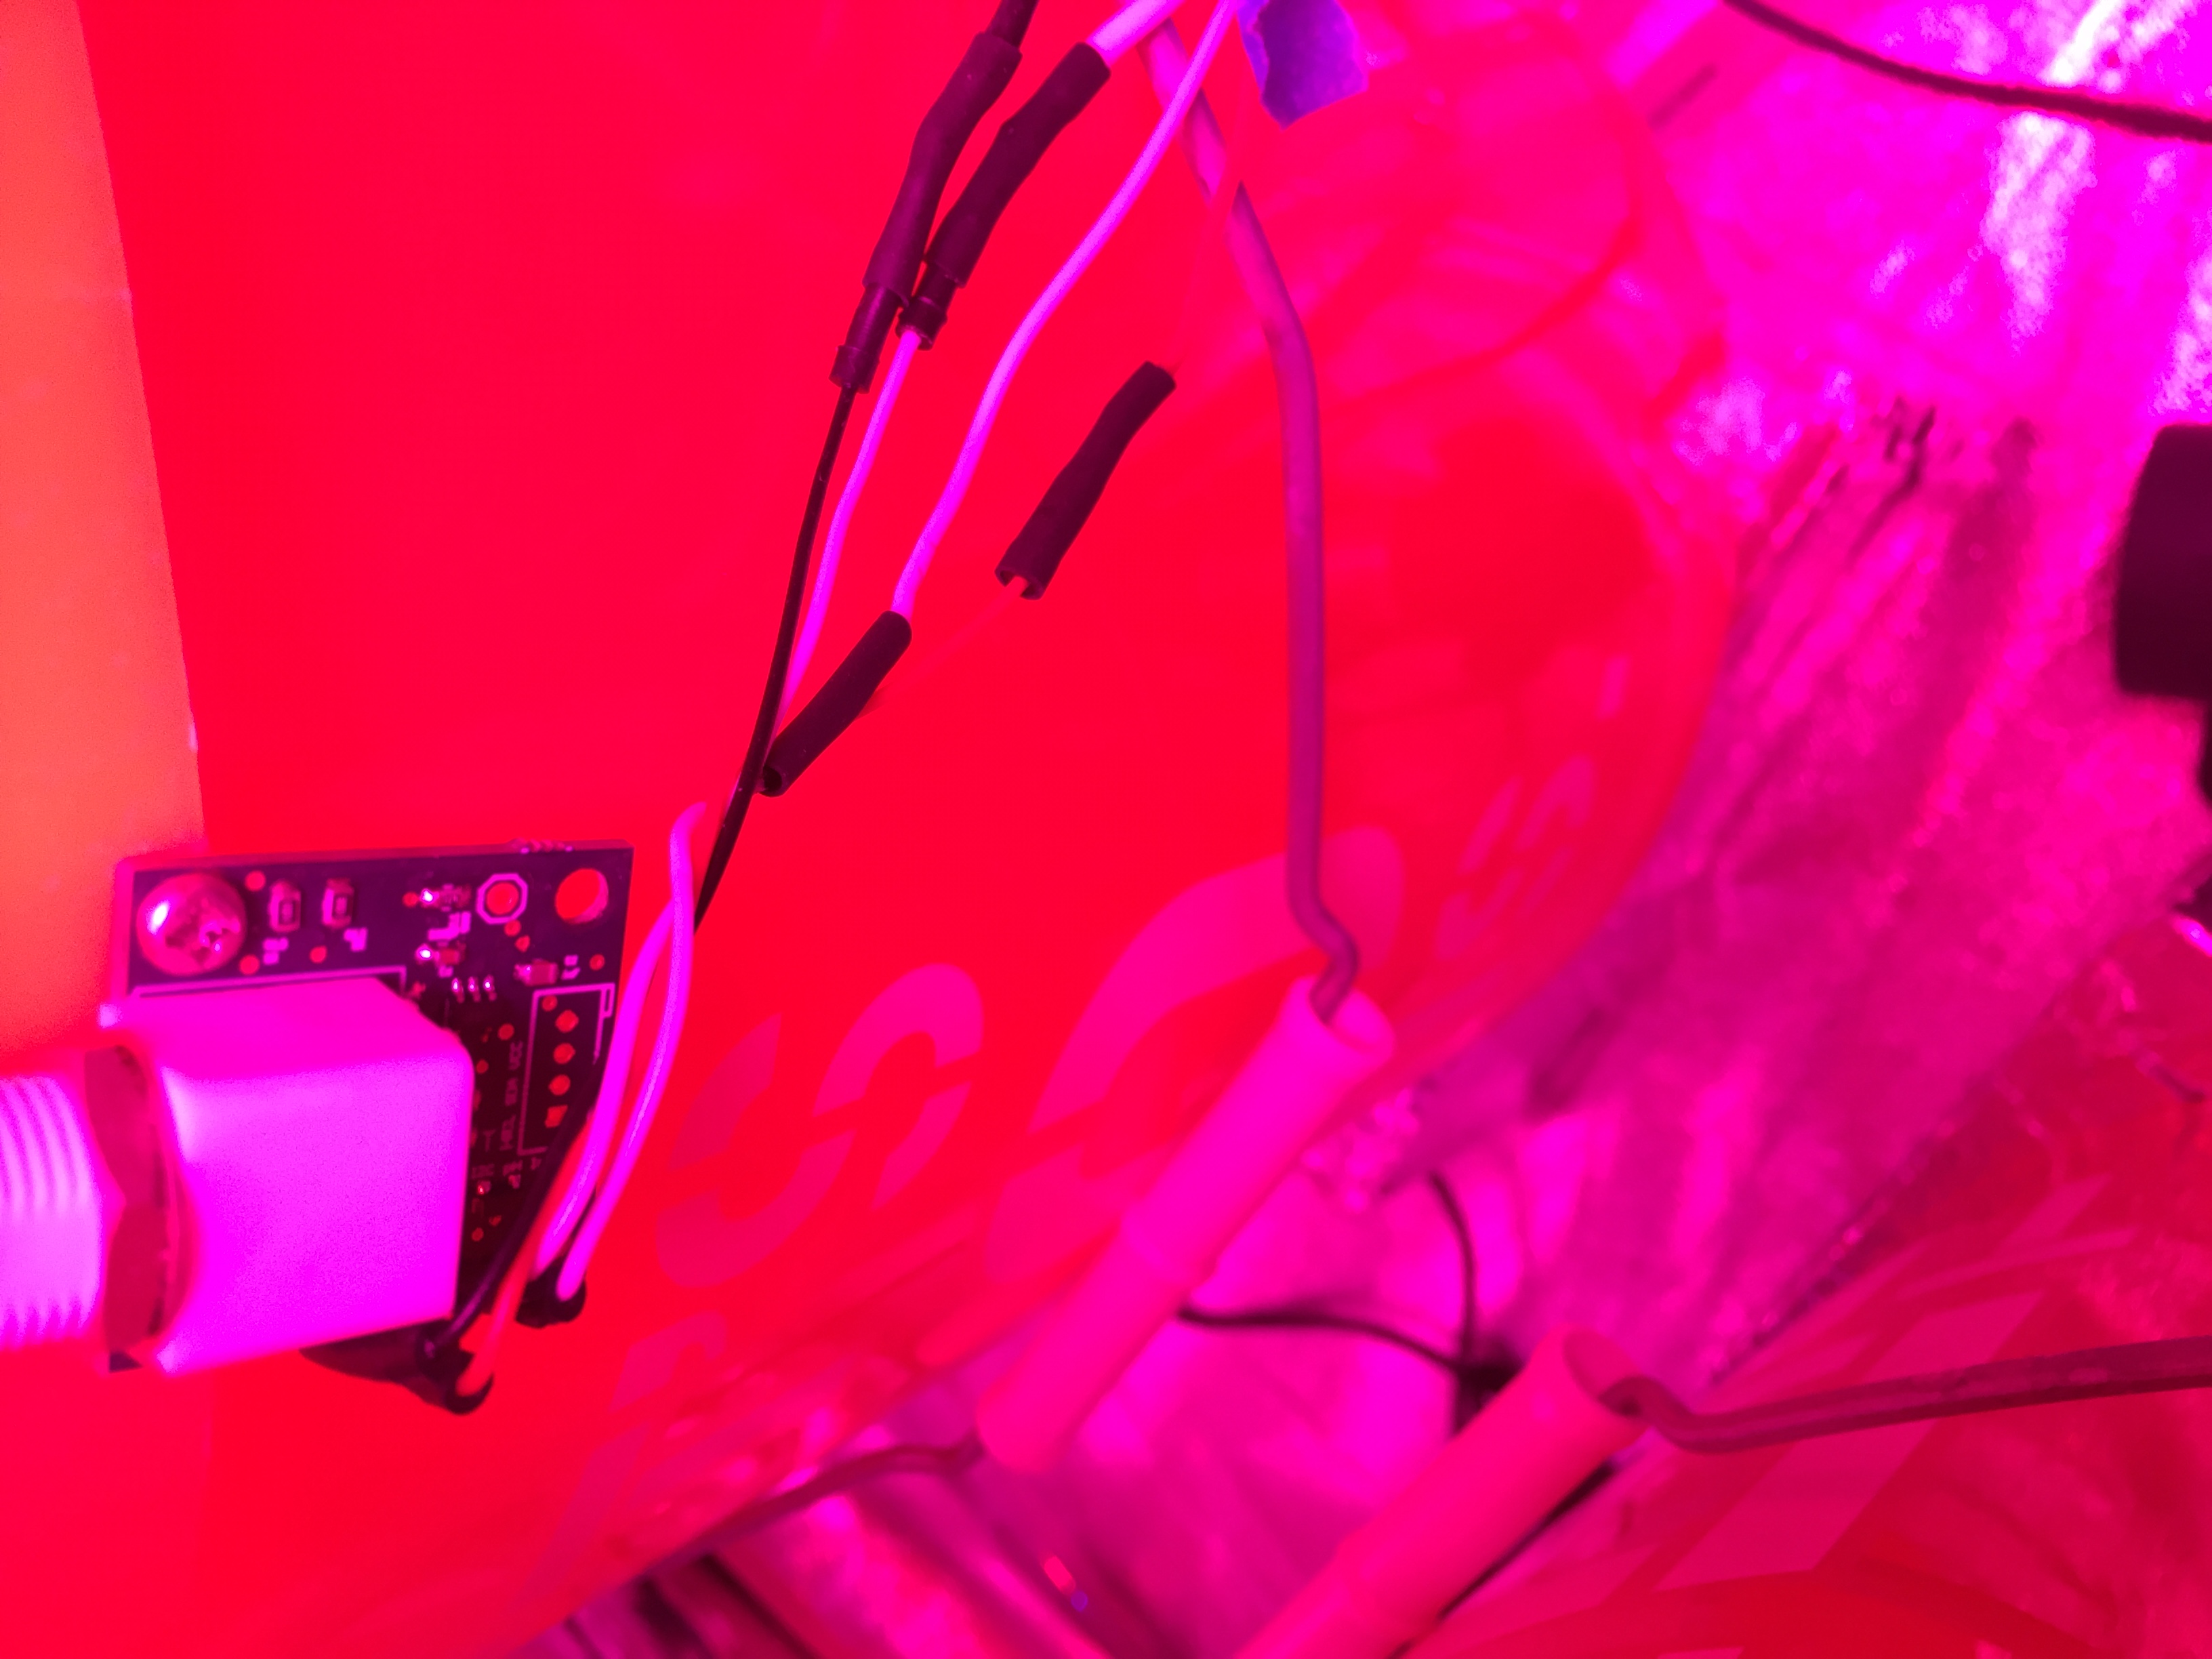
pH soldered and done
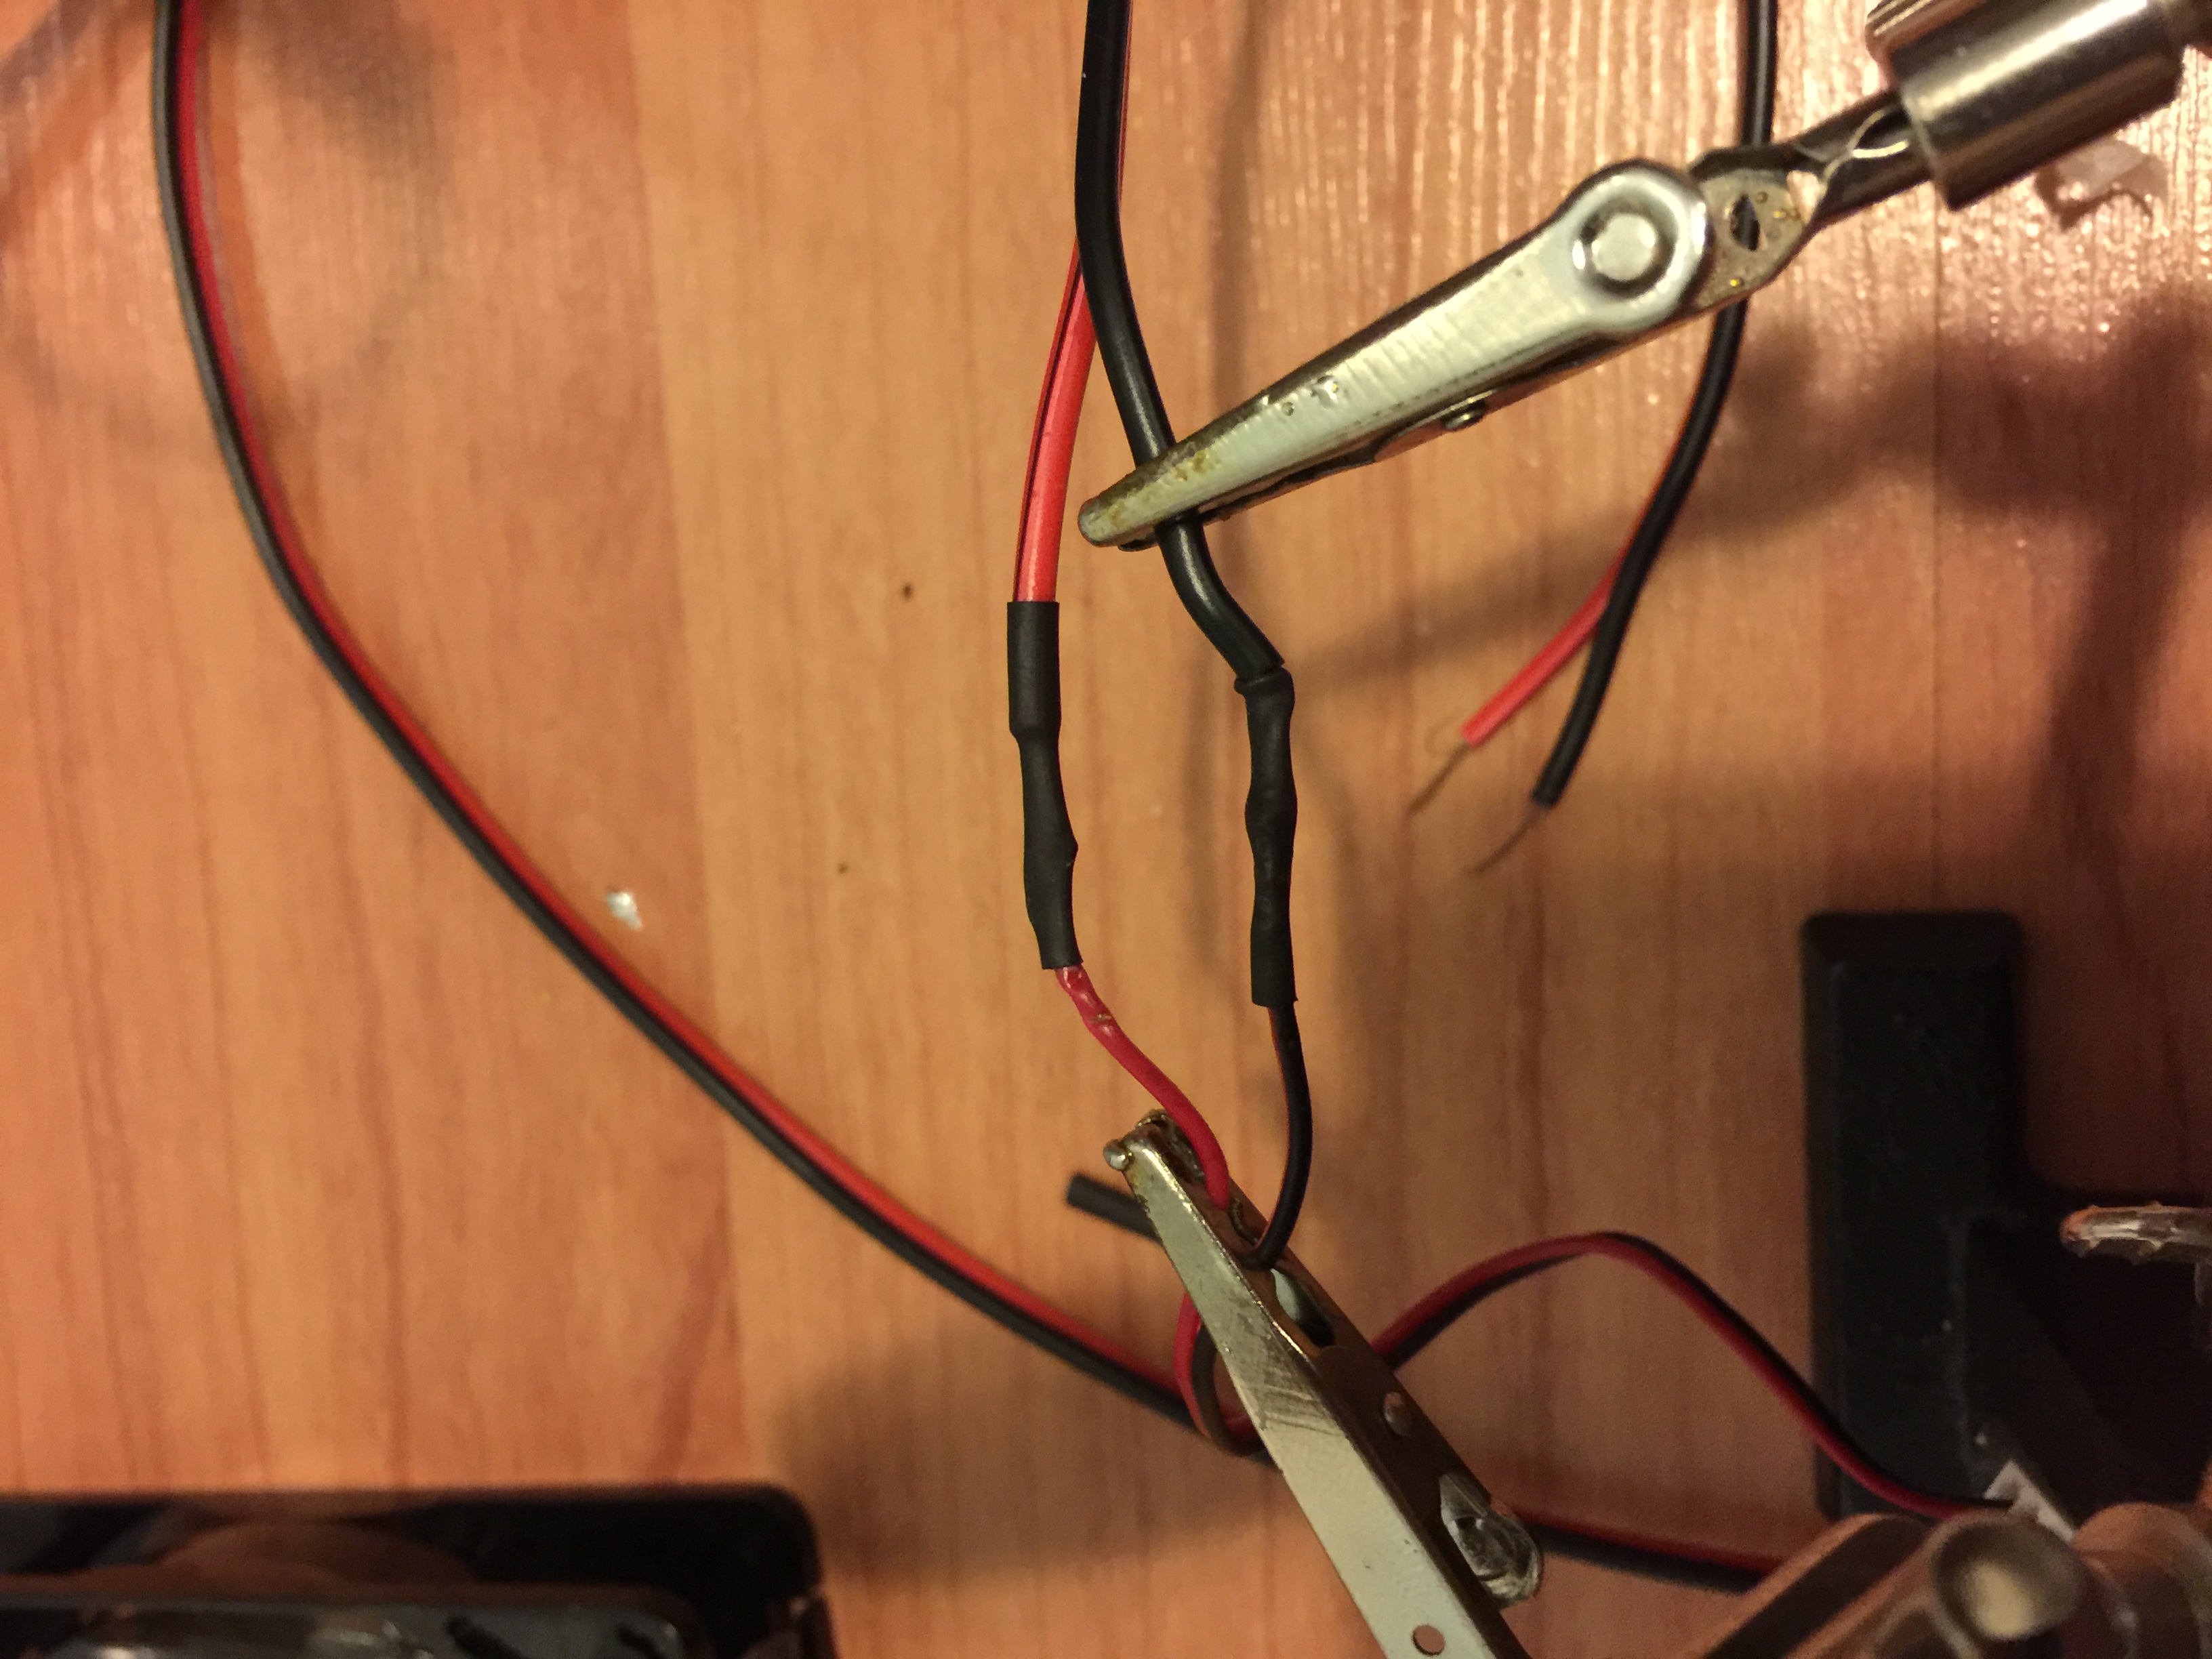
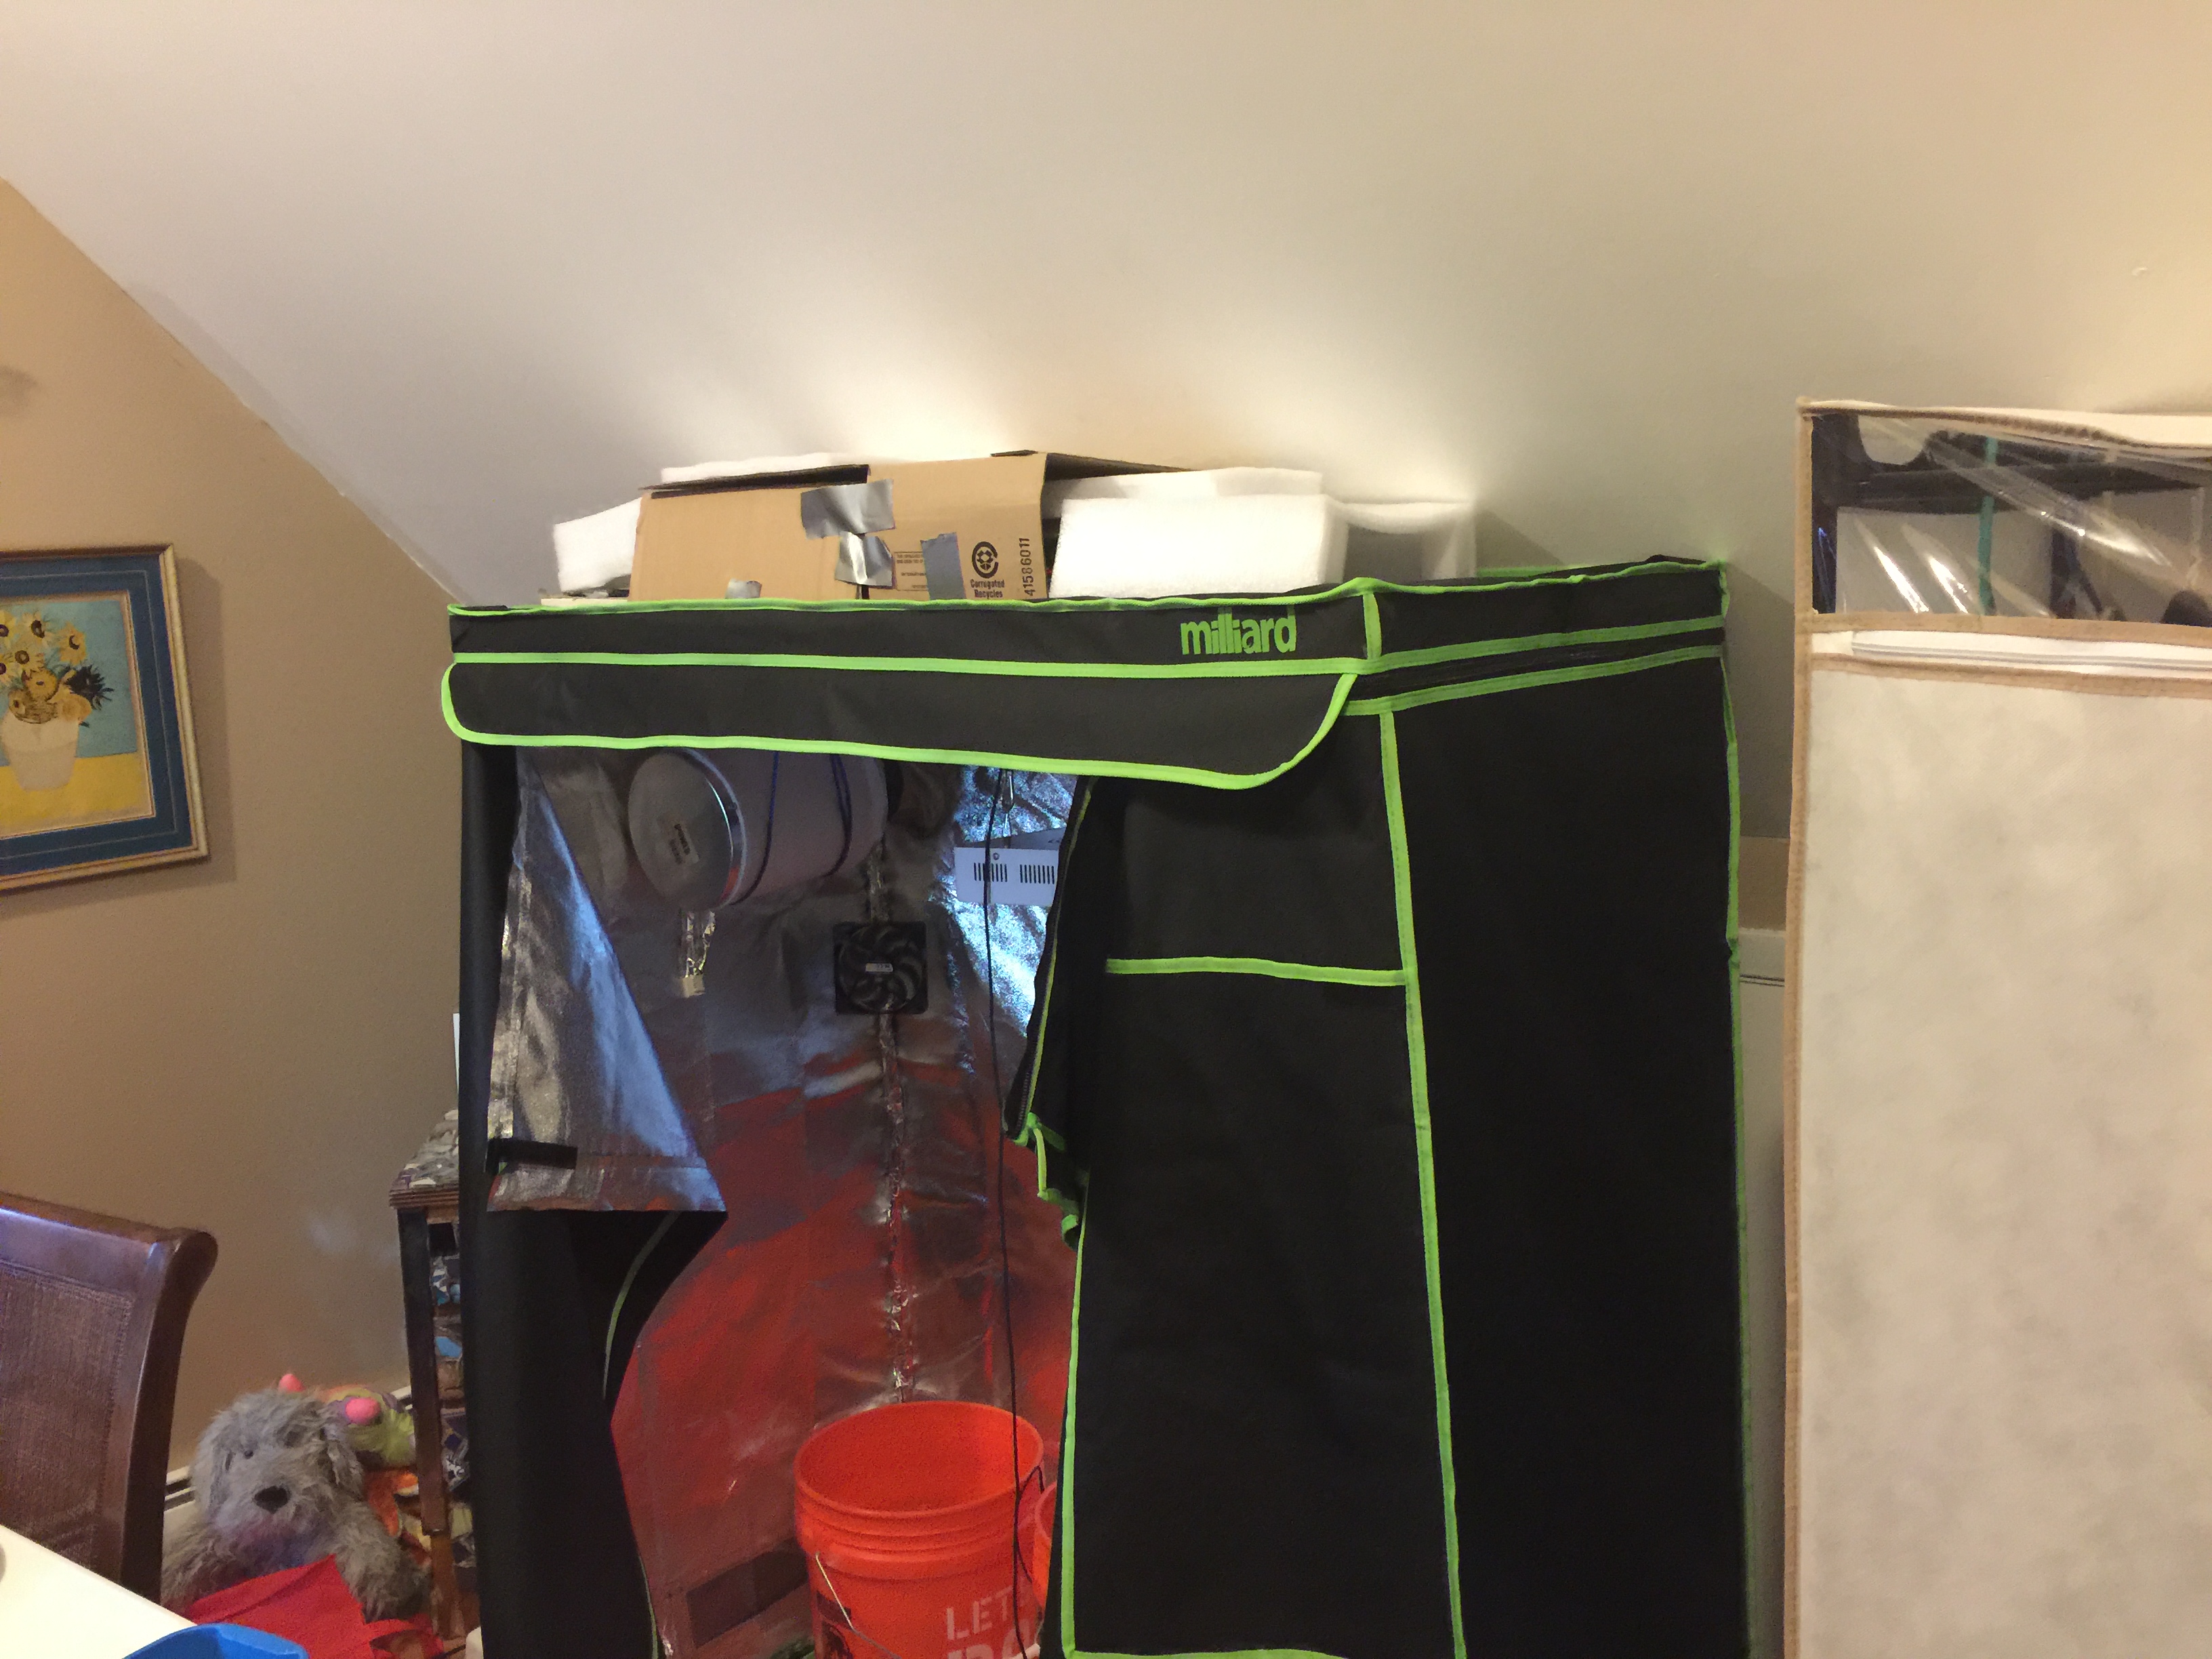
Wire Management 1 and vent fan with a tilt in order for full air flow and instead of being restricted from being to close to the wall

Trying to reduce wire clutter on left side of tent
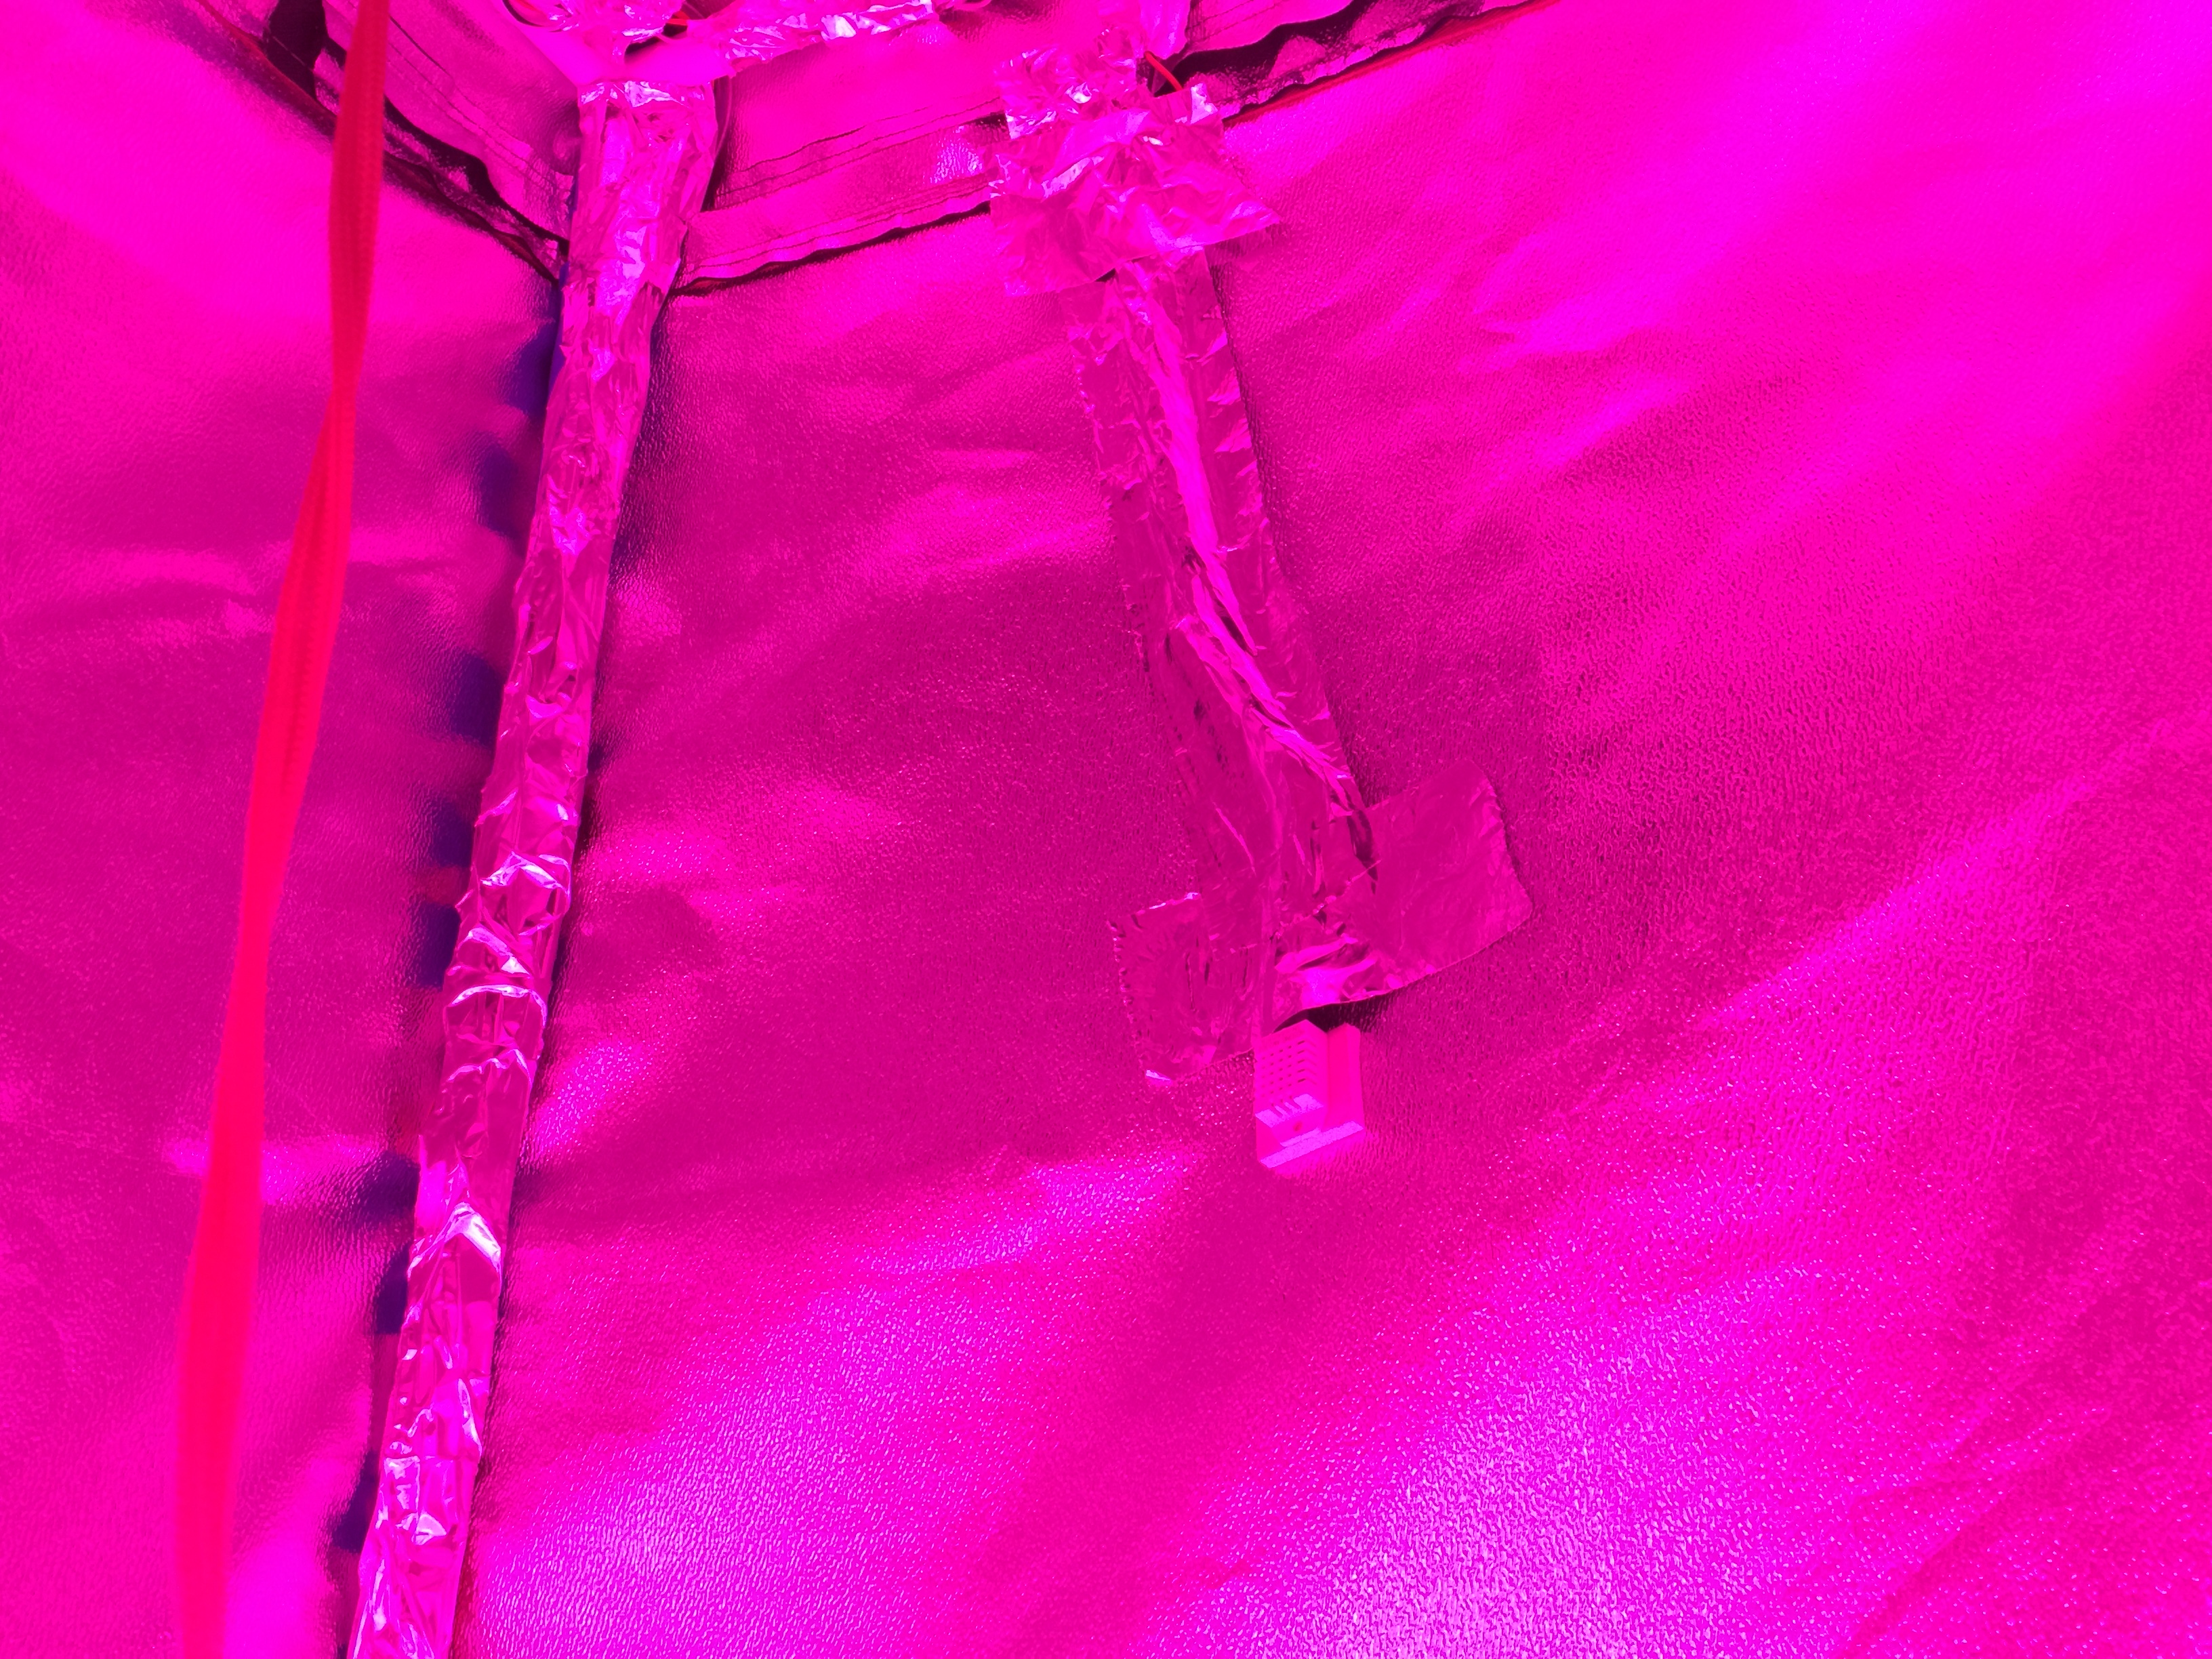
More wire management on right side of tent
July 20th 2016:
After soldering for countless of hours in the heat and humidity of the summer heat indoors. We tried to reduce wire clutter but everything worked out as well as I made sure that there was no exposed wires or any risk of fires. We didn’t want to take out the AC plug from the electronics just in case I wanted to use them.
What we learned with electronics and wiring was important and the importance of keeping wires from touching other electronics wires trying to insulate components wires to reduce noise. Noise causes electronics to have errors when reading data from them. We spend hours reorganizing wires and now all the electronics work perfectly with little to no errors from reading data.
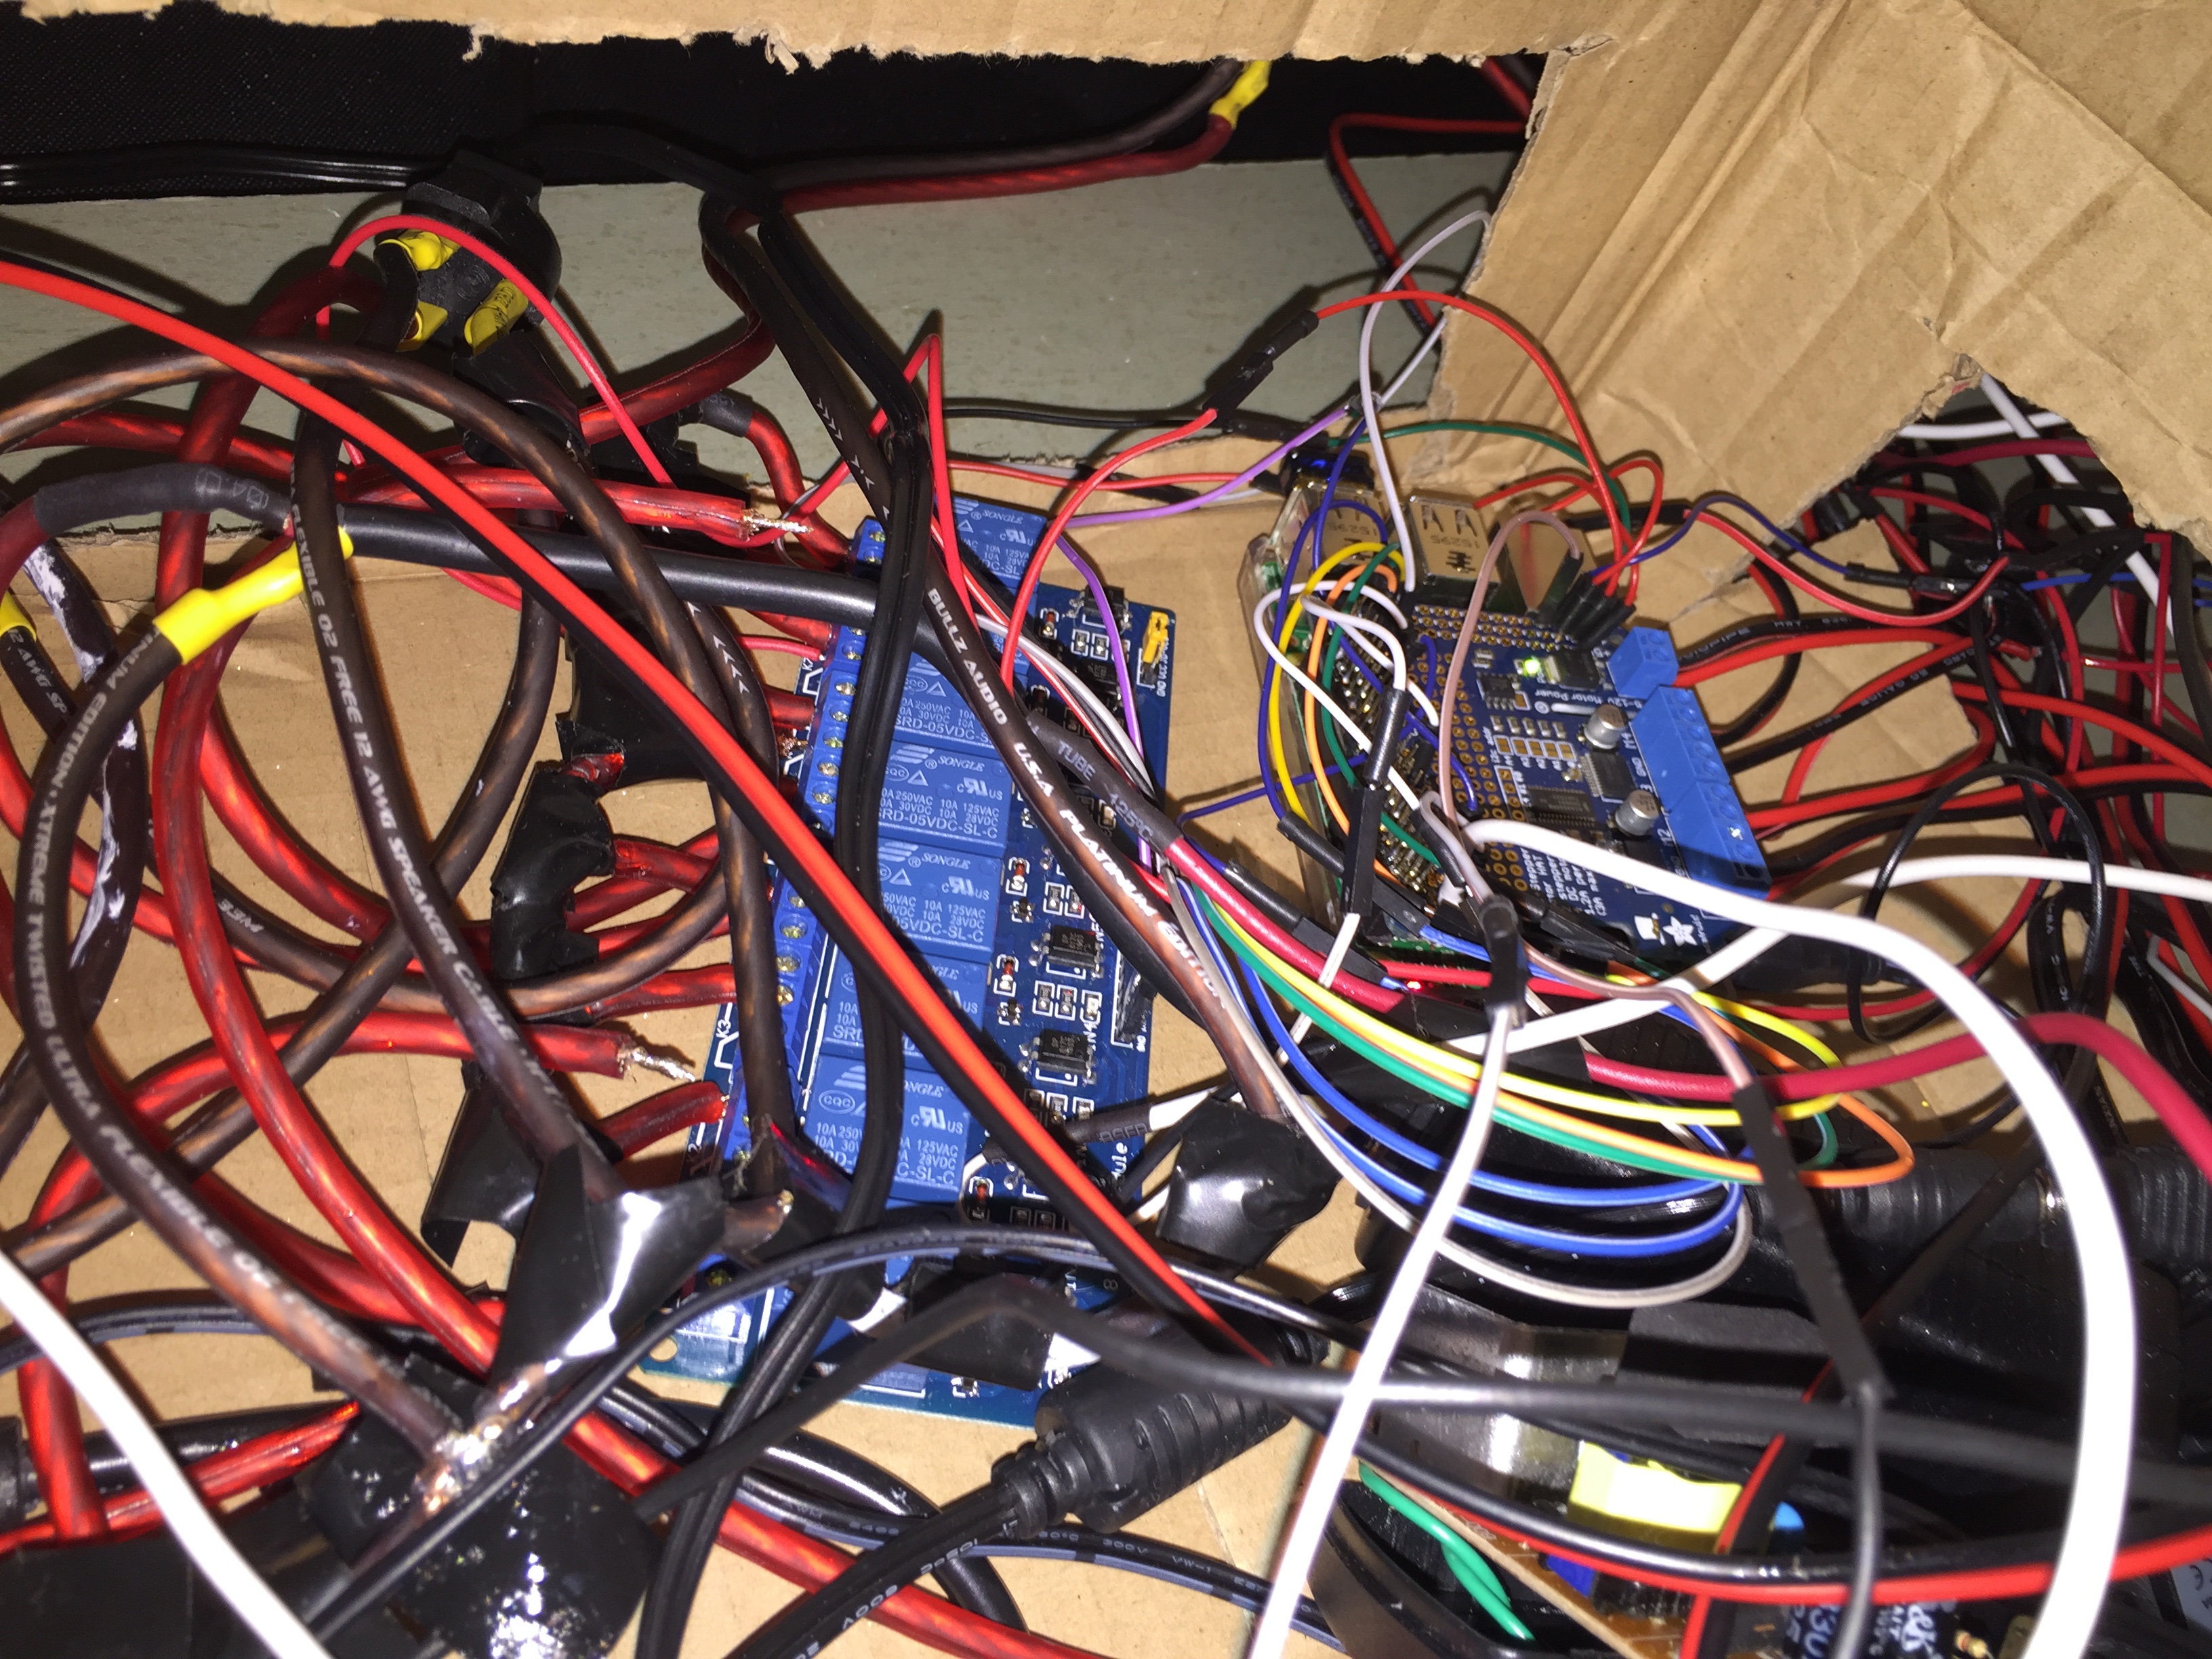
It may seem like a mess but it works
Covered the top with foam and put the wires in a card board box to make it look neater.
Another view
July 24 2016:
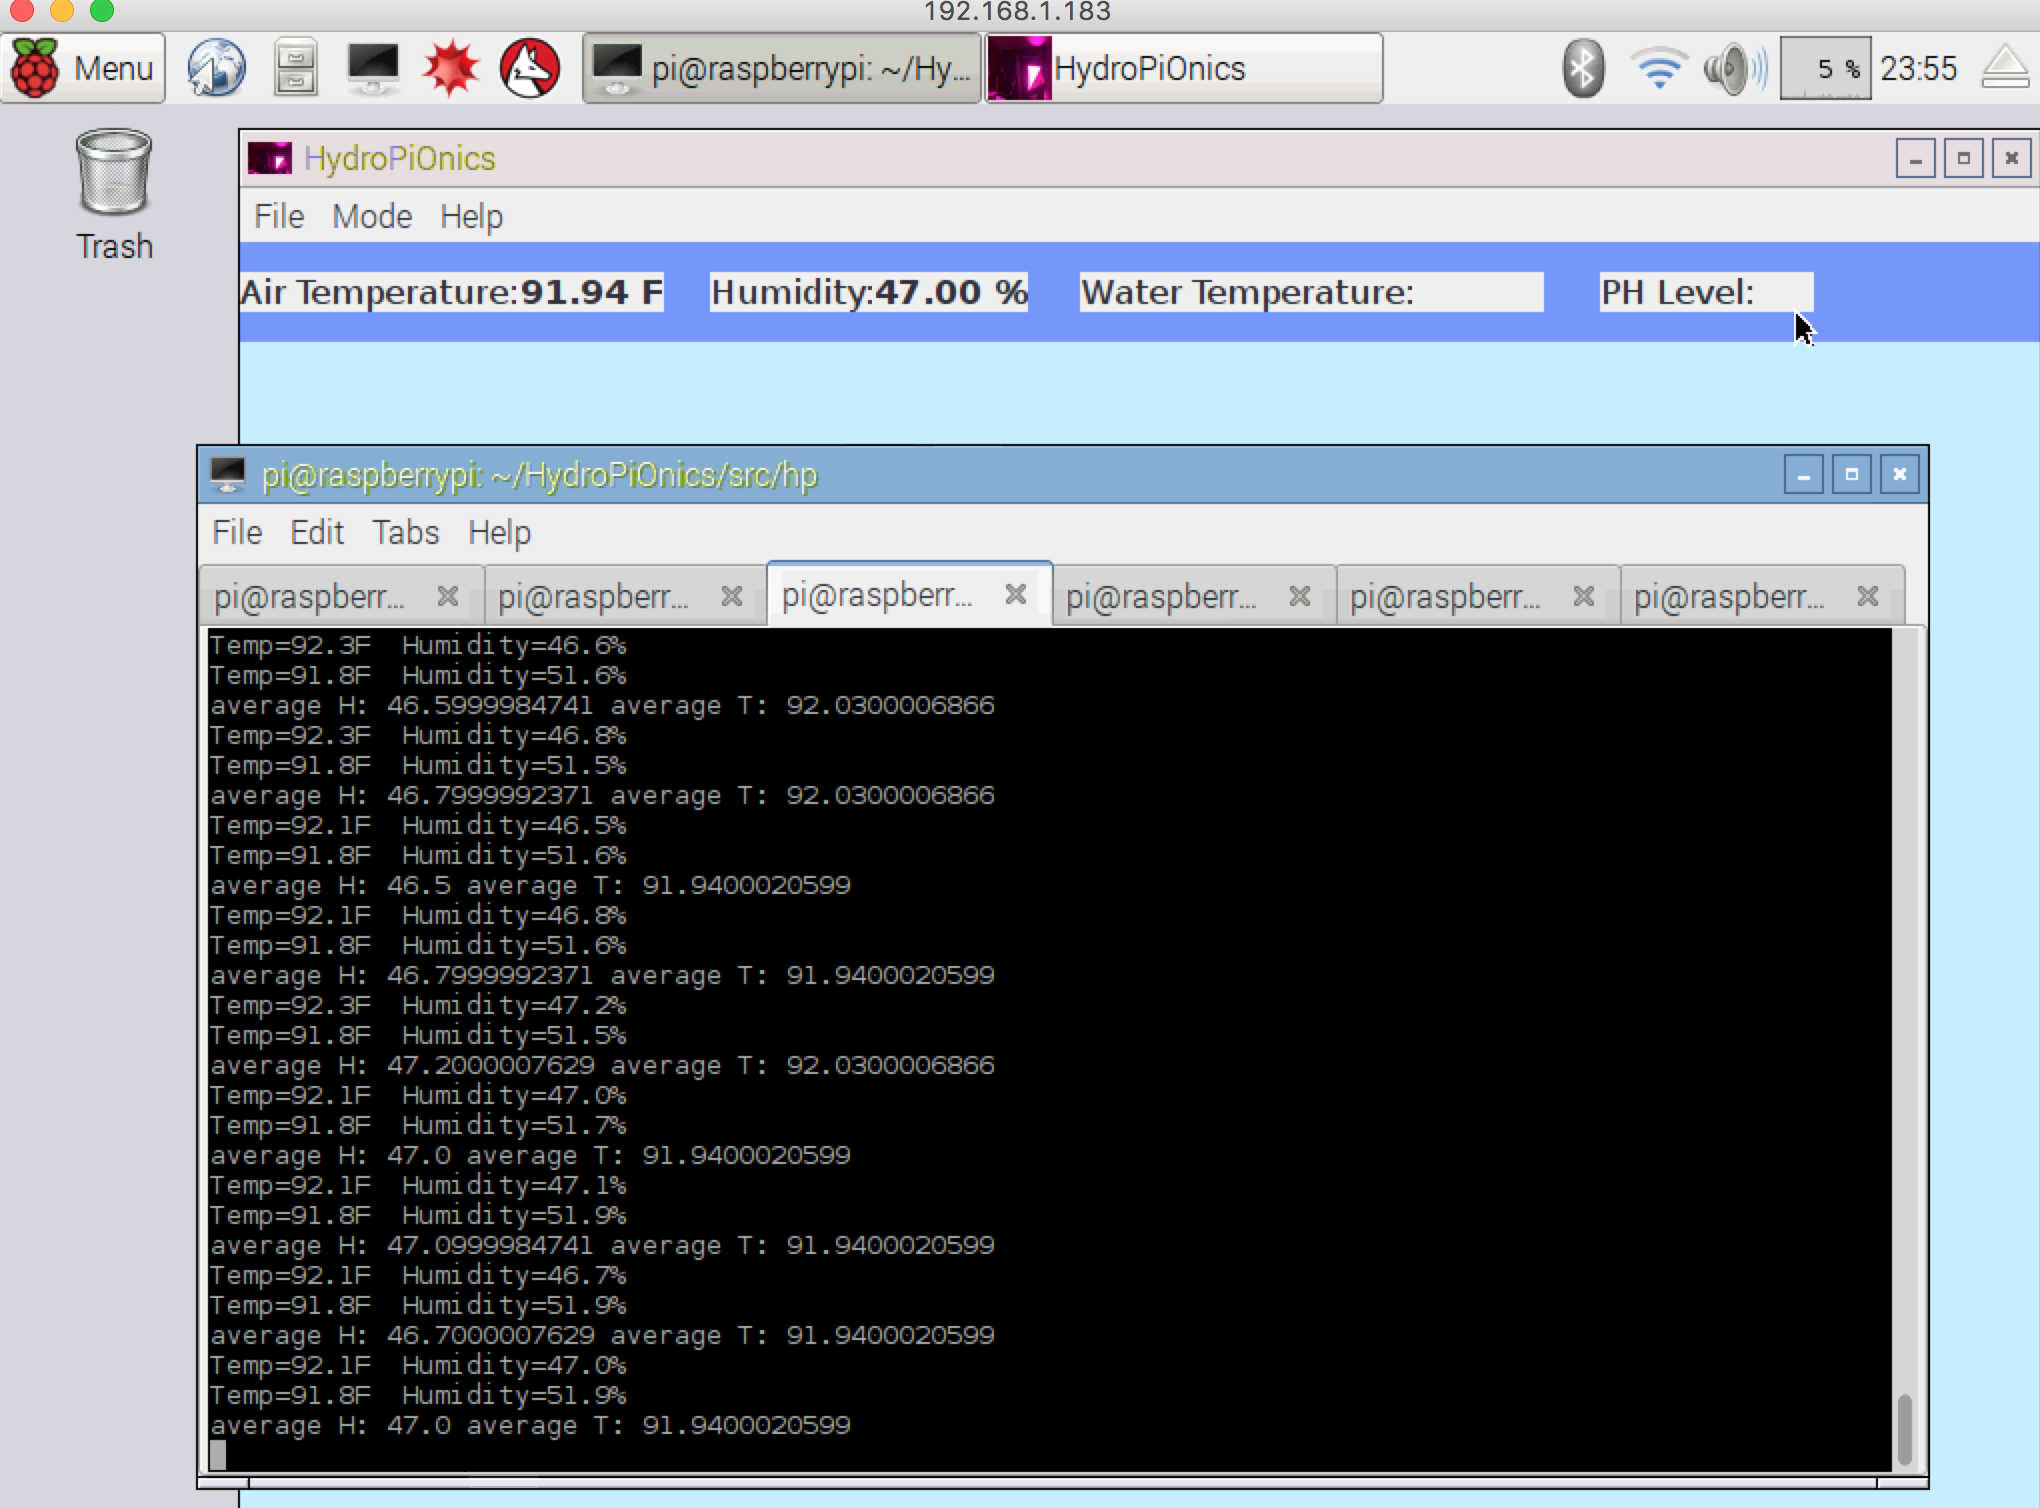
Created a python script to monitor pH Level, water temperature.
Created a script so that it reads the average of the 2 humidity’s from the air temperature/ humidity sensors then calculates if the humidity is less than 50%. It would then turn on the humidifier and if the humidity was higher than 50 % it would shut the humidifier off.
I created a script so that the lights would turn off for 8 hours and turn on for 16 hrs.
pH script using the data read from the MiniPH API
Script to turn on ventilation fan intake. exhaust, and air pump/dc pump parallel circuit all with the help of the Adafruit API
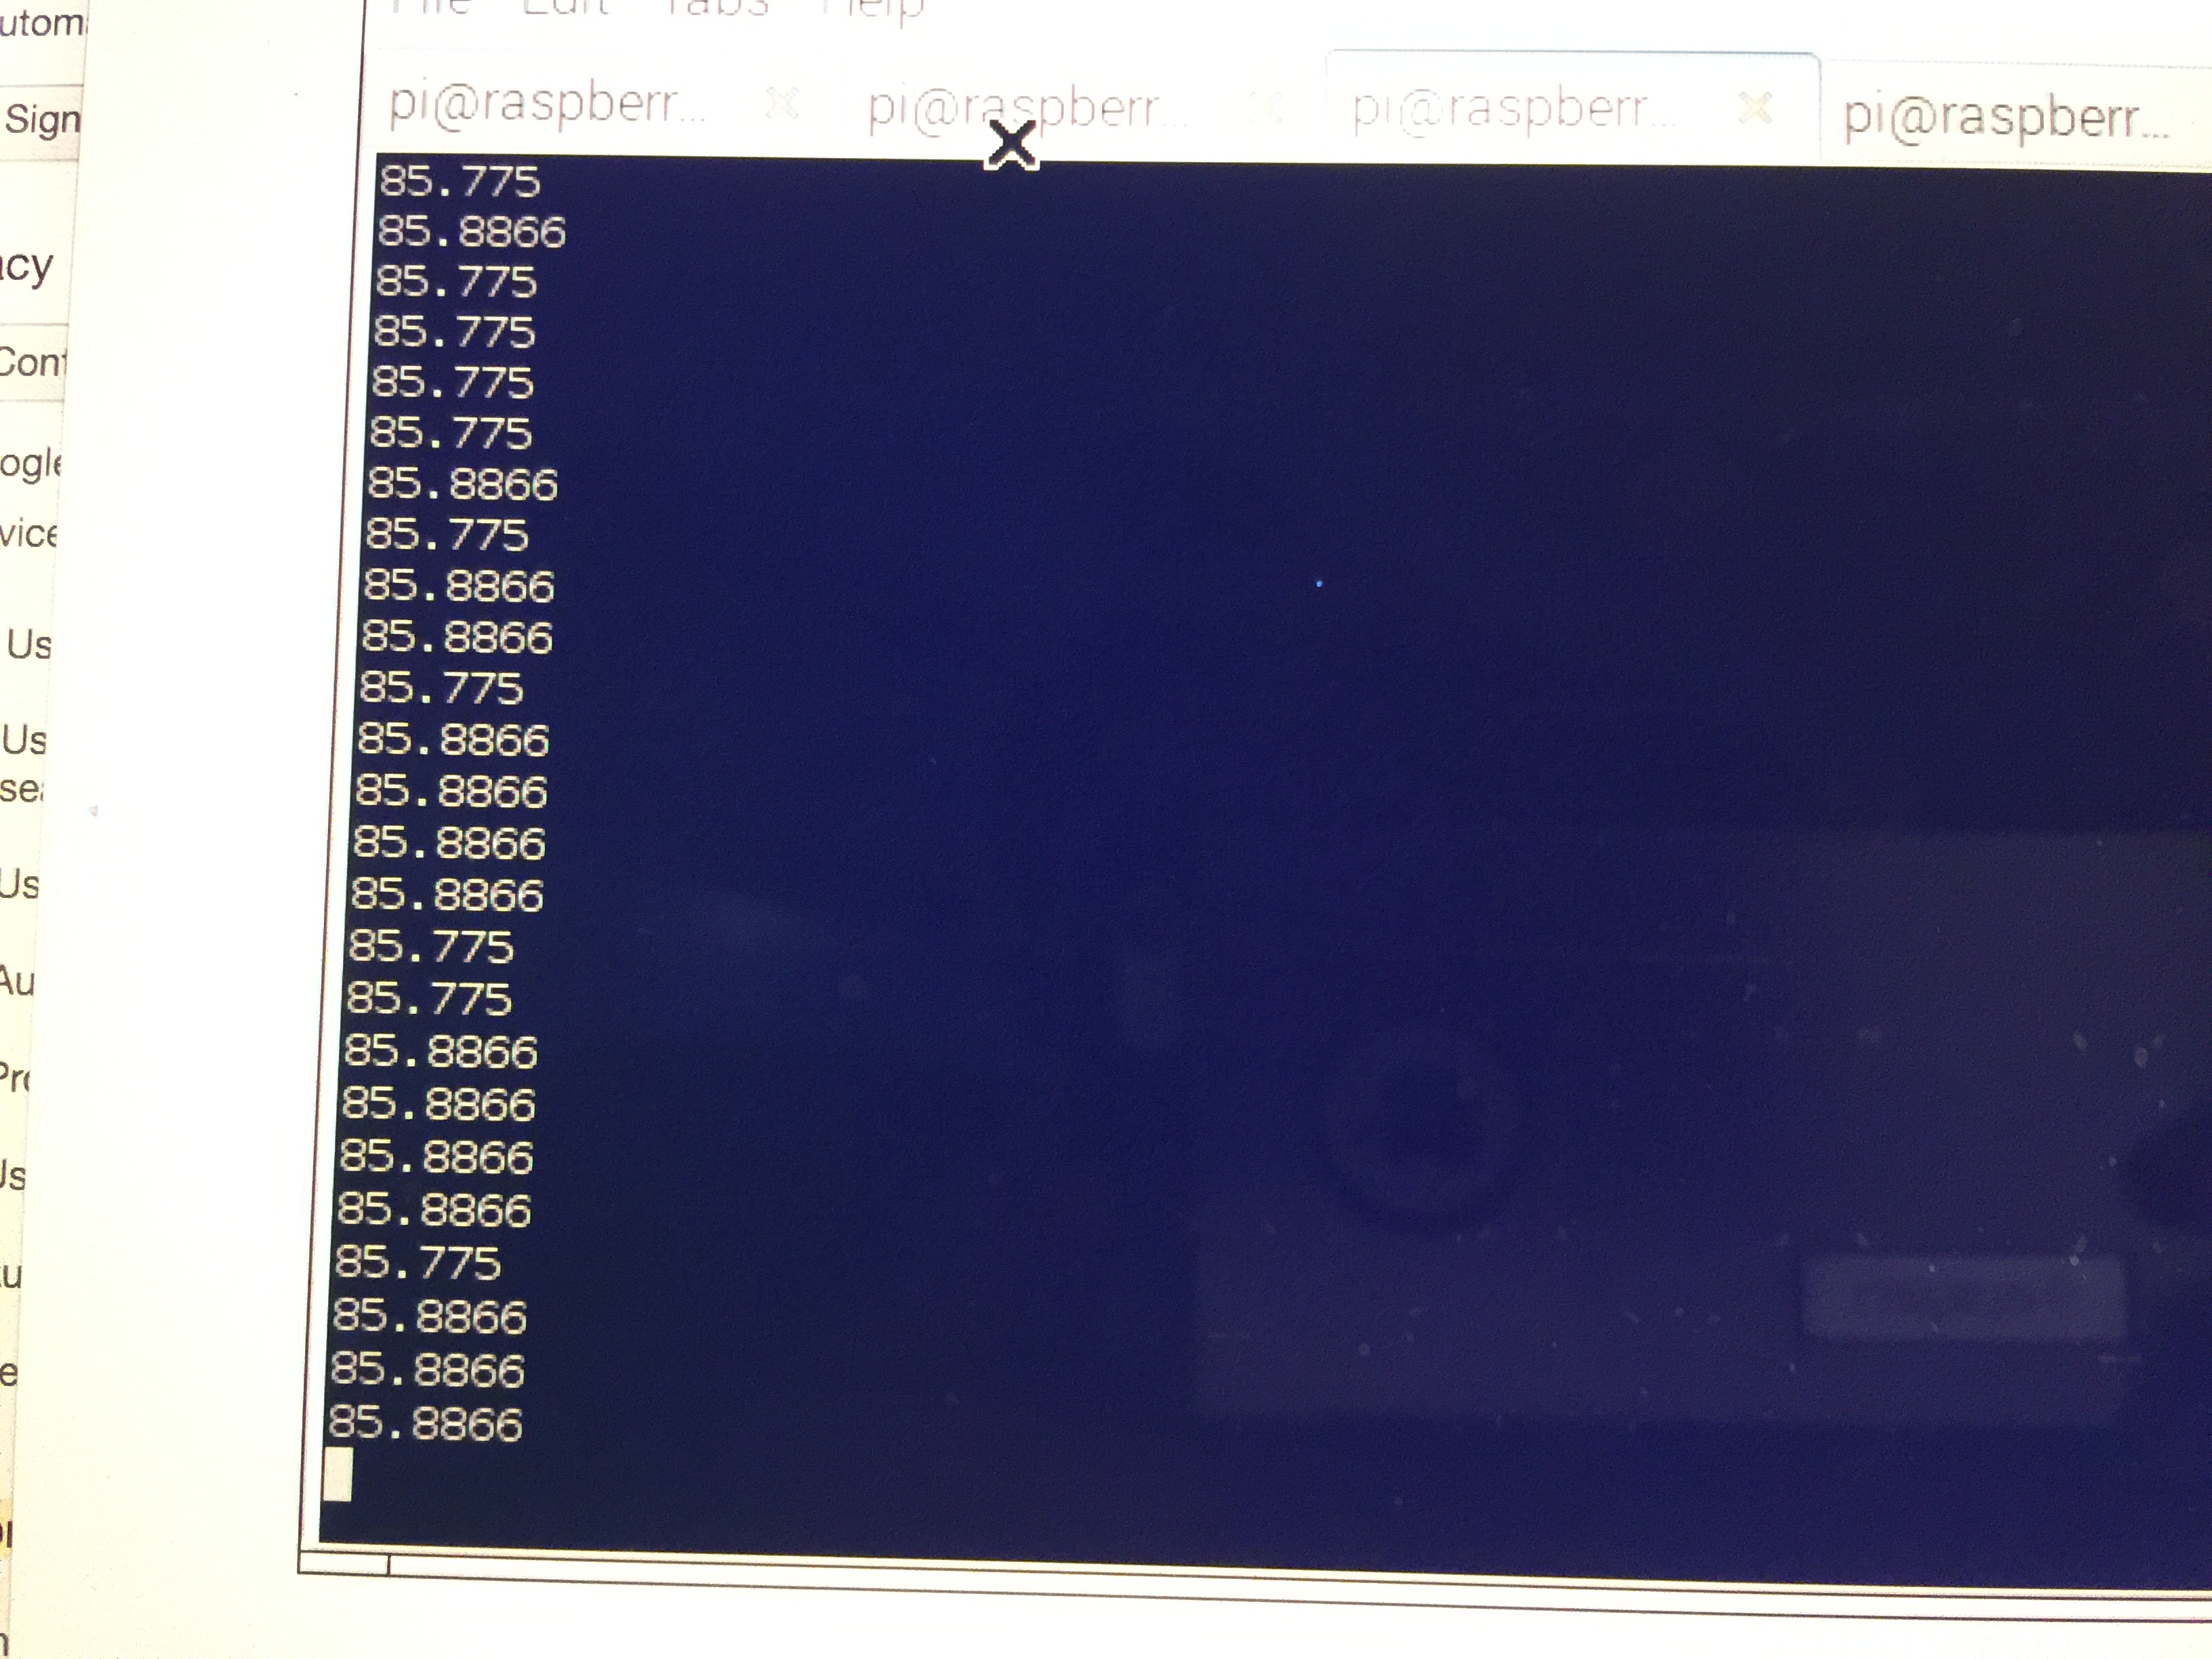
Water temperature reading script using the Adafruit API
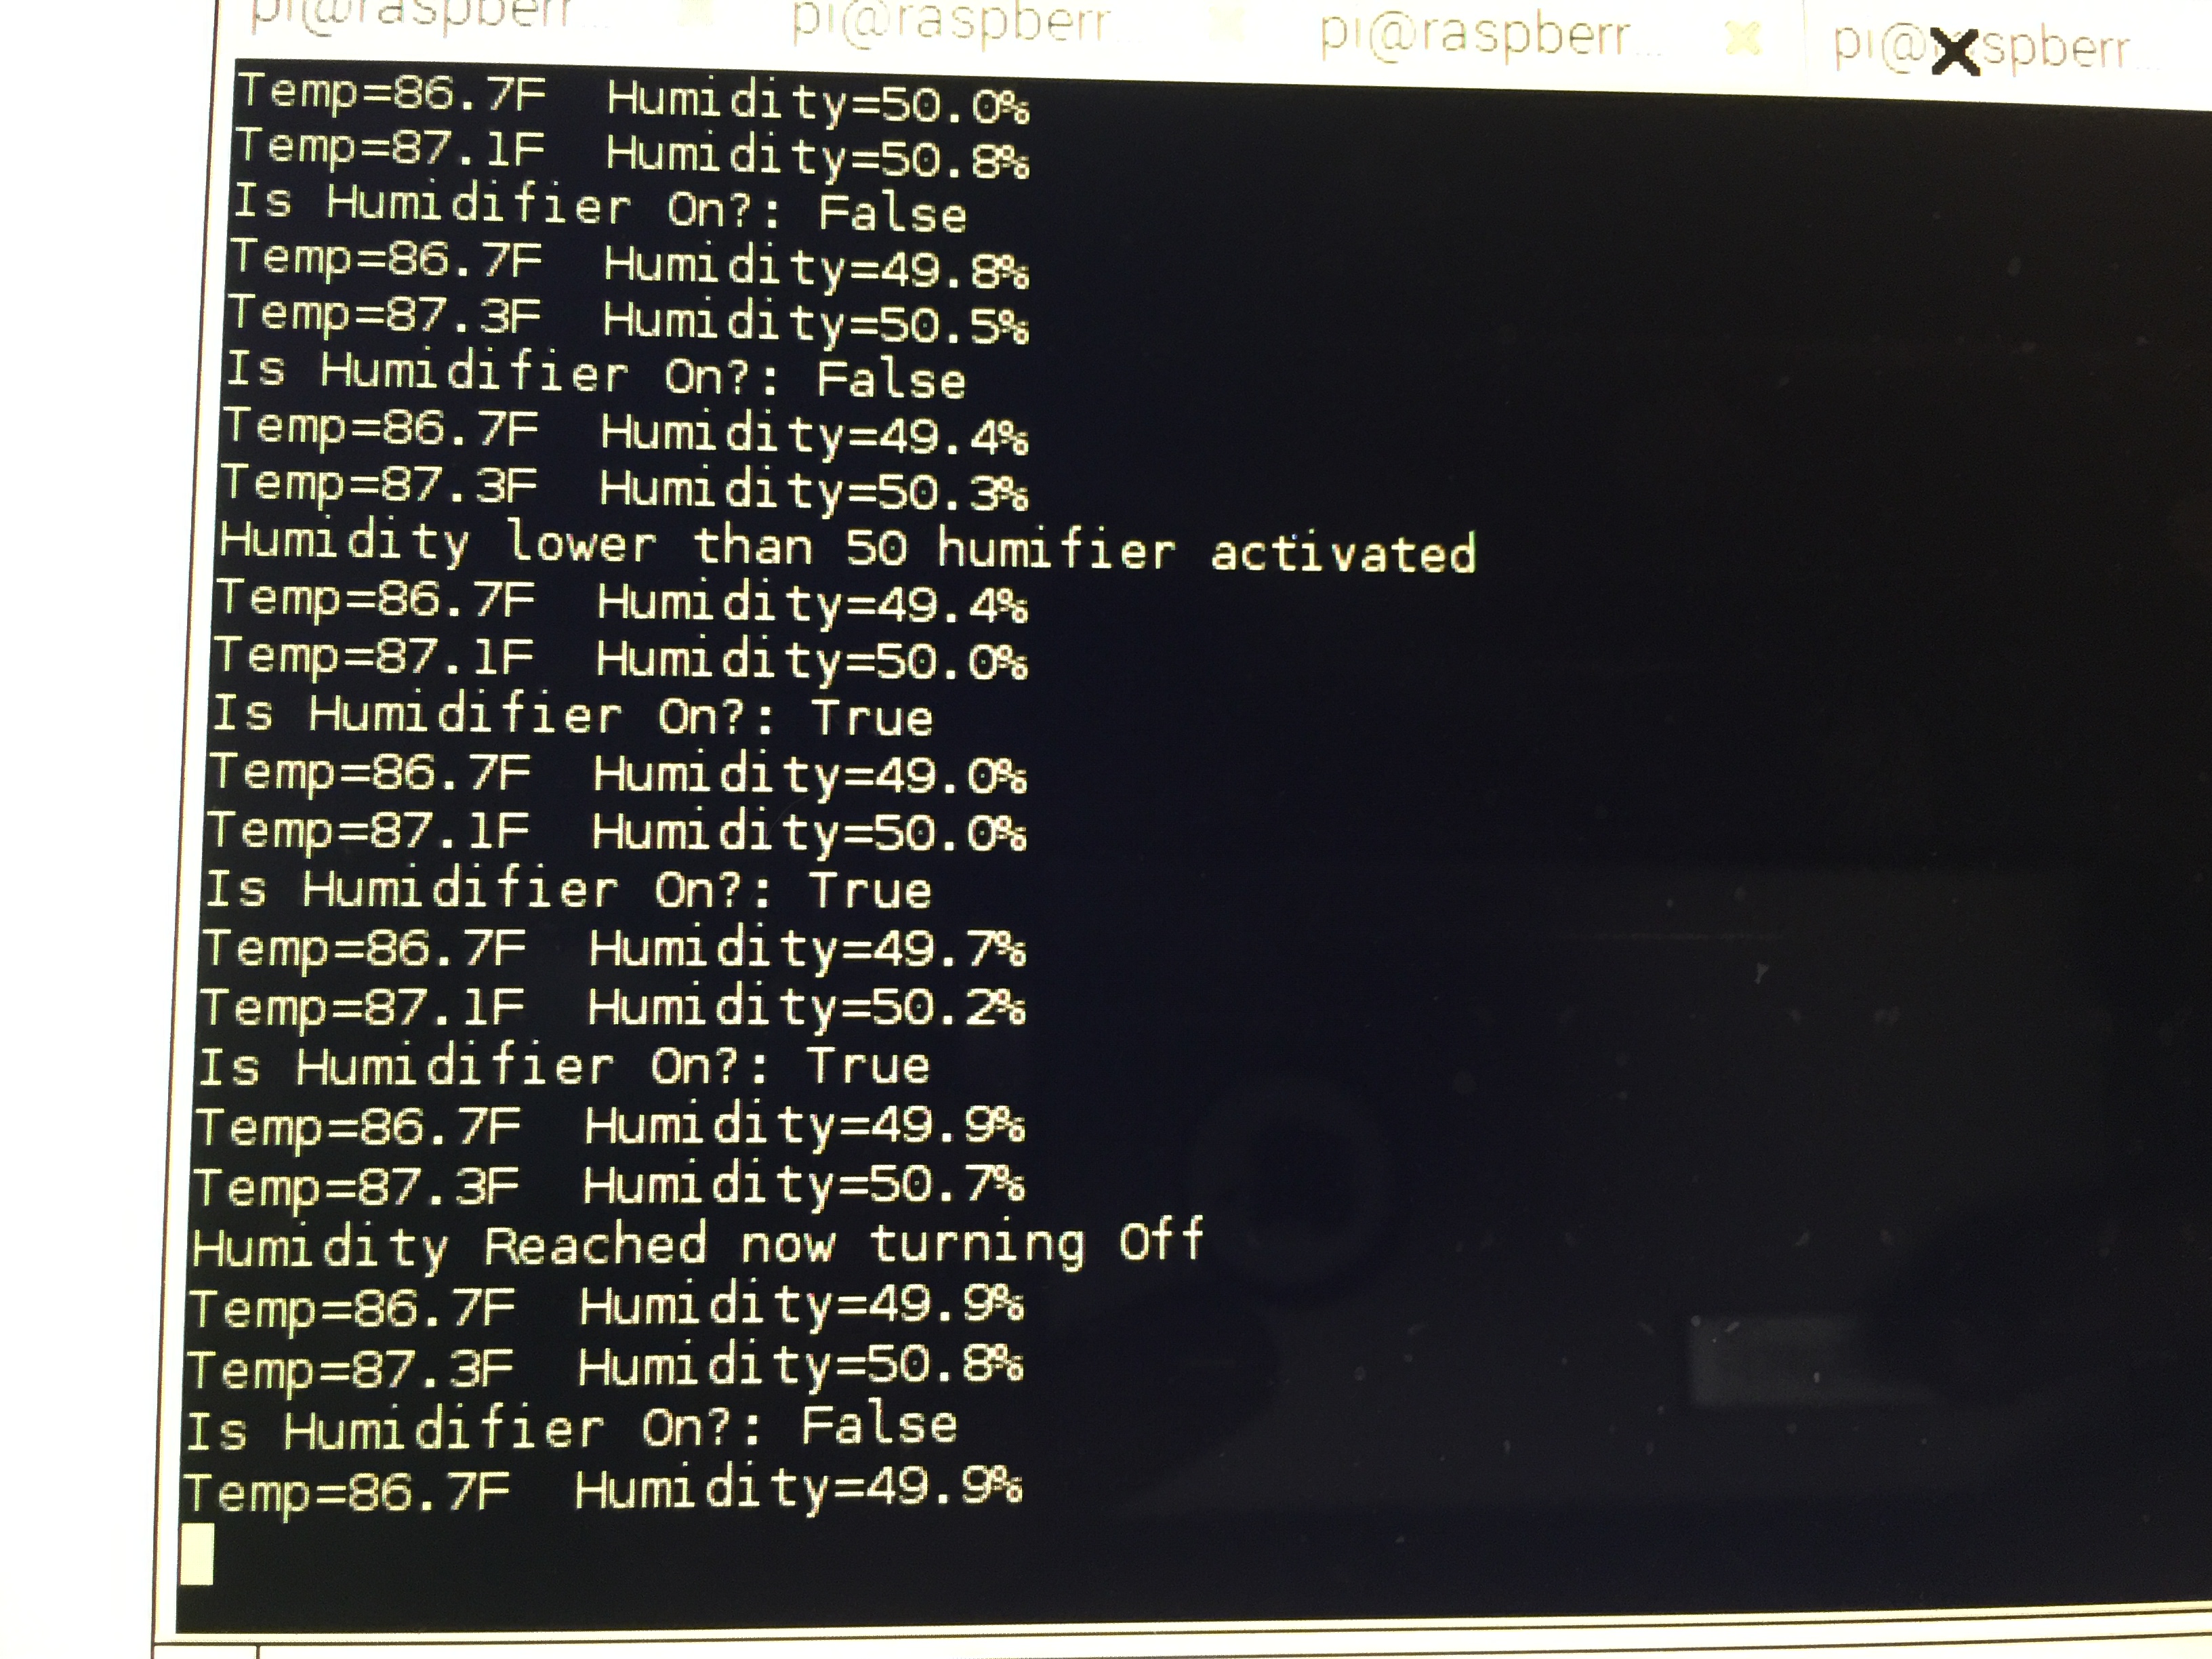
Air temperature /humidifier script
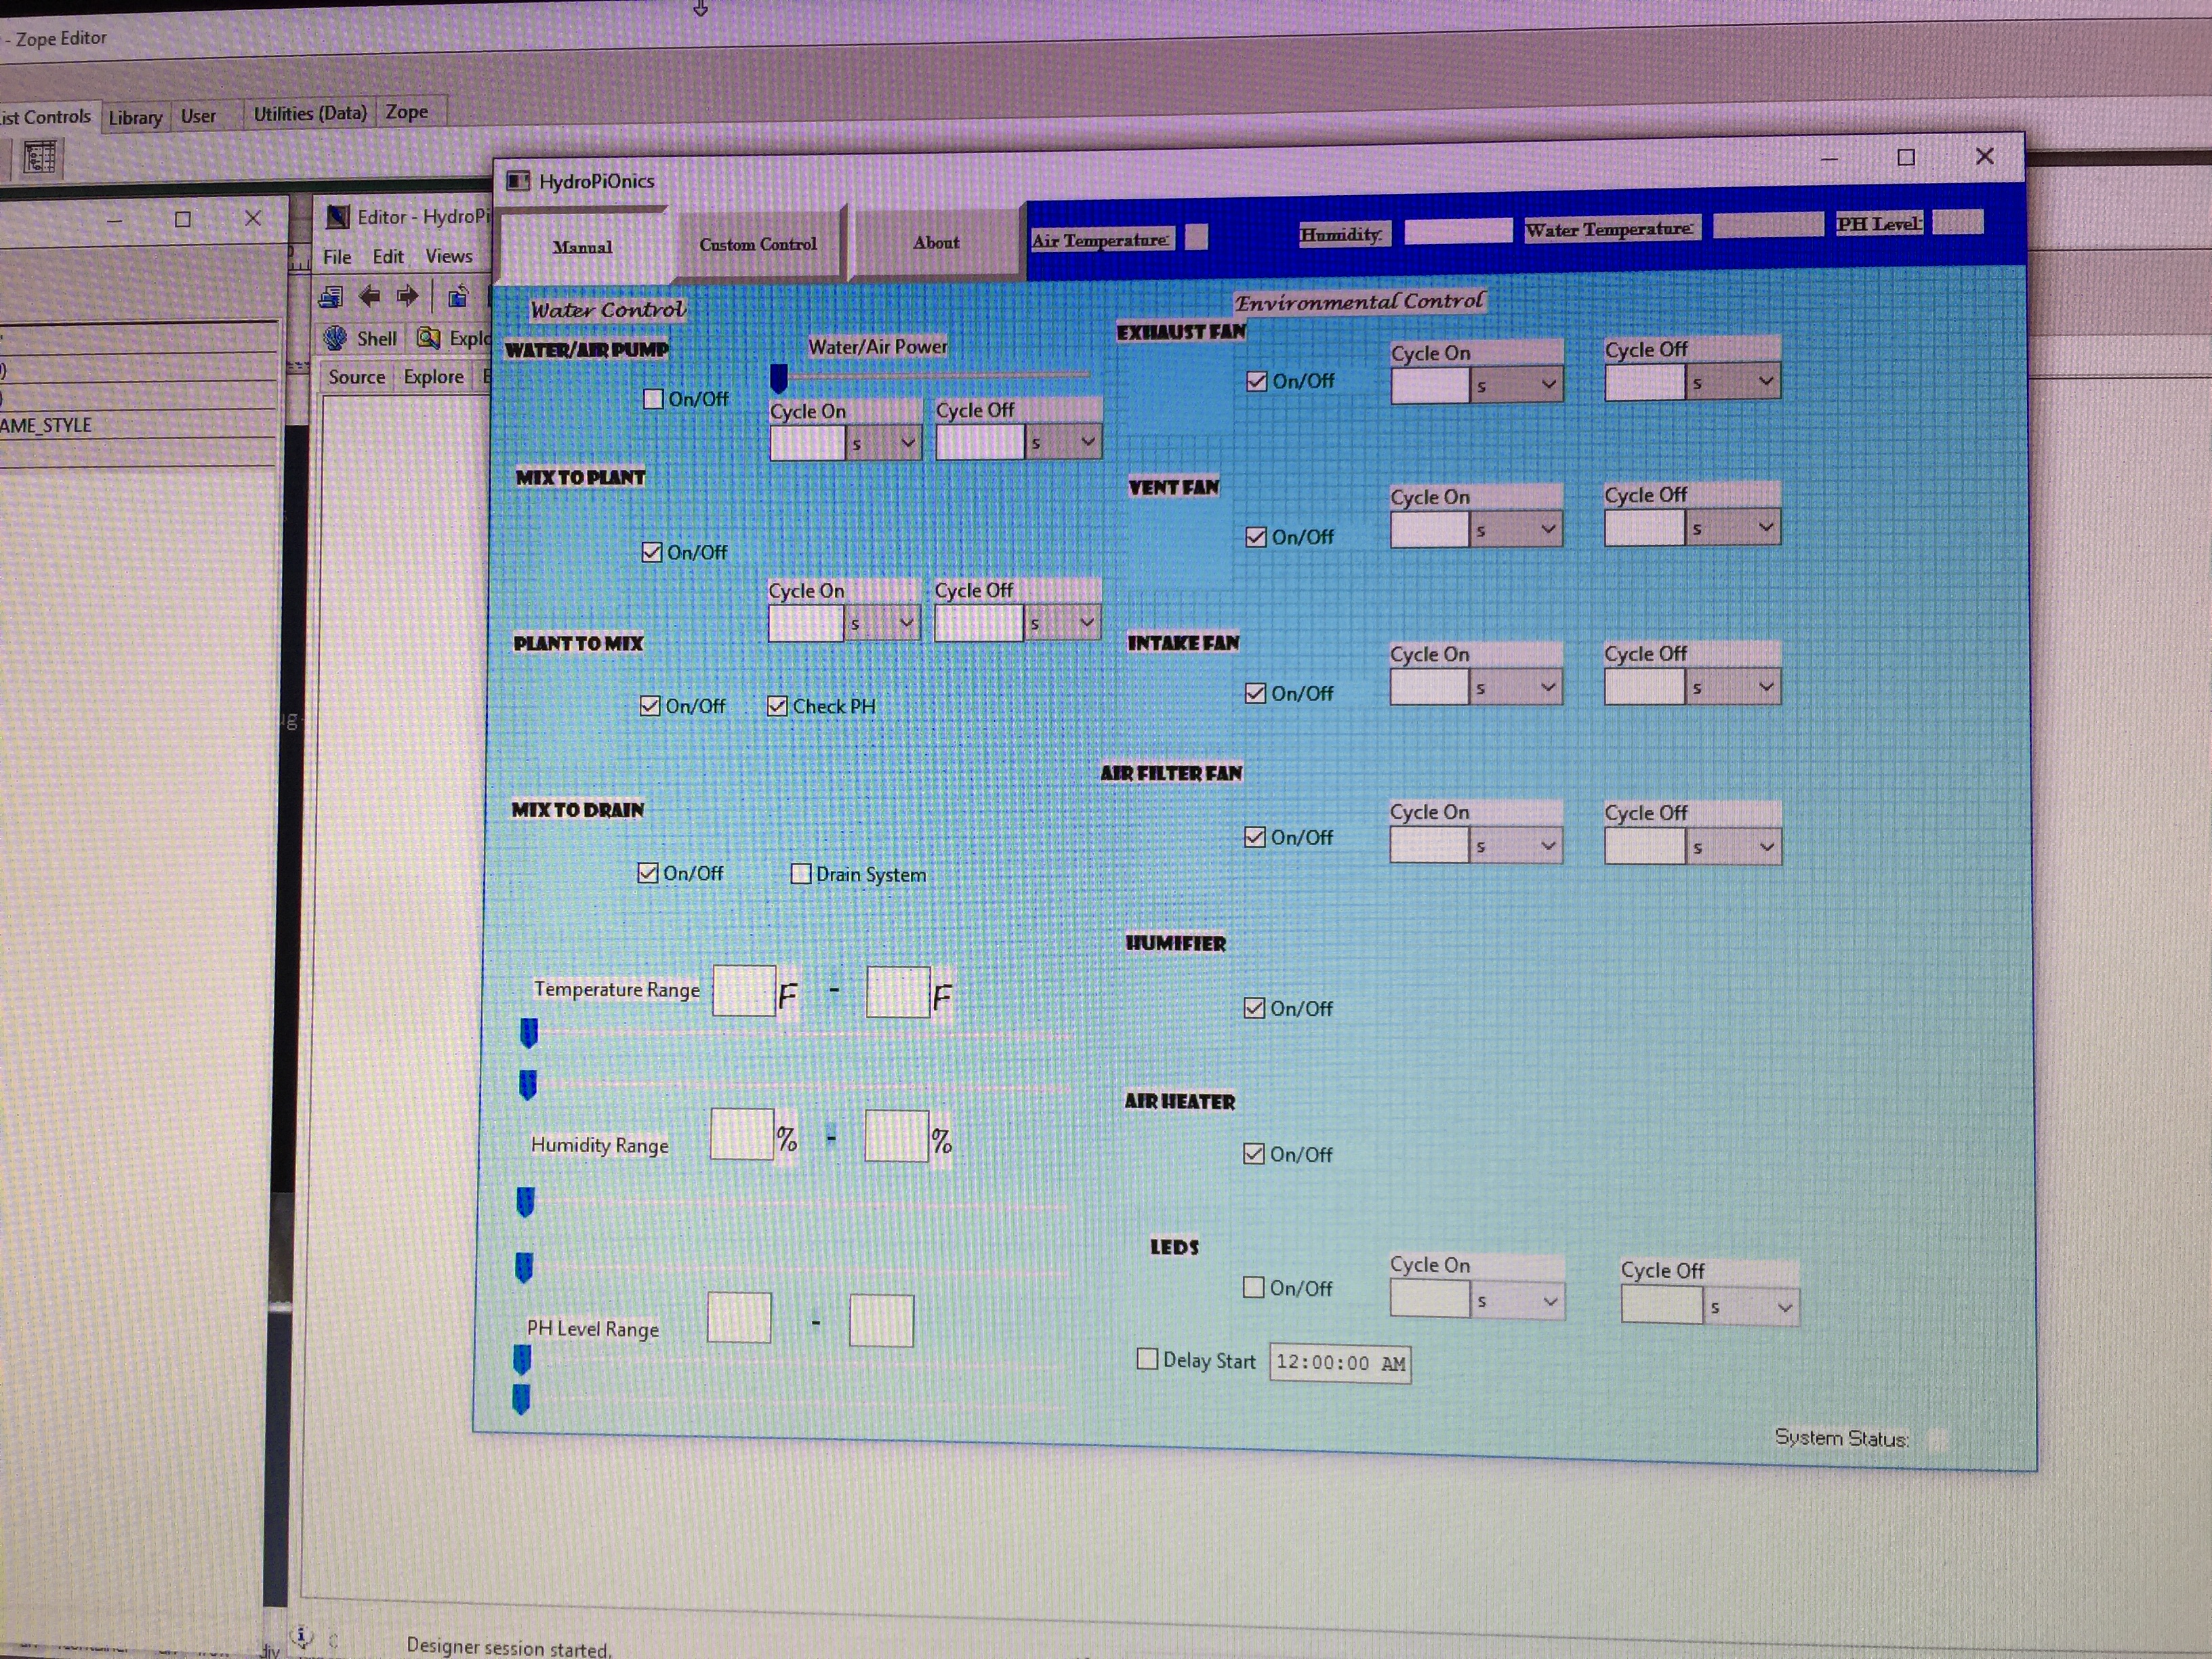
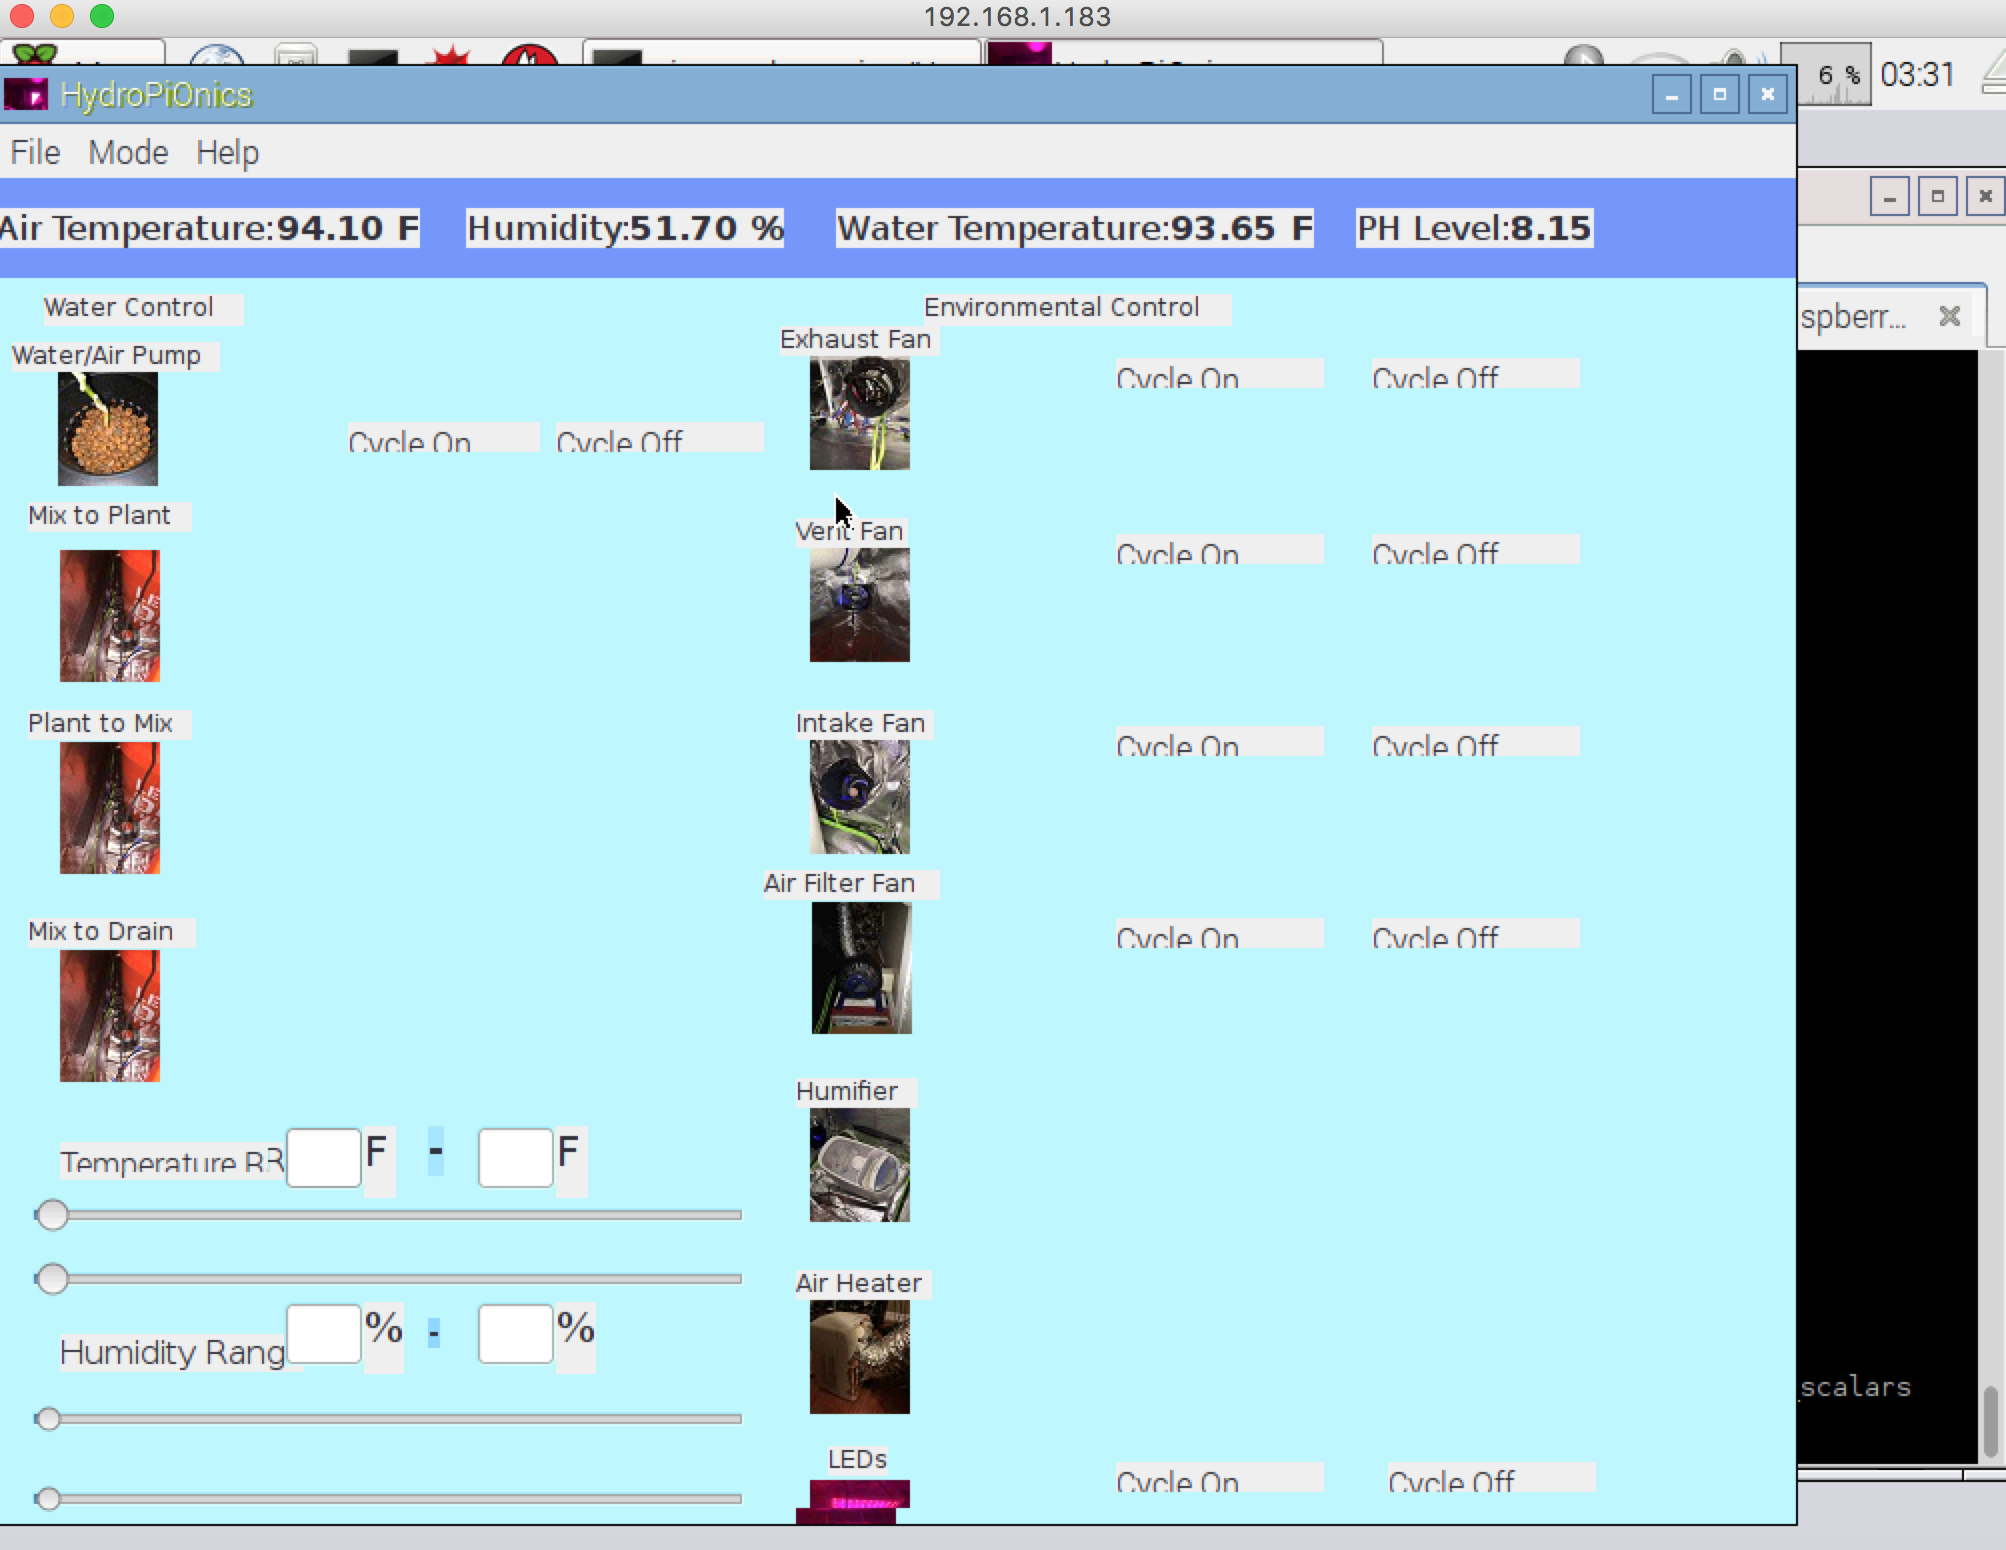
beta version of my GUI design using wxPython and using the boa constructor to help the design for visual purposes
Hardware completed under my budget.
My hydroponics system is a hybrid of a deep water culture system as well as an ebb and flow and drip system. Since my water pump in the plant bucket does not work. The system now is a deep water culture system where aerated water and nutrients feed the plant.
Further hardware upgrades:
1x Air Cooler
1x Water Cooler
1x 2 terminal relay for the 2 AC devices
1x Motor Hat for pulley system for the led lights and Motor Hats are stackable
4x Stepper motors
1x DC water pump, unfortunately the one I installed died quickly. Finding an quiet alternative that is reliable that could handle air pumps which would probably burned out the motor.
1x 12v 5a DC adapter to power the Motor Hat
1x HC-SR04 Ultrasonic Range Sensor so that the raspberry pi knows the water level of the plant bucket.Useful for script to fill in water accordingly.
What we had learned about hardware is planning especially for the wire management since we were not aware of the issue of noise in electronics. Soldering is very time consuming when dealing with projects like this especially under the heat of the summer. Another thing that we learned was that even with a lot of planning before hand. When it comes to starting the project there will always be bumps along the way and more research to be done in order to perfect a system.
August 7 2016:
Replacing the air pump since it died probably from being over volted from the Motor HAT. Currently getting a 12v DC air pump instead of the 6V DC air pump I had.
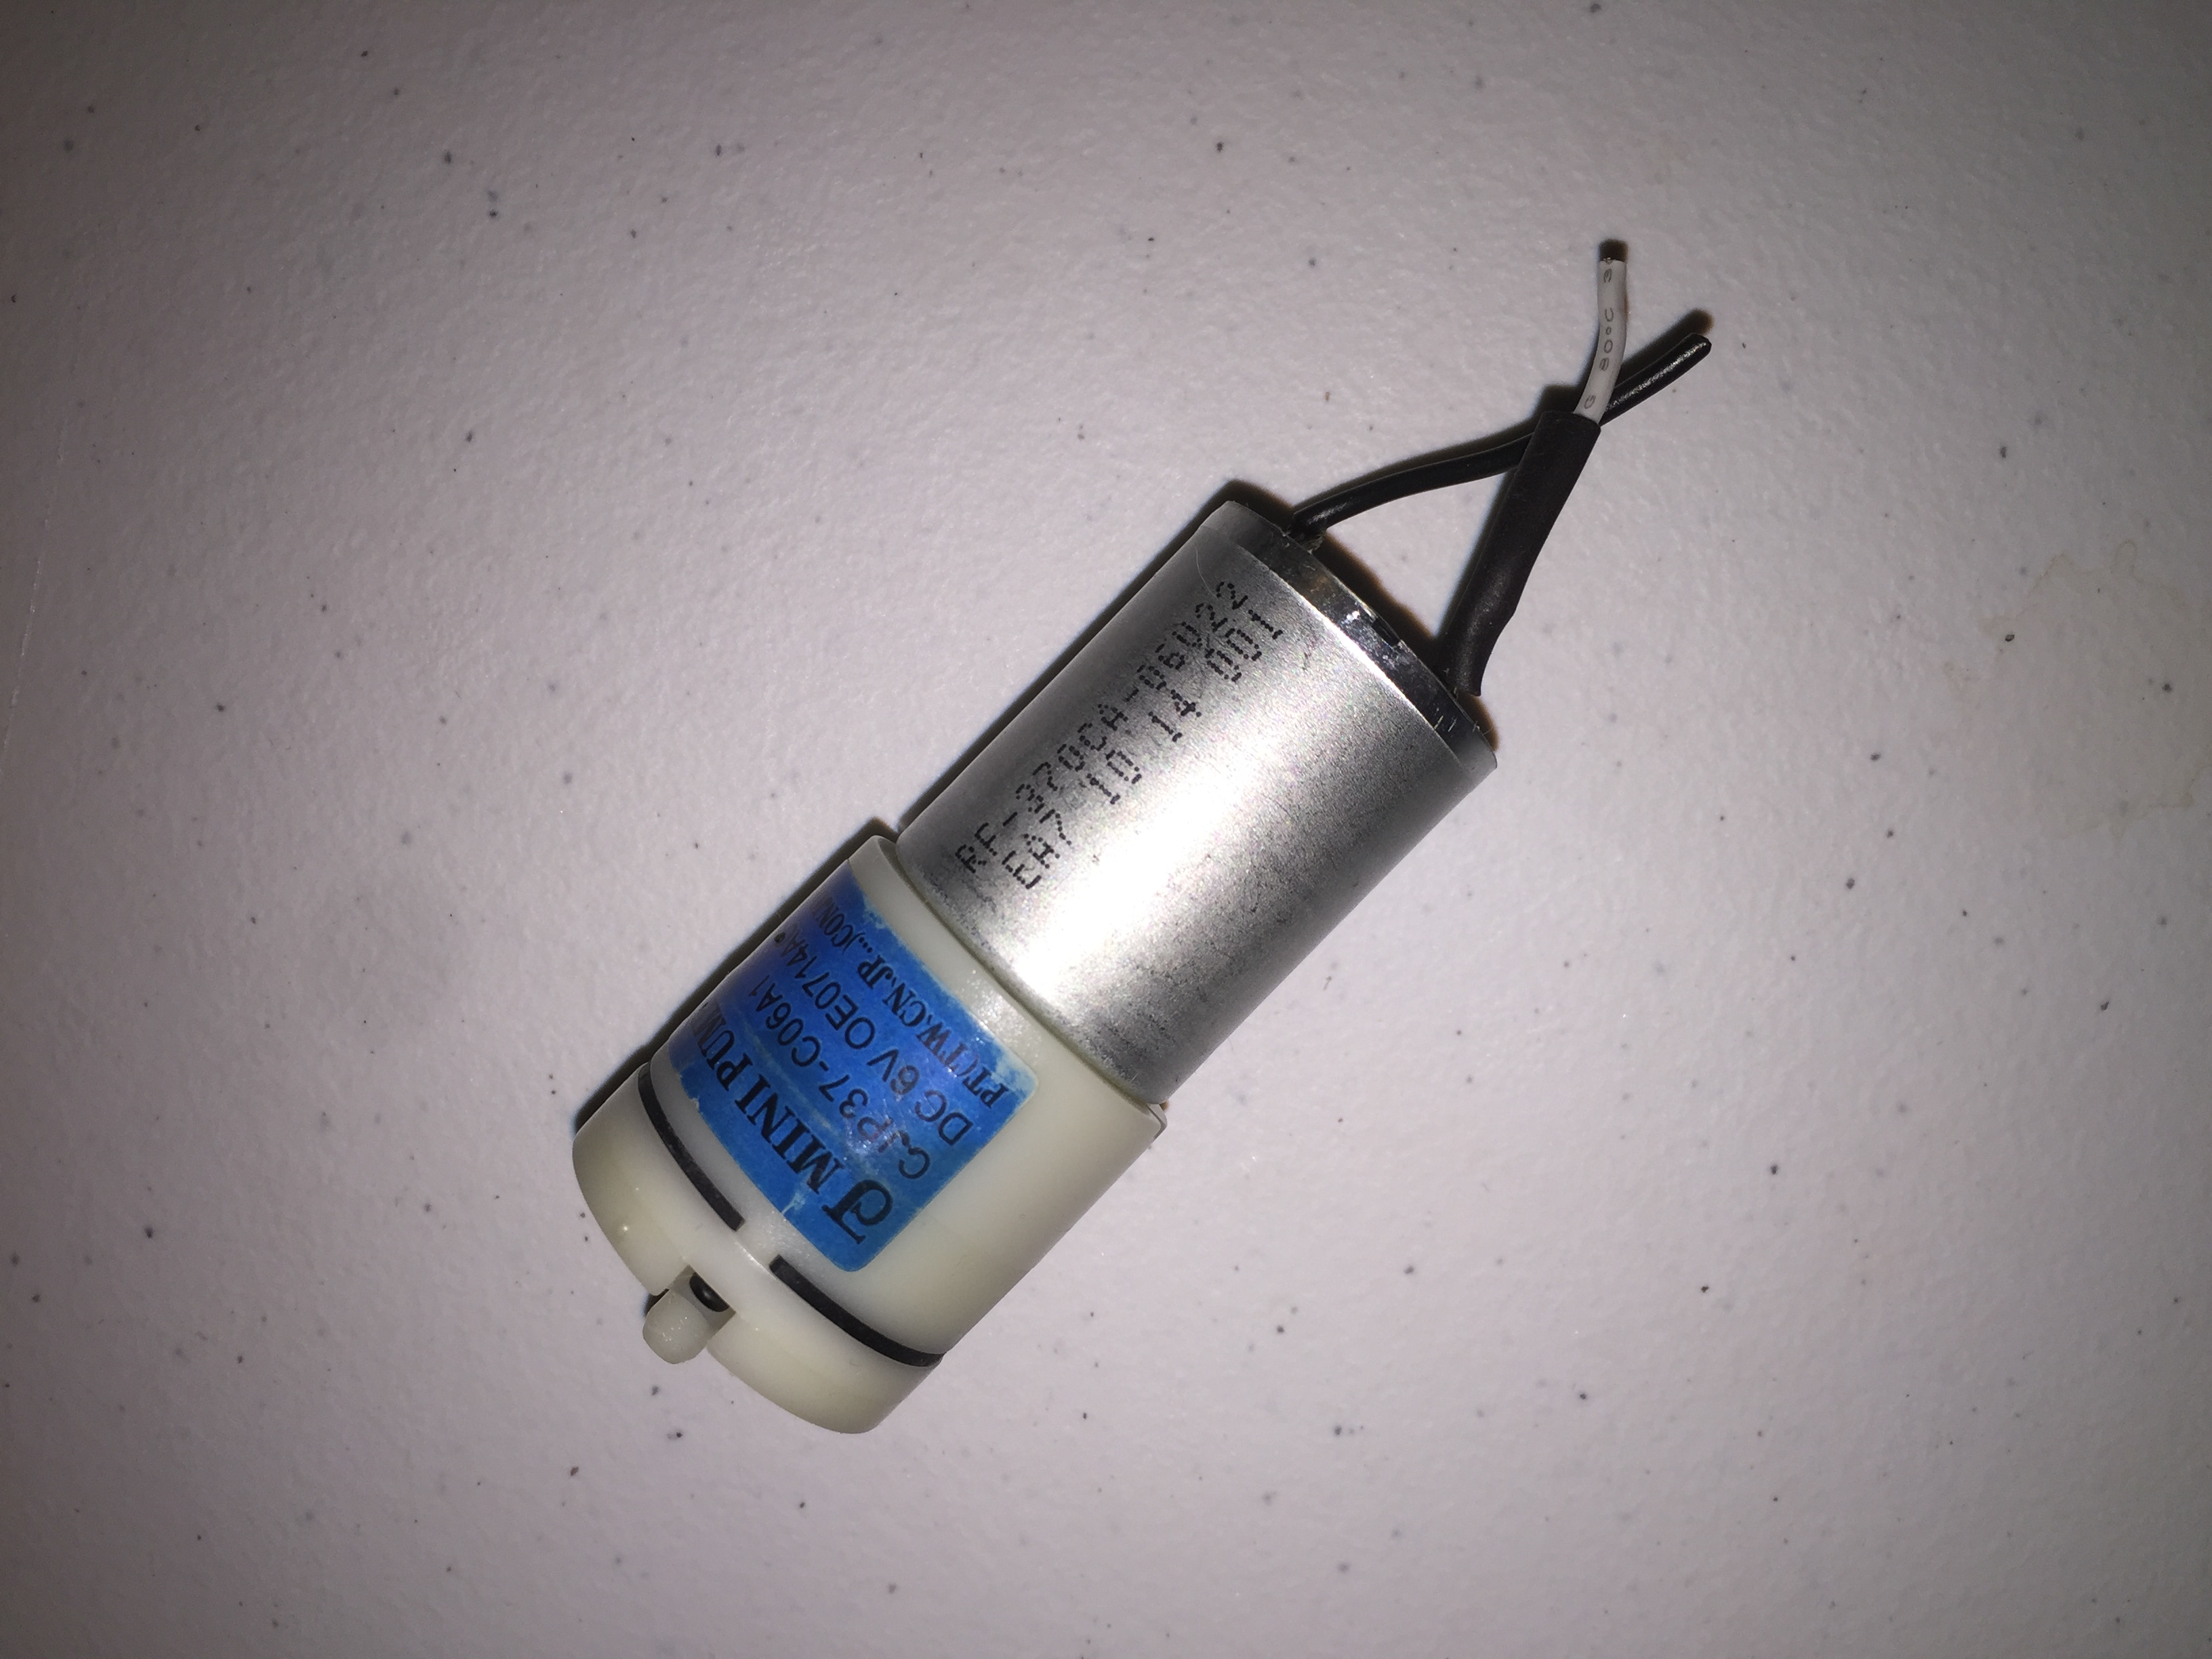
Dead 6v air pump from being continuously over volted
August 10 2016:
Replaced the 6v dead air pump with a 12v working air pump
Software:
The GUI is currently being made and I will be using Python. This will help me to become more knowledgeable about this language. This will build upon my knowledge from what I have learned from CSE101 Introduction to Computer Science in Stony Brook University.
My process is to make a MVC (model view controller) for this project. It seems reasonably since I have experience doing a MVC pattern of coding in my computer science course CSE219 in which I made a JavaFX UML Editor.
My GitHub repository for this project is private but it will be public when I am done.
https://github.com/JerrelSogoni/HydroPiOnics
August 11 2016:
GUI using multithreading for updating air/humidity text in GUI
August 13 2016:
Monitor System Done.
Onto finishing workspace layout
monitor done, workspace layout being implemented
August 15 2016:
Finished the front end of the GUI. Took longer than anticipated, since I could not compile the code on my computer, I could only rely on the changes that I have done by committing and pushing my file on github, then pull from my raspberry pi to see how it looked on the pie.
Things to still do:
Configuring the modes: MANUAL, TIMER, ENVIRONMENTAL.
Configuring the File IO: Save and Load.
Configure the about me page.
Configure delayed start button.
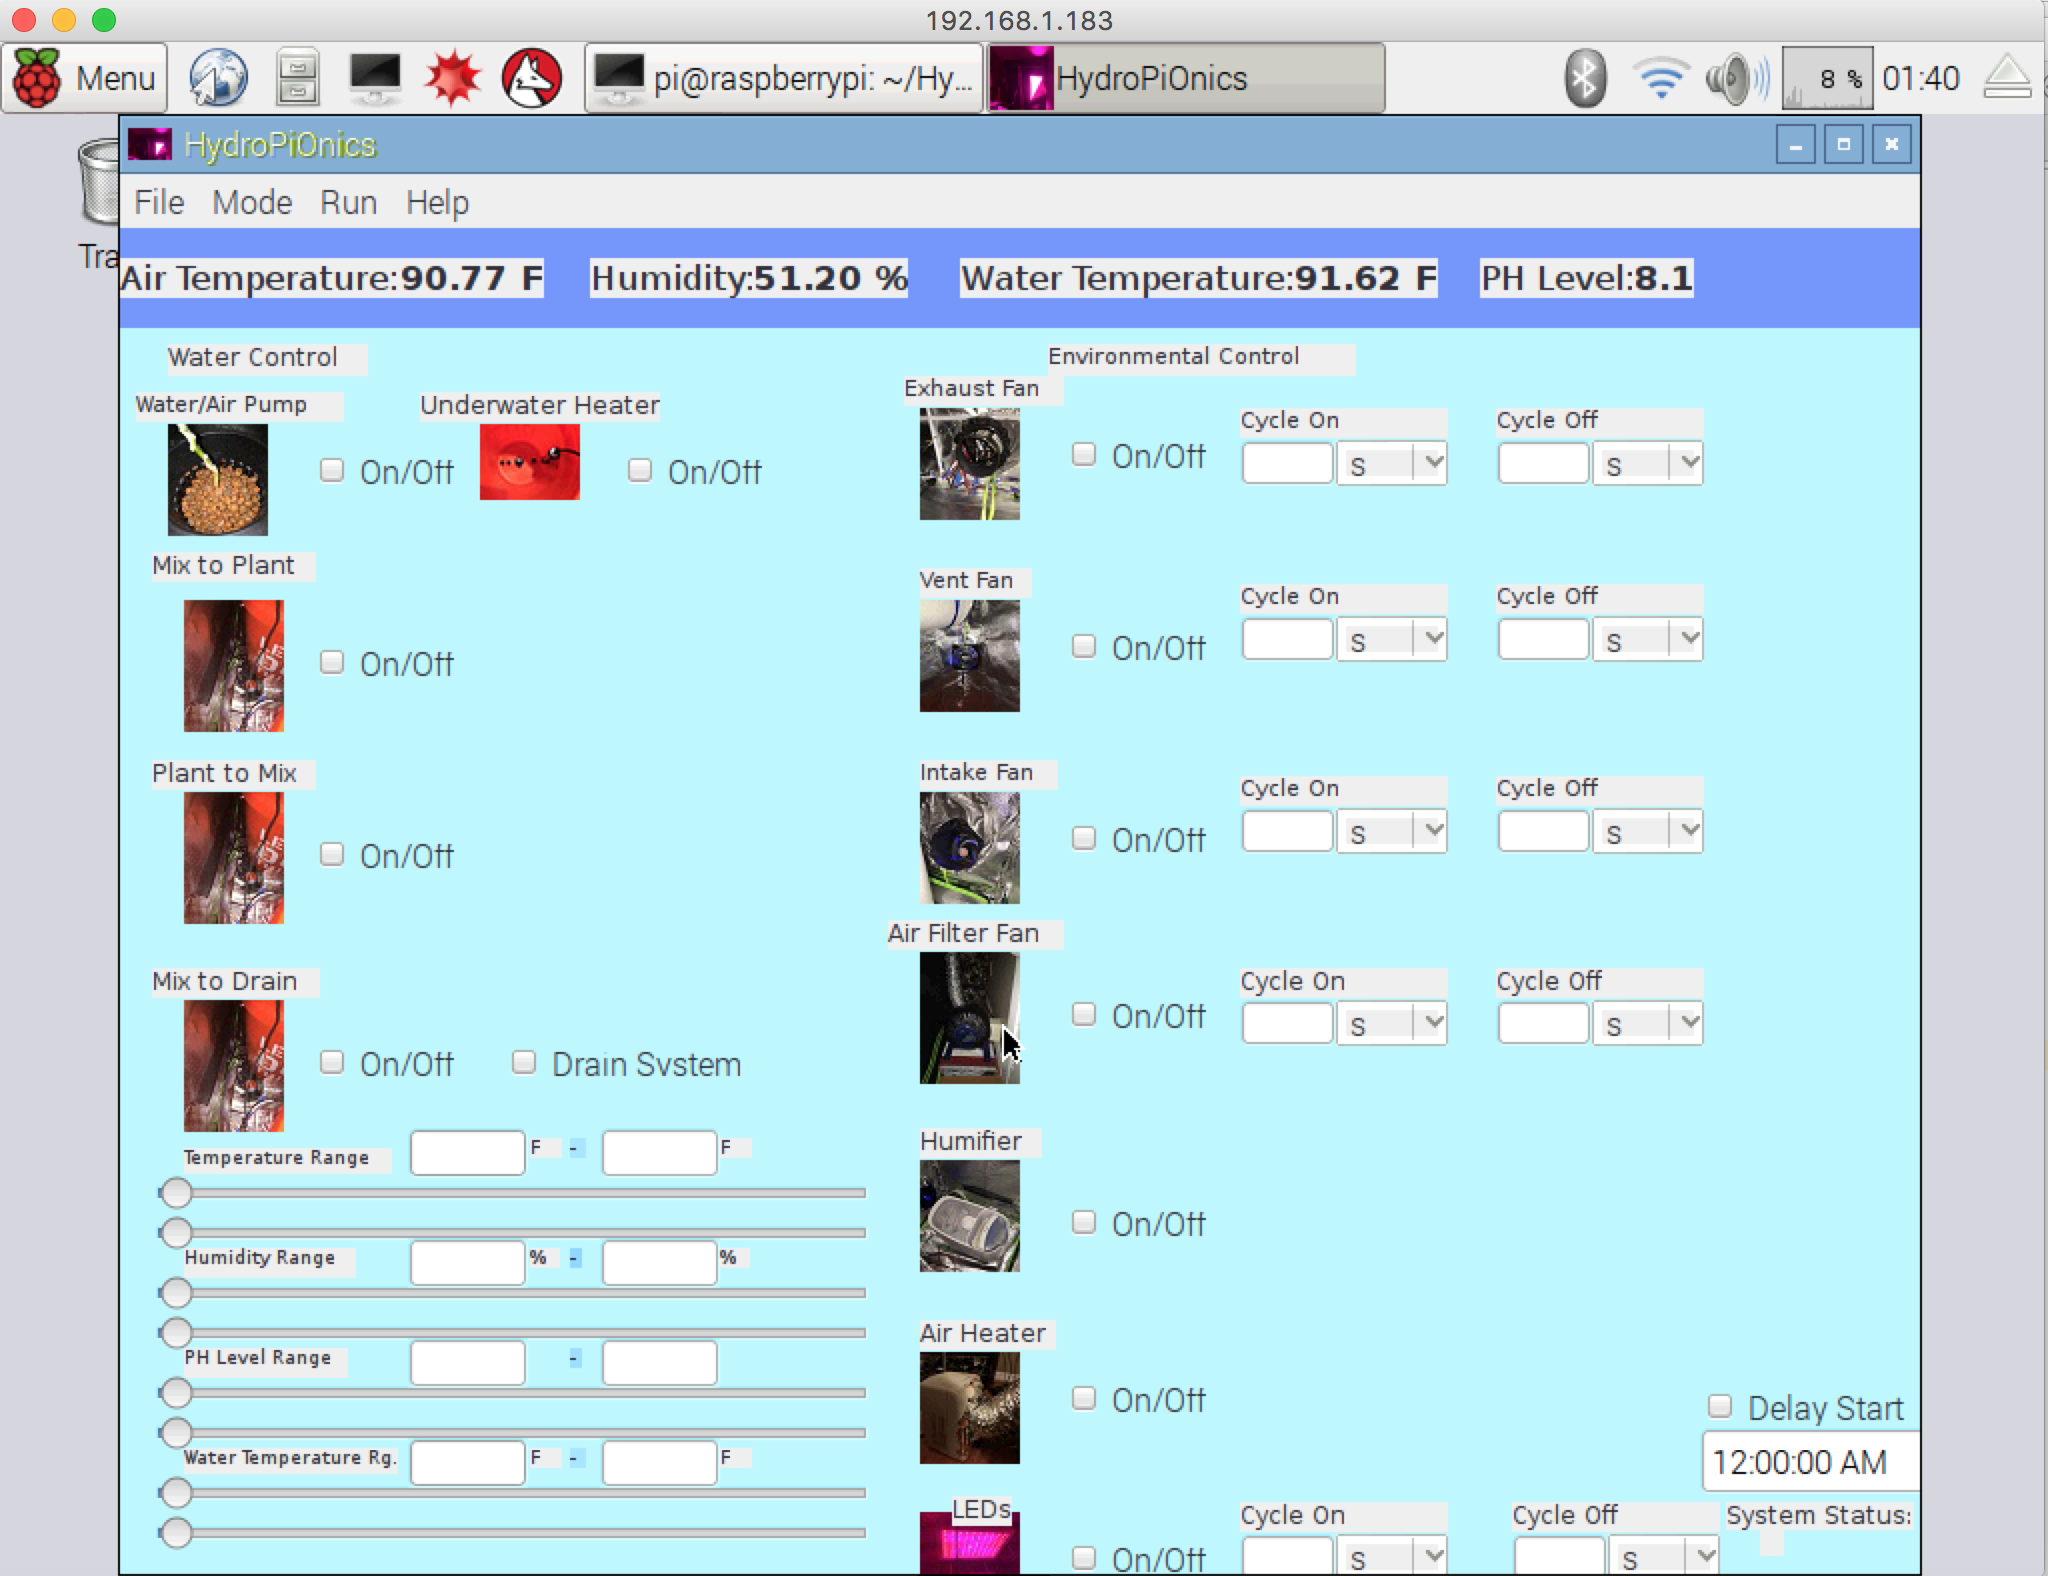
front end done
Things to Do in my Free Time:
SAVE, SAVE AS ,LOAD, and Delayed Start
Reason for so much commits on my github again is due to the fact that I had to check if my code ran on my raspberry pi since there are different wx versions on my computer and the pi’s. Also since I could not compile on my computer so I have to rely on the Pi to compile. This was a time consuming process.
What I learned about about this project on the programming aspect:
I learned a lot about Python such as making threads and made a GUI from scratch.
What I did not like:
I found my self repeating code which I noticed. According to a book name Pragmatic Programming, which I have read, I broke the rule of Do not Repeat Your Self. However, I am willing to learn to be above my current skill level every time I code.
Overall:
I found that my summer was really productive especially with this project. It was fun and I can’t wait for more projects in the future that I could show in this blog.
Projects I want to pursue next:
A java GUI card game written for the google app store
Same card game but written in Xcode for the apple app store
I also want to engage in projects that involve virtual reality gear.
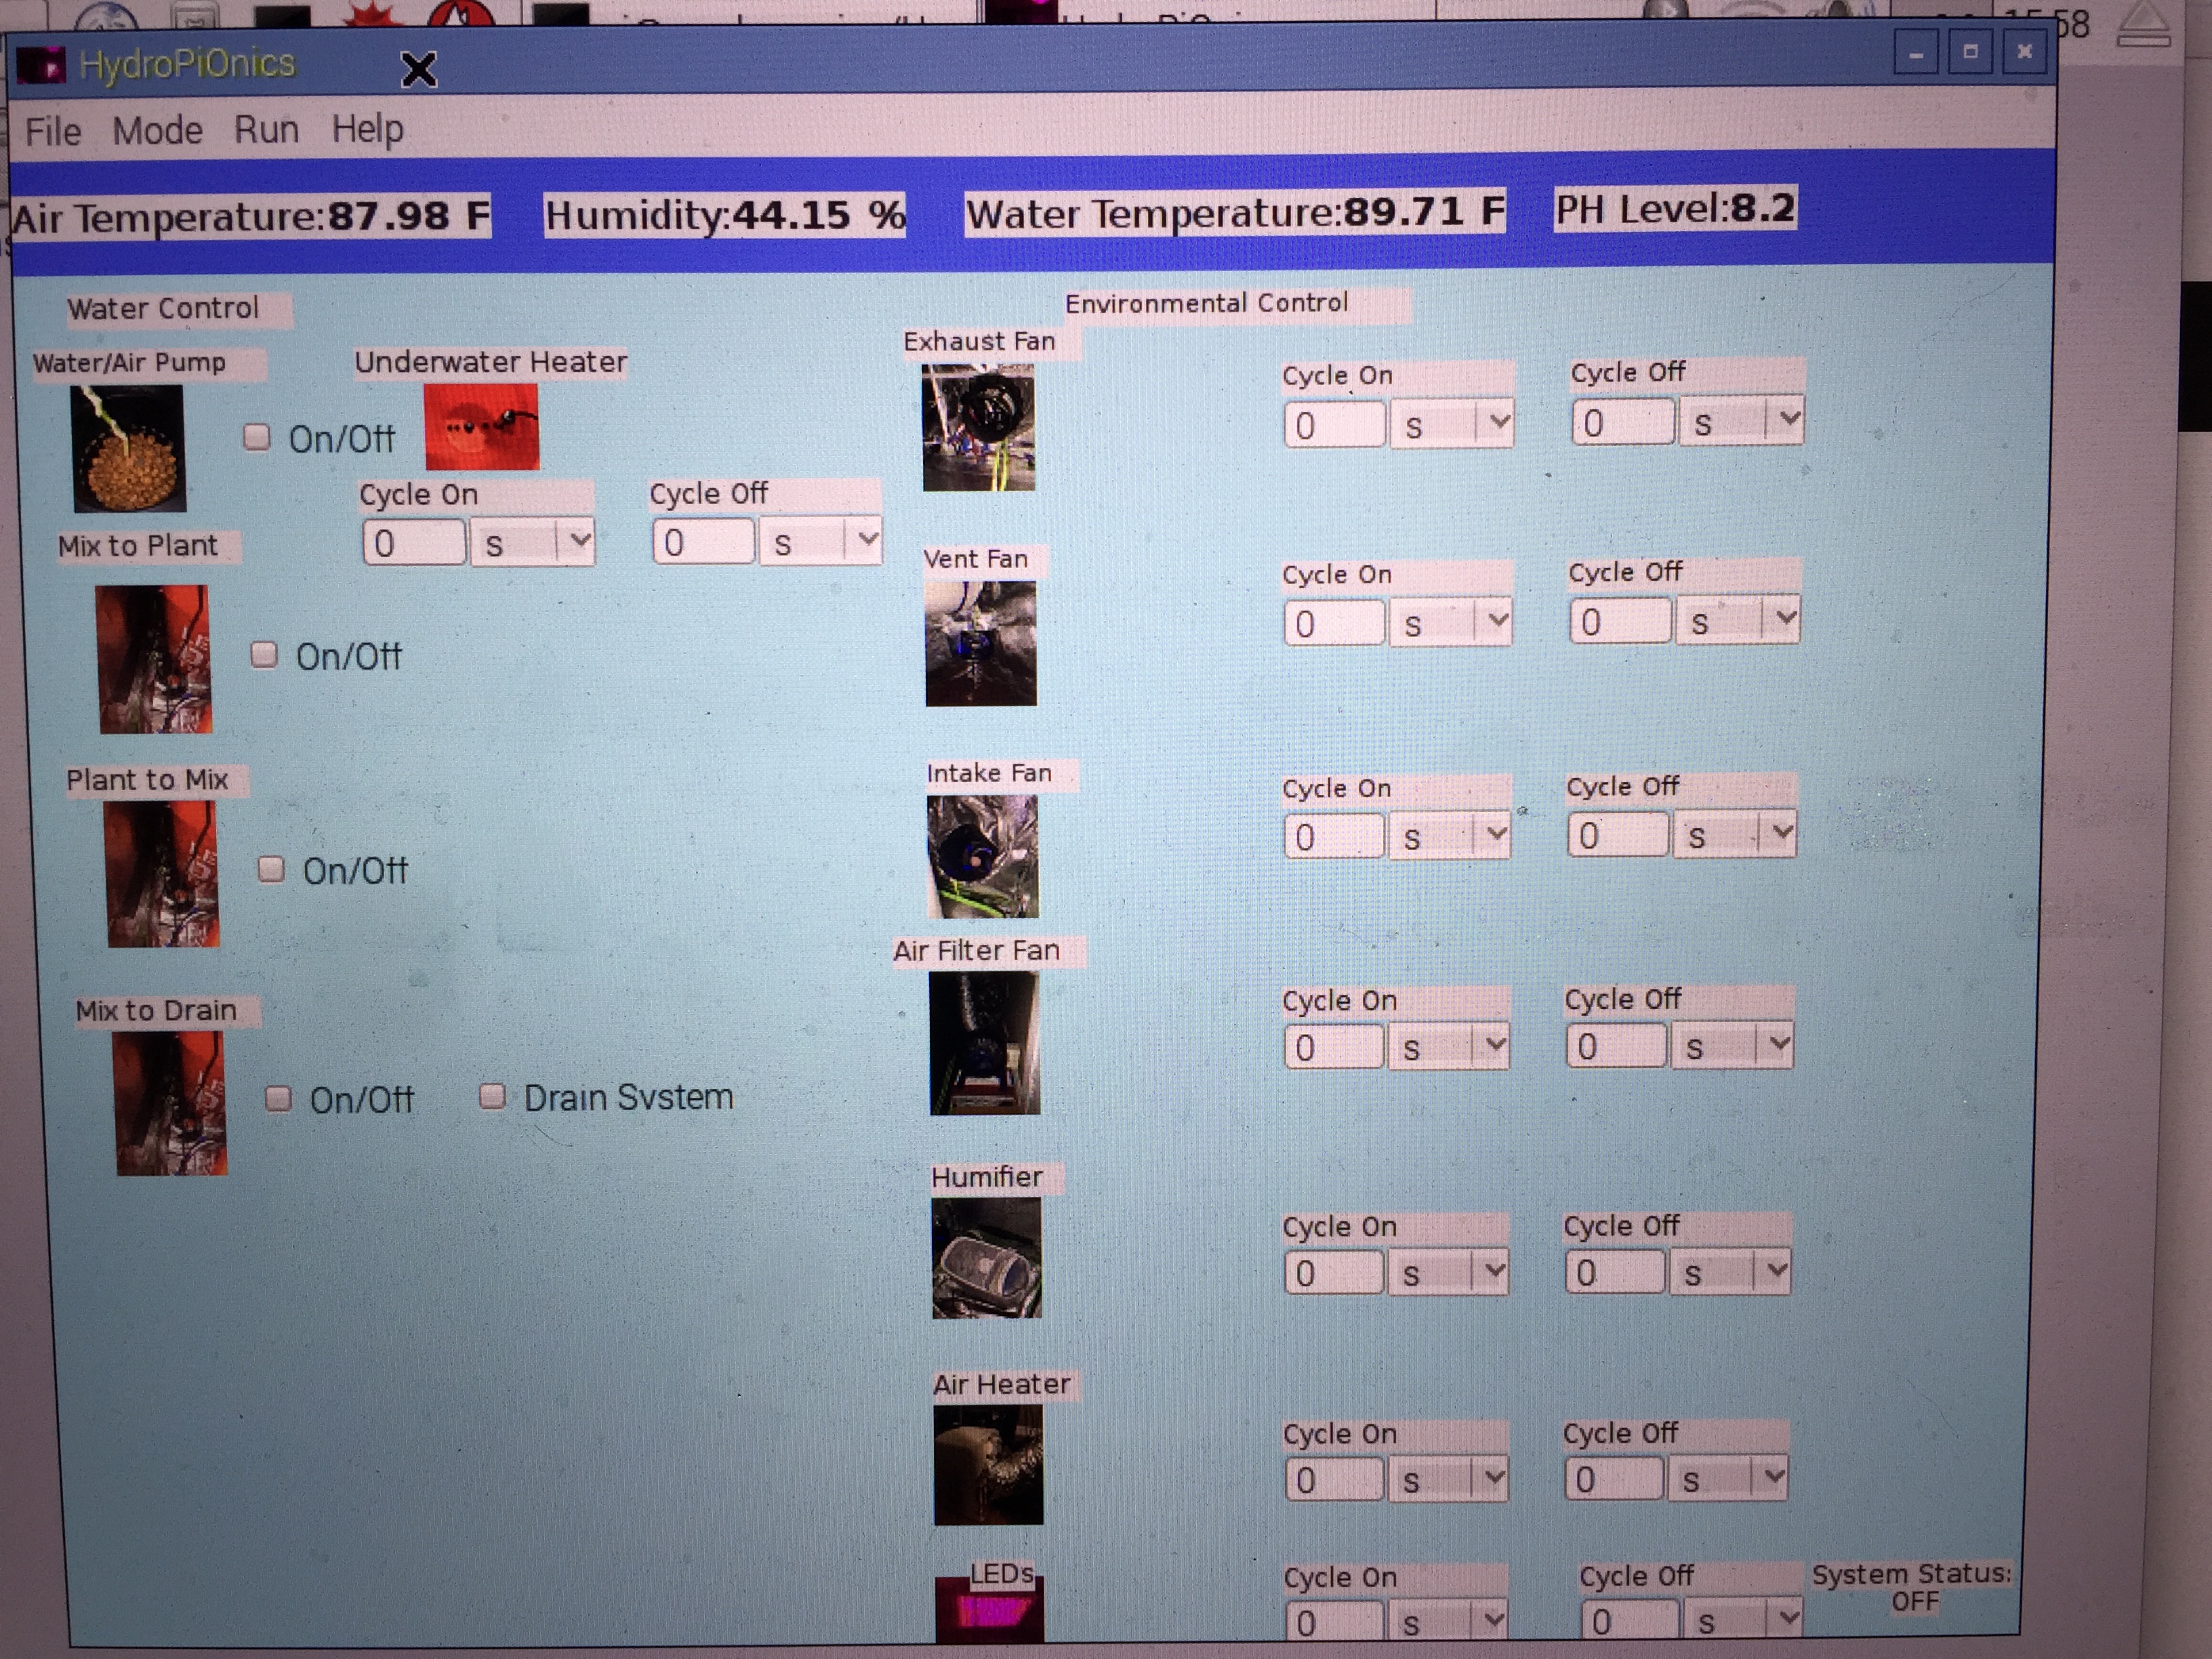
Program in Manual Mode Picture:

Manual Mode
Program in Manual Mode Video:
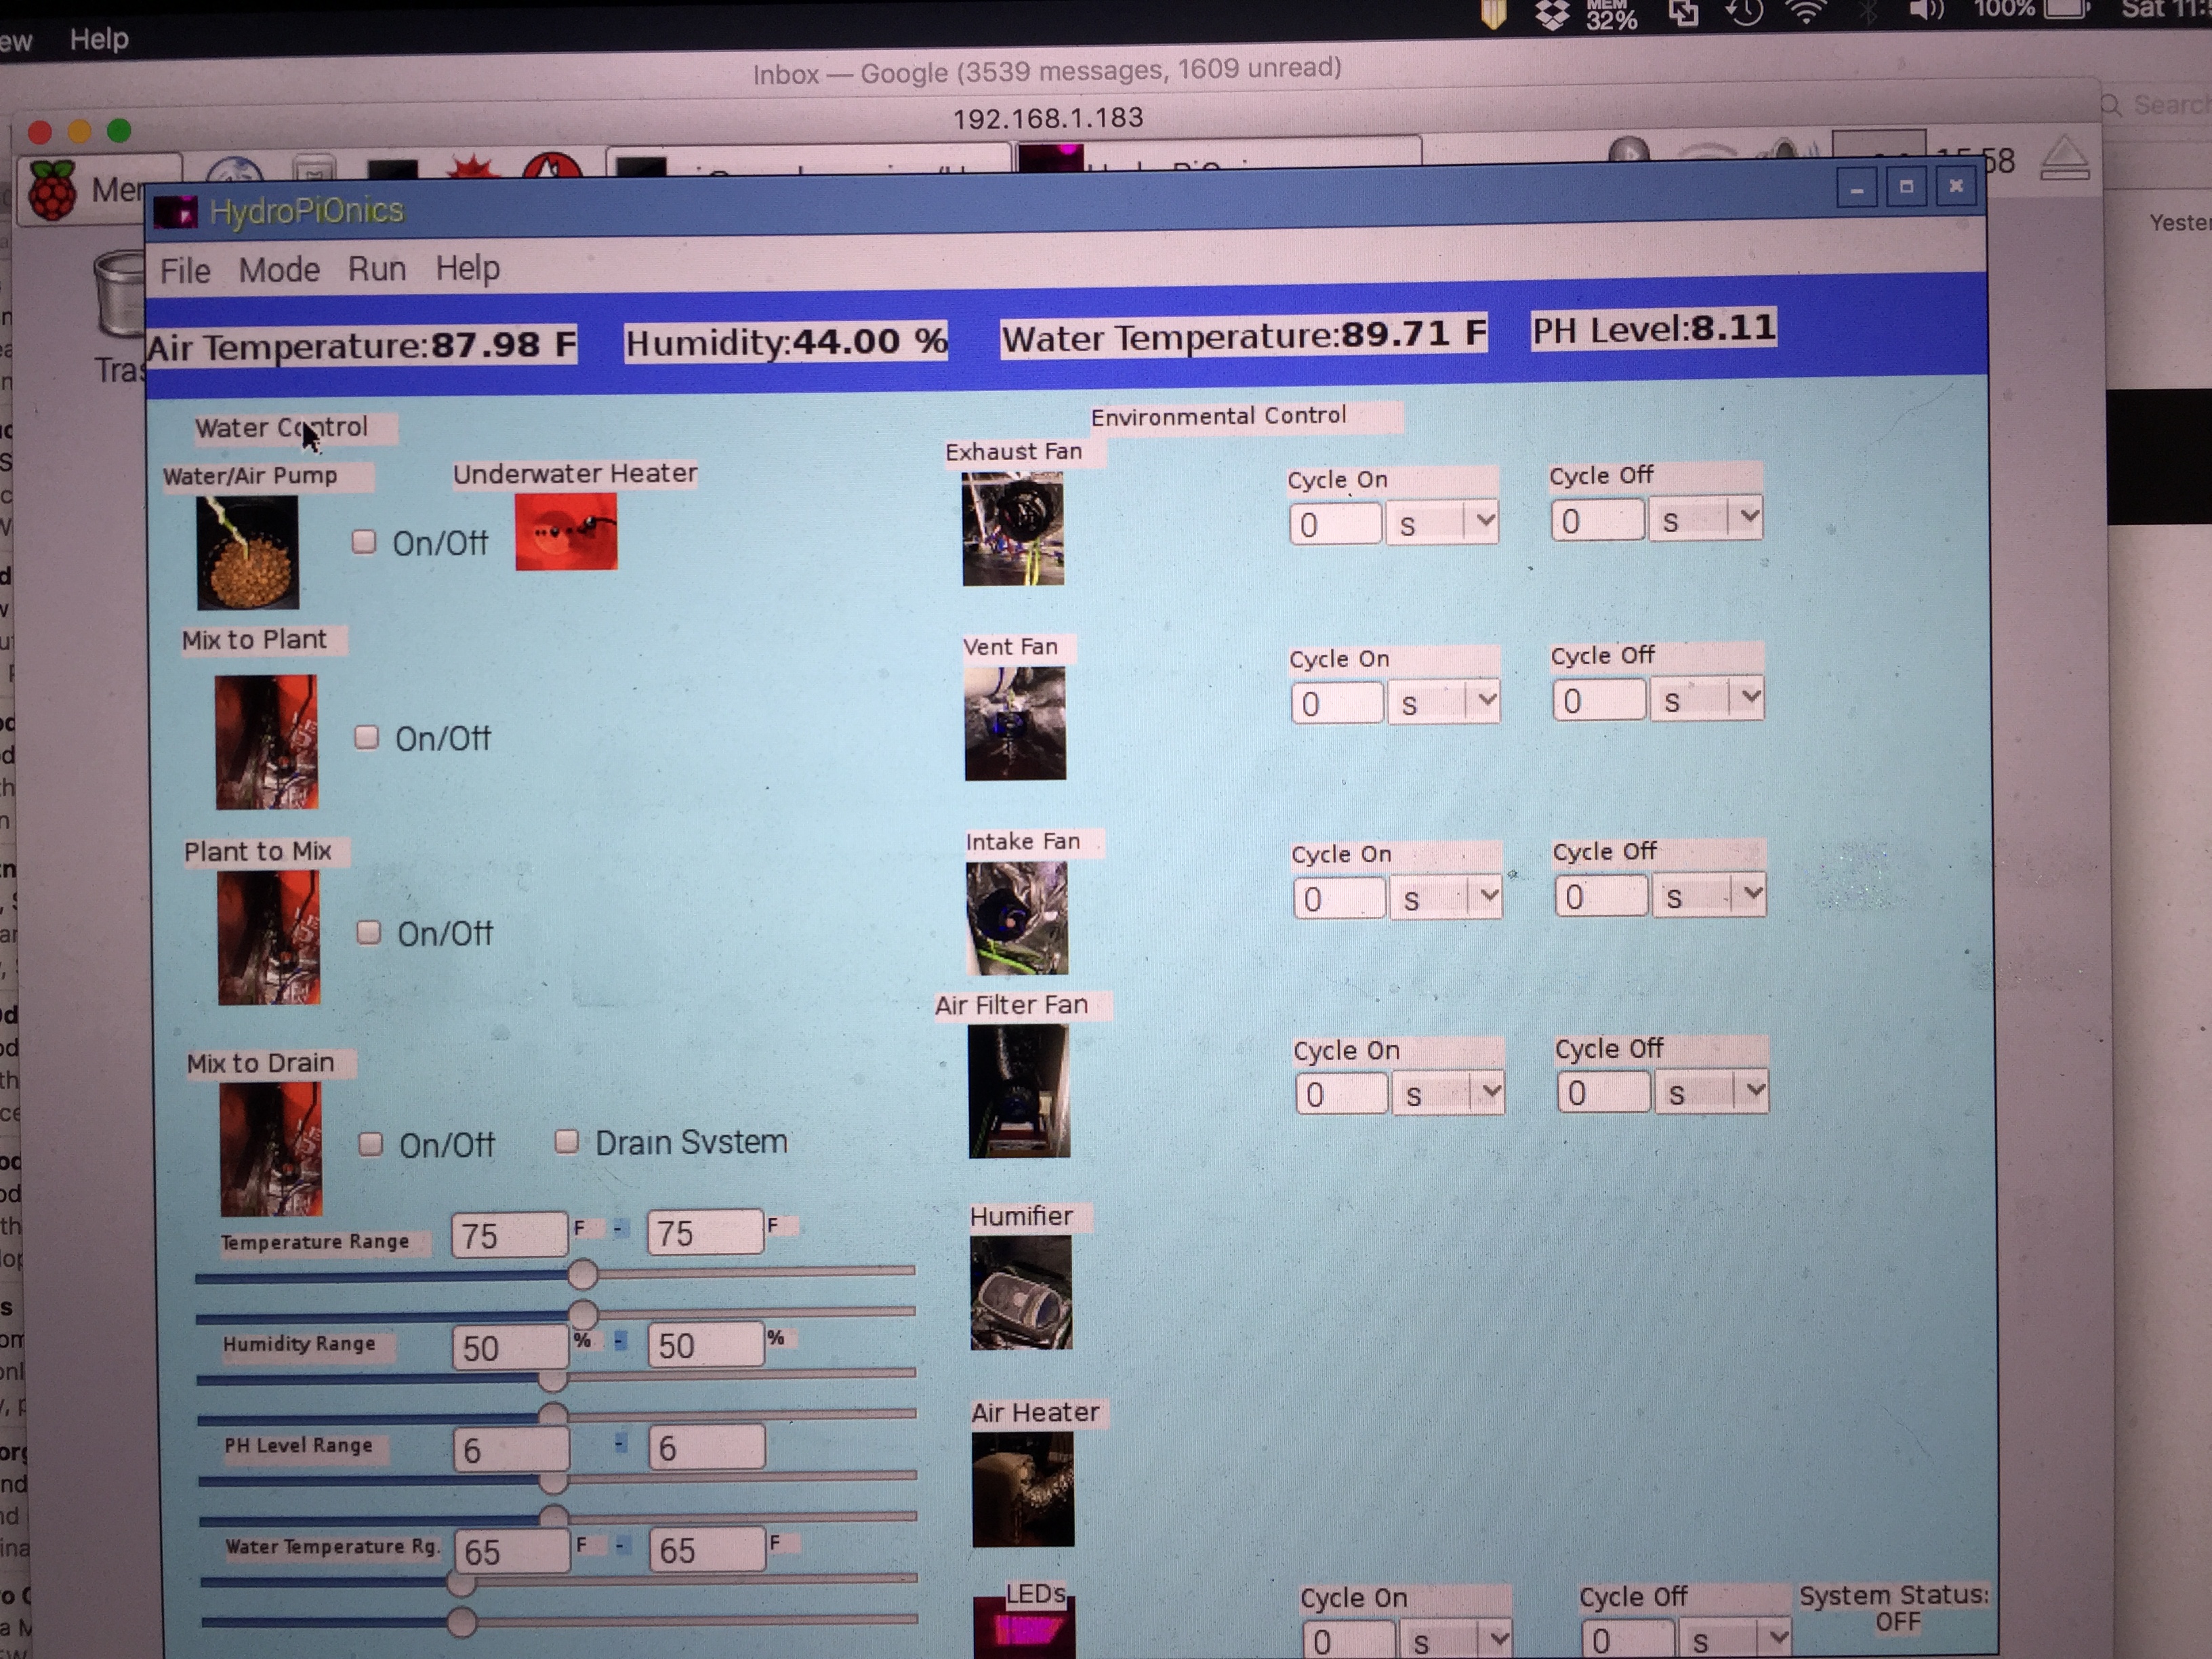
Program in Cycle Mode Picture:
Timer Mode
Program in Cycle Mode Video:
Program in Environmental Mode Picture:
Environmental Mode
Program in Environmental Mode:
UPDATE: March 4, 2017
We started growing a basil plant from the start of my semester Spring 2017 at Stony Brook University. Me and my dad had a competition on whose plan was gonna grow faster indoors using his method or using my Pi project.
Week 1, a week before my start of my semester:
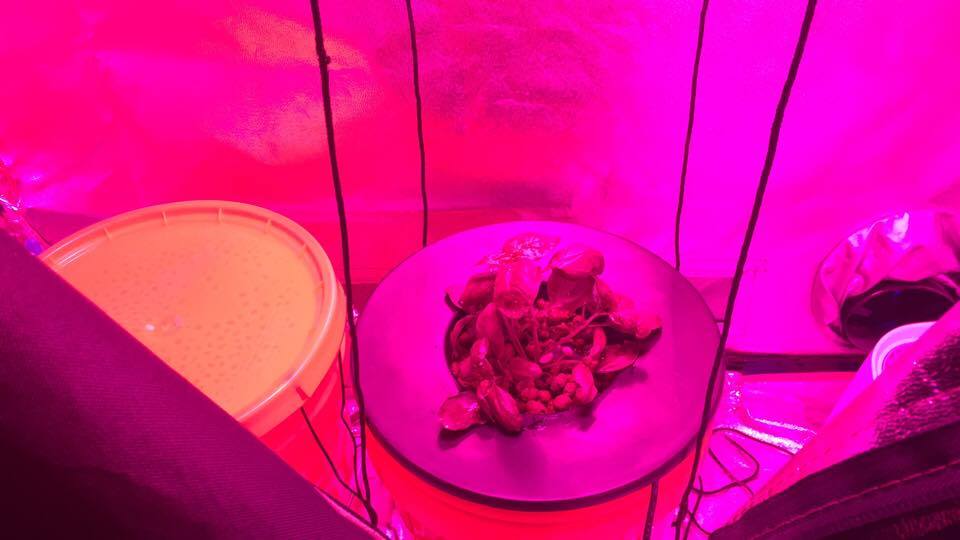
The start
Yes, it looks dead to me also but “patience is a virtue” according to Warren Buffett.
So back to the dorm I go for a week.
Week 1:
Week 1
Week 2:
Week 2
Patience is key, seems to be living happily.
Week 3:
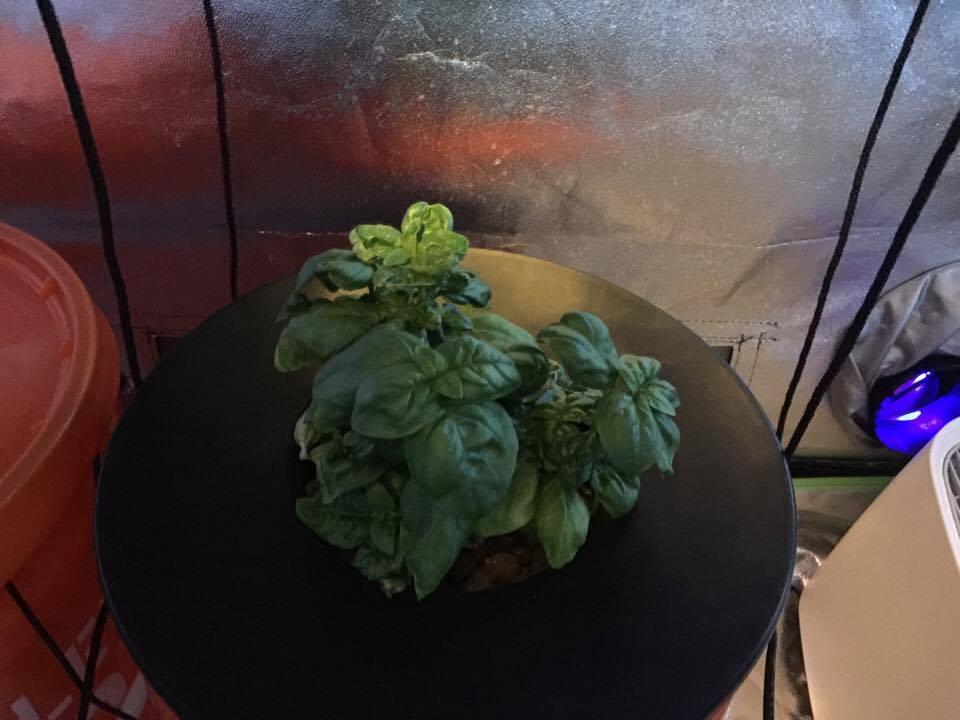
Week 3
Week 5:
Work load of school and chilling on campus, not worrying about the plant, this is a automated system after all.

Week 5
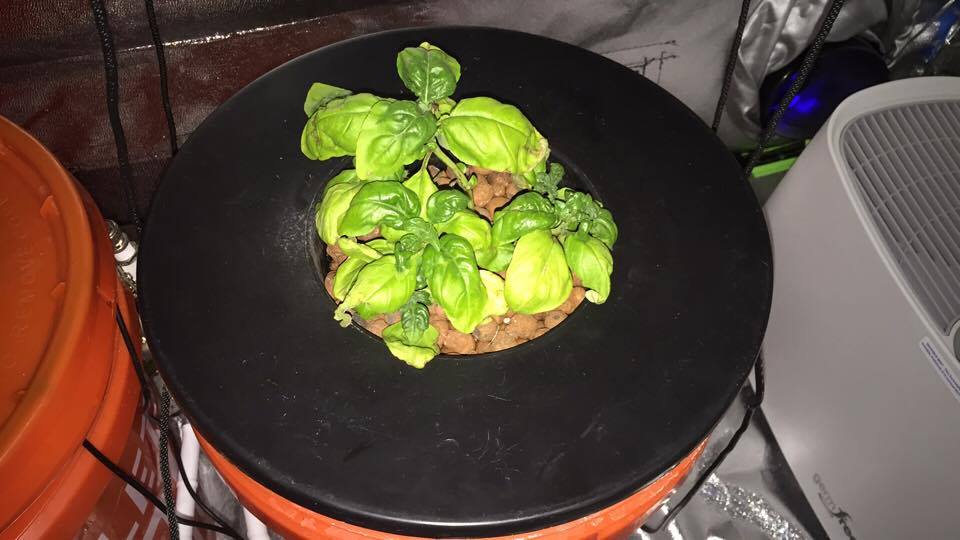
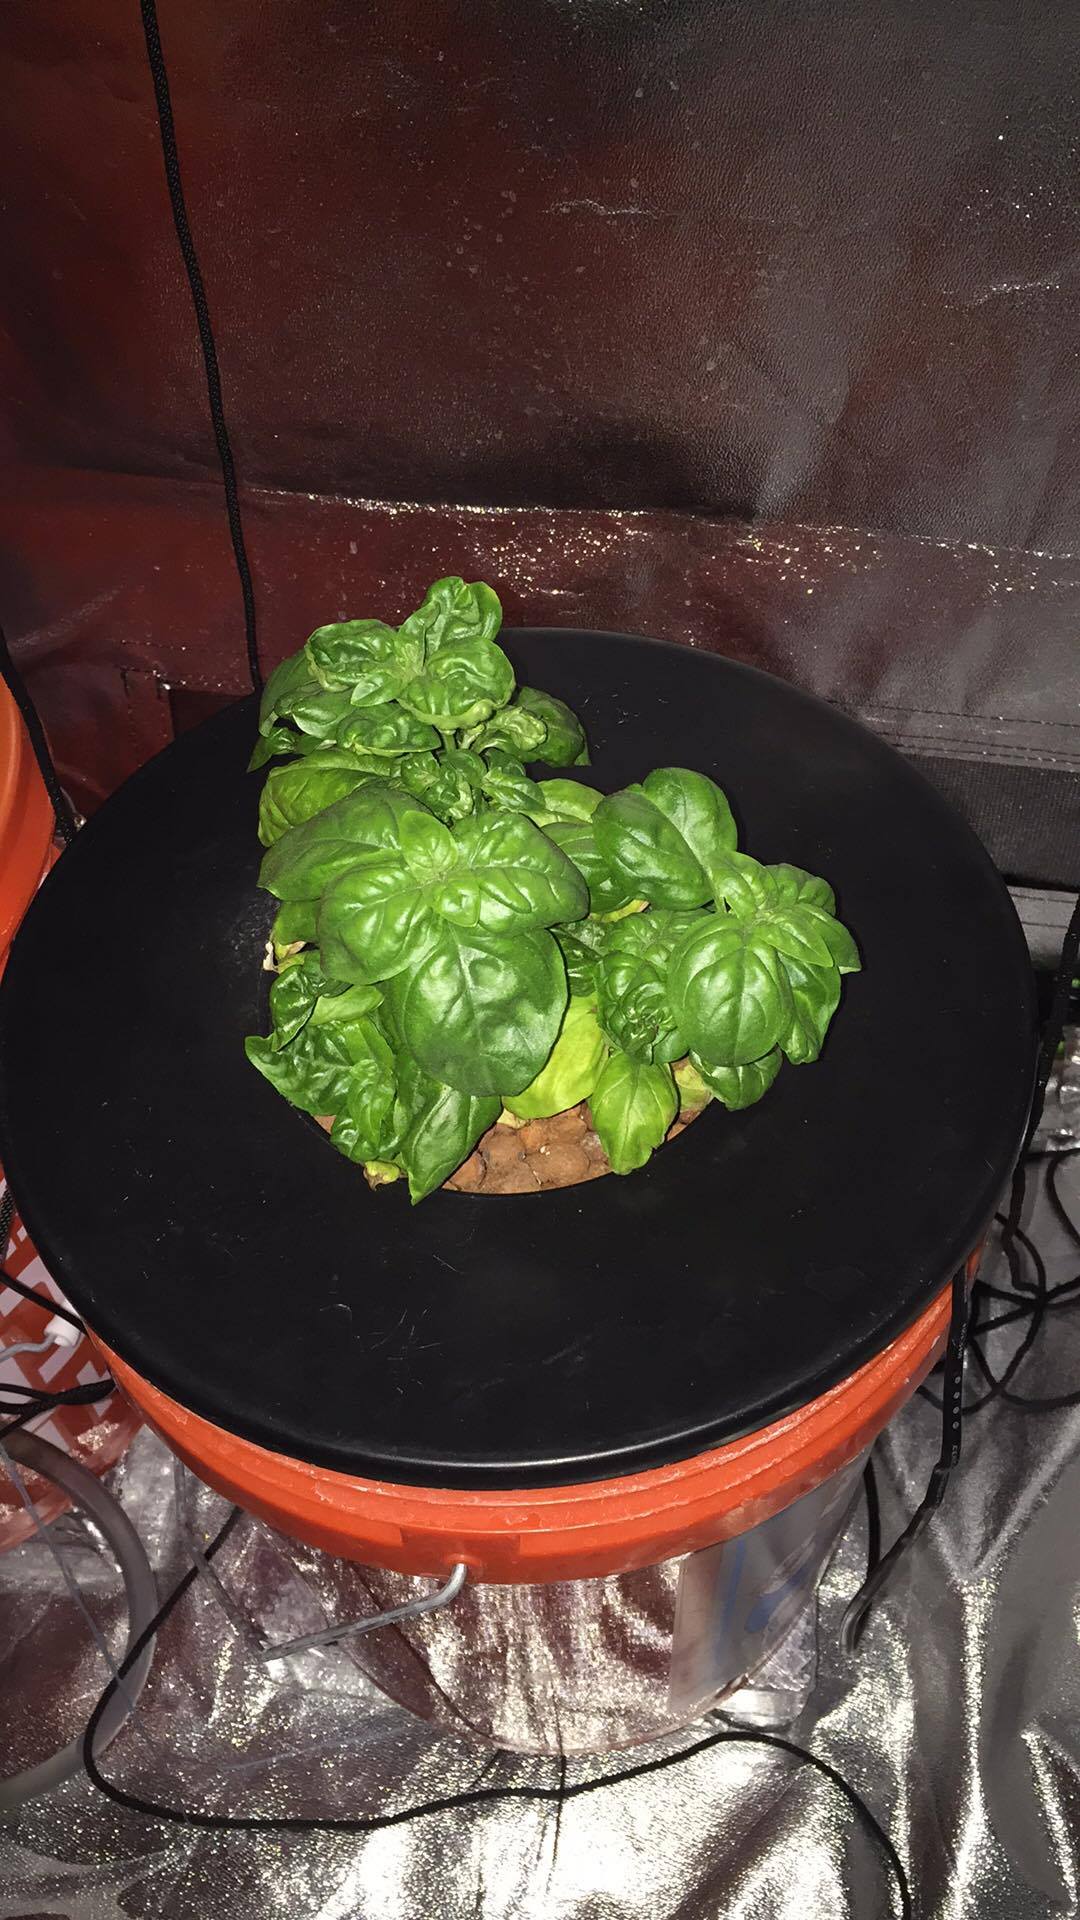
Week 6:
The plant is growing at a tremendous rate, really unexpected to me but delightful of the results.
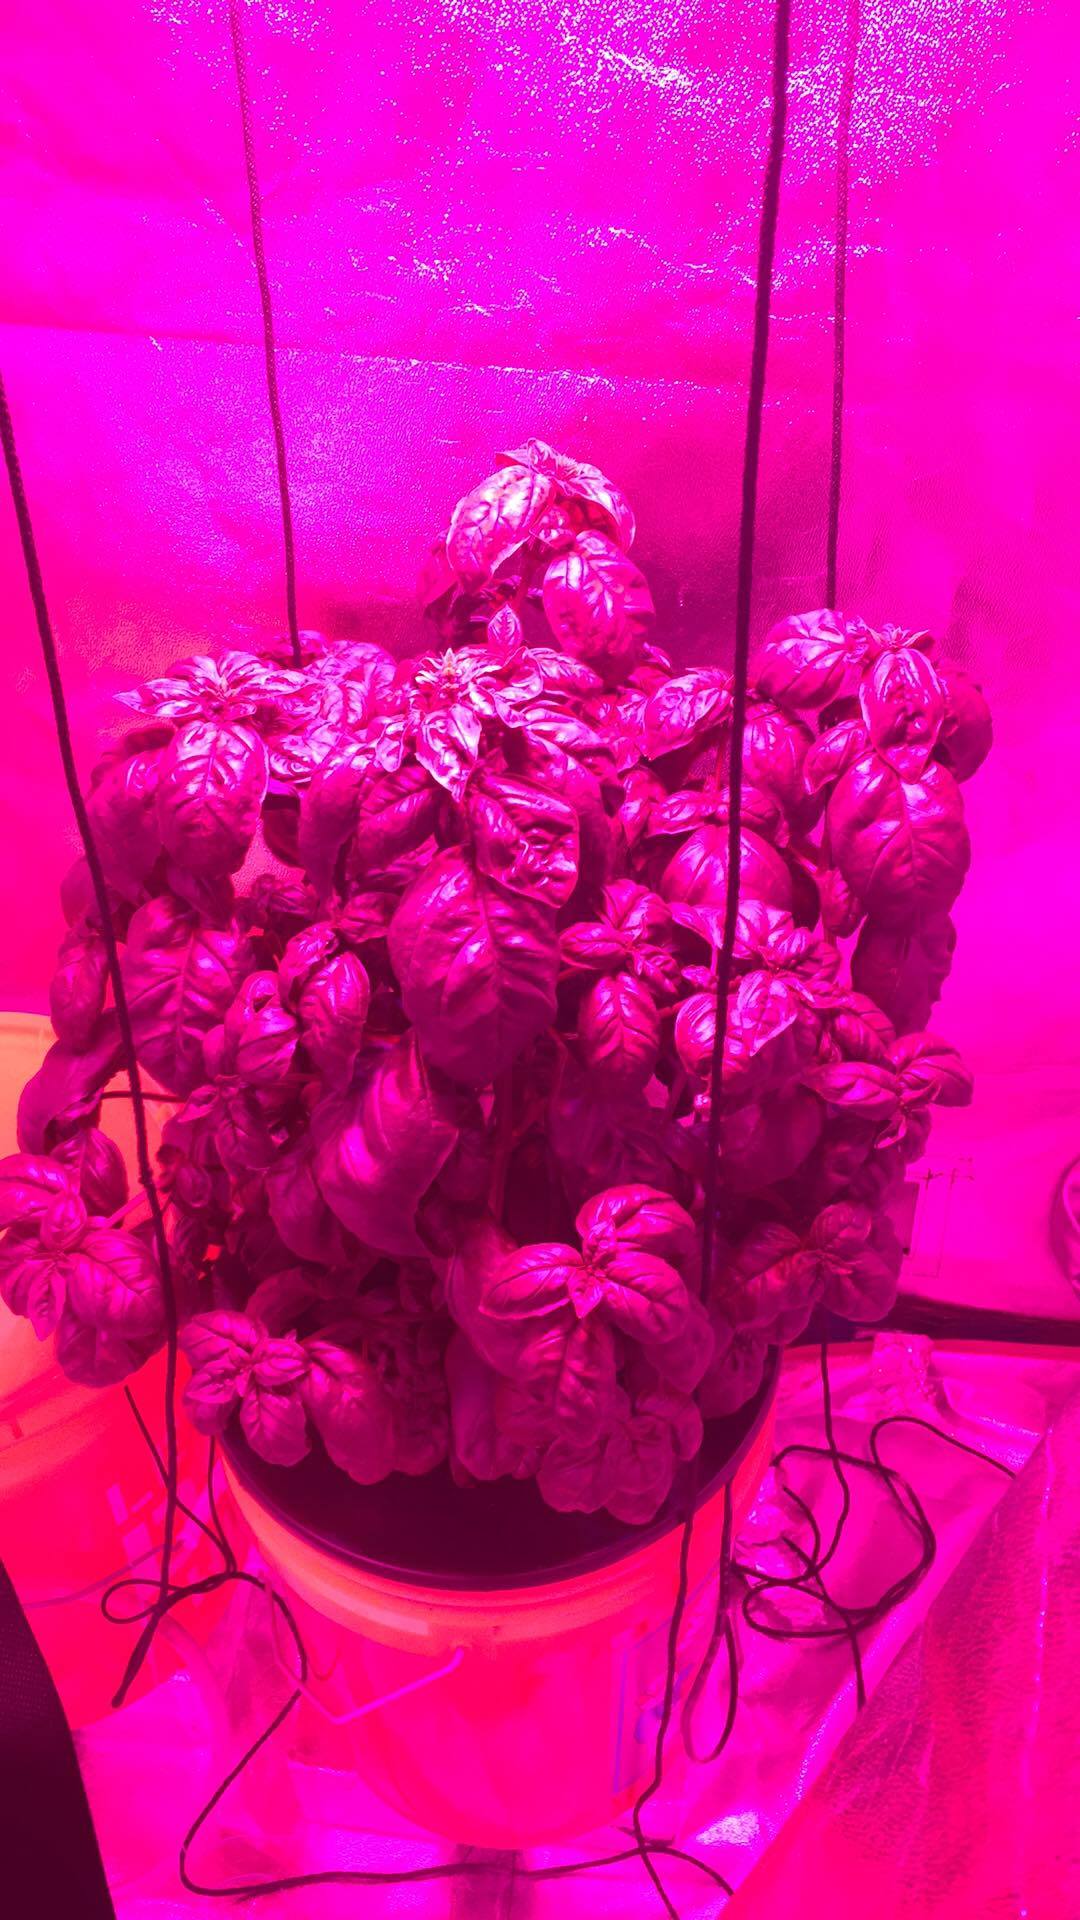
Week 6

Week 6
Overall, my project was just a vision that turned into a reality. This shows how hard work and the willingness to push yourself to acquire new skills and experience is a way for one to appreciate themselves as well show off this projects to friends and colleagues.
Well, to my dad’s basil plant grown indoors, ummmm, lets say when your dog is hungry and alone at the house. It will eat anything.
Things to still due:
Refactor the whole coding process, and break chucks of methods to more concise logic and start switching to a web/mobile application. As well as finding ways to make my project scalable and affordable, which will take some research but with this prototype I understand what the challenges are and ways to resolve them during the construction of the project from ground up.
I would like to thank my parents for help fund these projects that I ask funds for but at the end they appreciate my willingness to pursue technology and explore the potentials of my abilities that the industry. Now they have basil that they can harvest as much times as they want year around.
Related Posts

Leave a Reply